Paper Cutout Effect with Affinity Photo + Free Project
Intro
How to create the popular paper cutout effect using Affinity Photo. This is a simple technique with just a few steps, but the result is really effective!
You can also learn this technique by watching my YouTube video below, or directly on YouTube.
If you do watch on YouTube, please consider giving the video a Like, and Subscribing for more tutorials!
Resources
Click Here to download the finished Affinity Photo project! This is just for reference, and is not required to complete the tutorial.
Tutorial
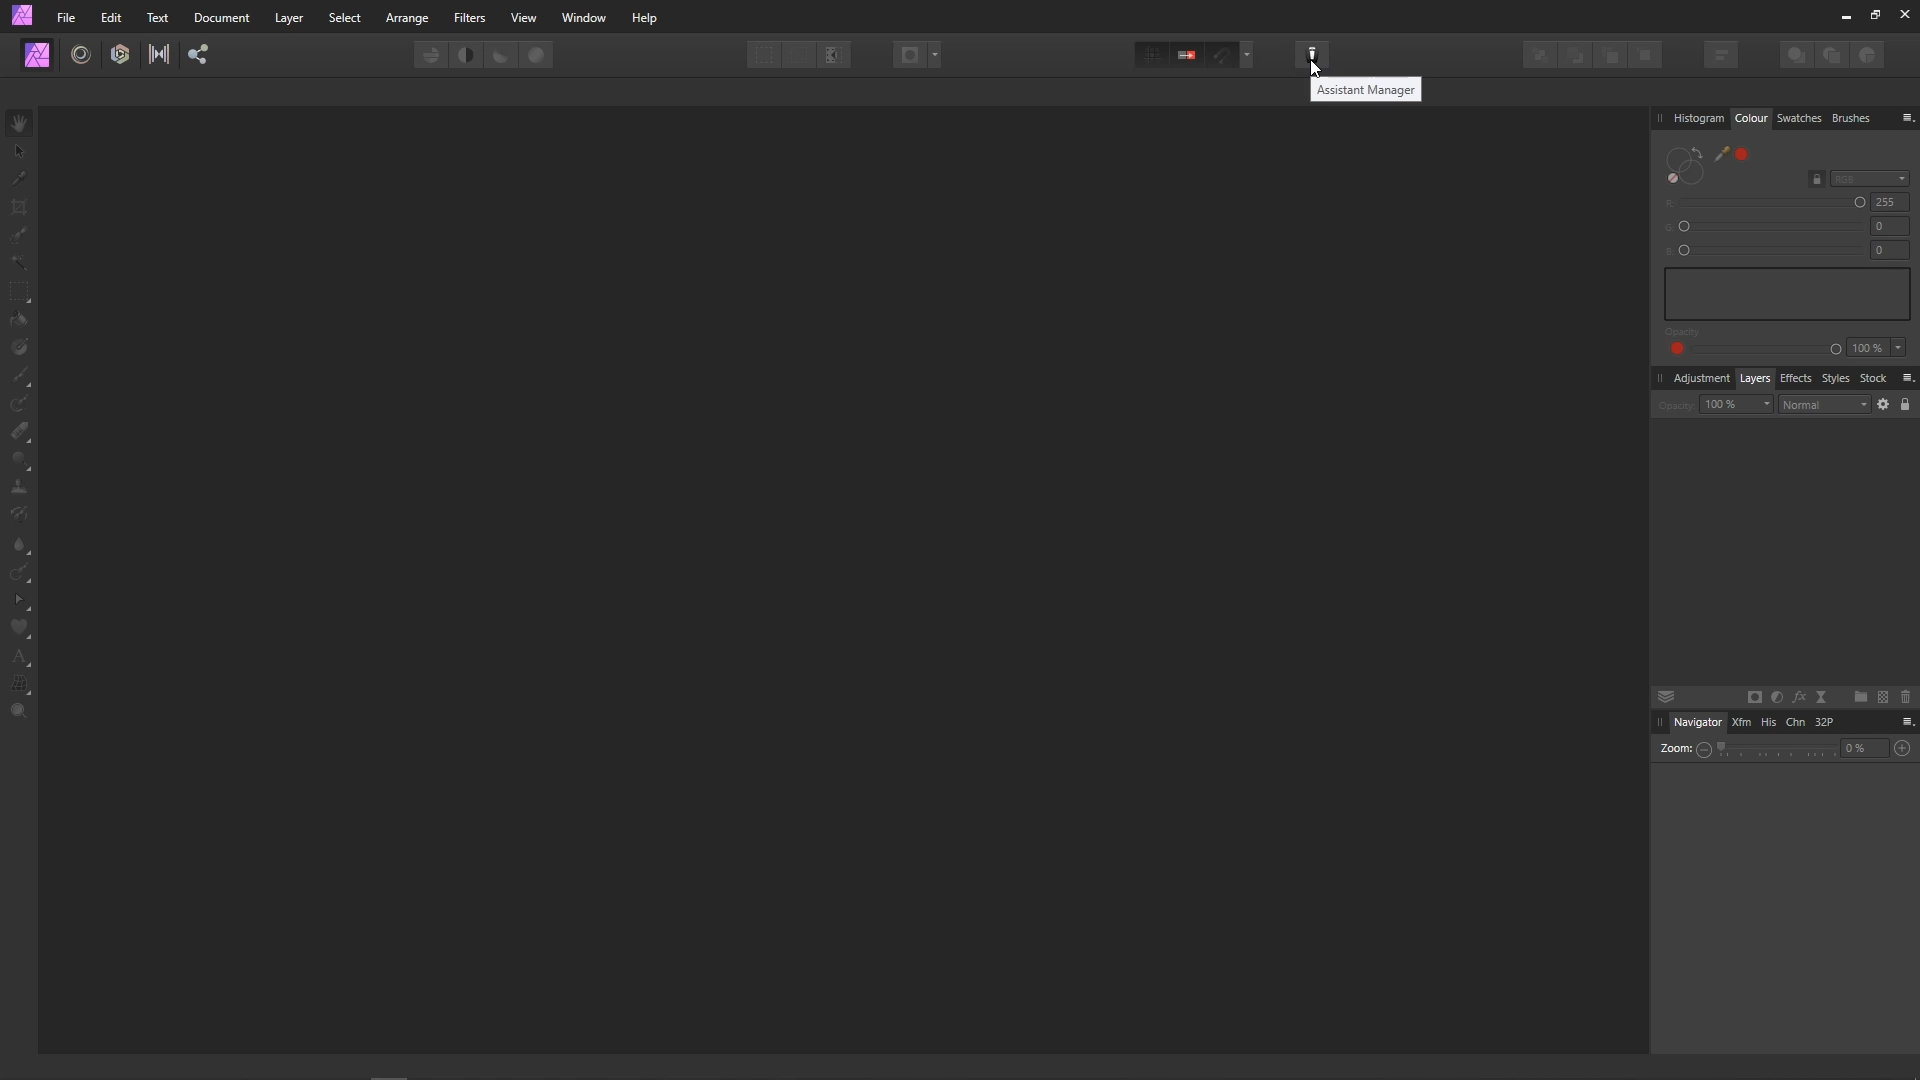
Before we start, we need to make a quick change to one of Affinity Photo's settings. Open up the Assistant Manager.
Make sure the setting "Adding filter layer to selection" is set to "Add filter as new layer". The reason for this, is that we will be adding a filter at the end of the tutorial. This setting ensures it appears in the right place in the layer stack, instead of a child of the text layer we will be adding. You could manually move the layer yourself, but this saves a little time.
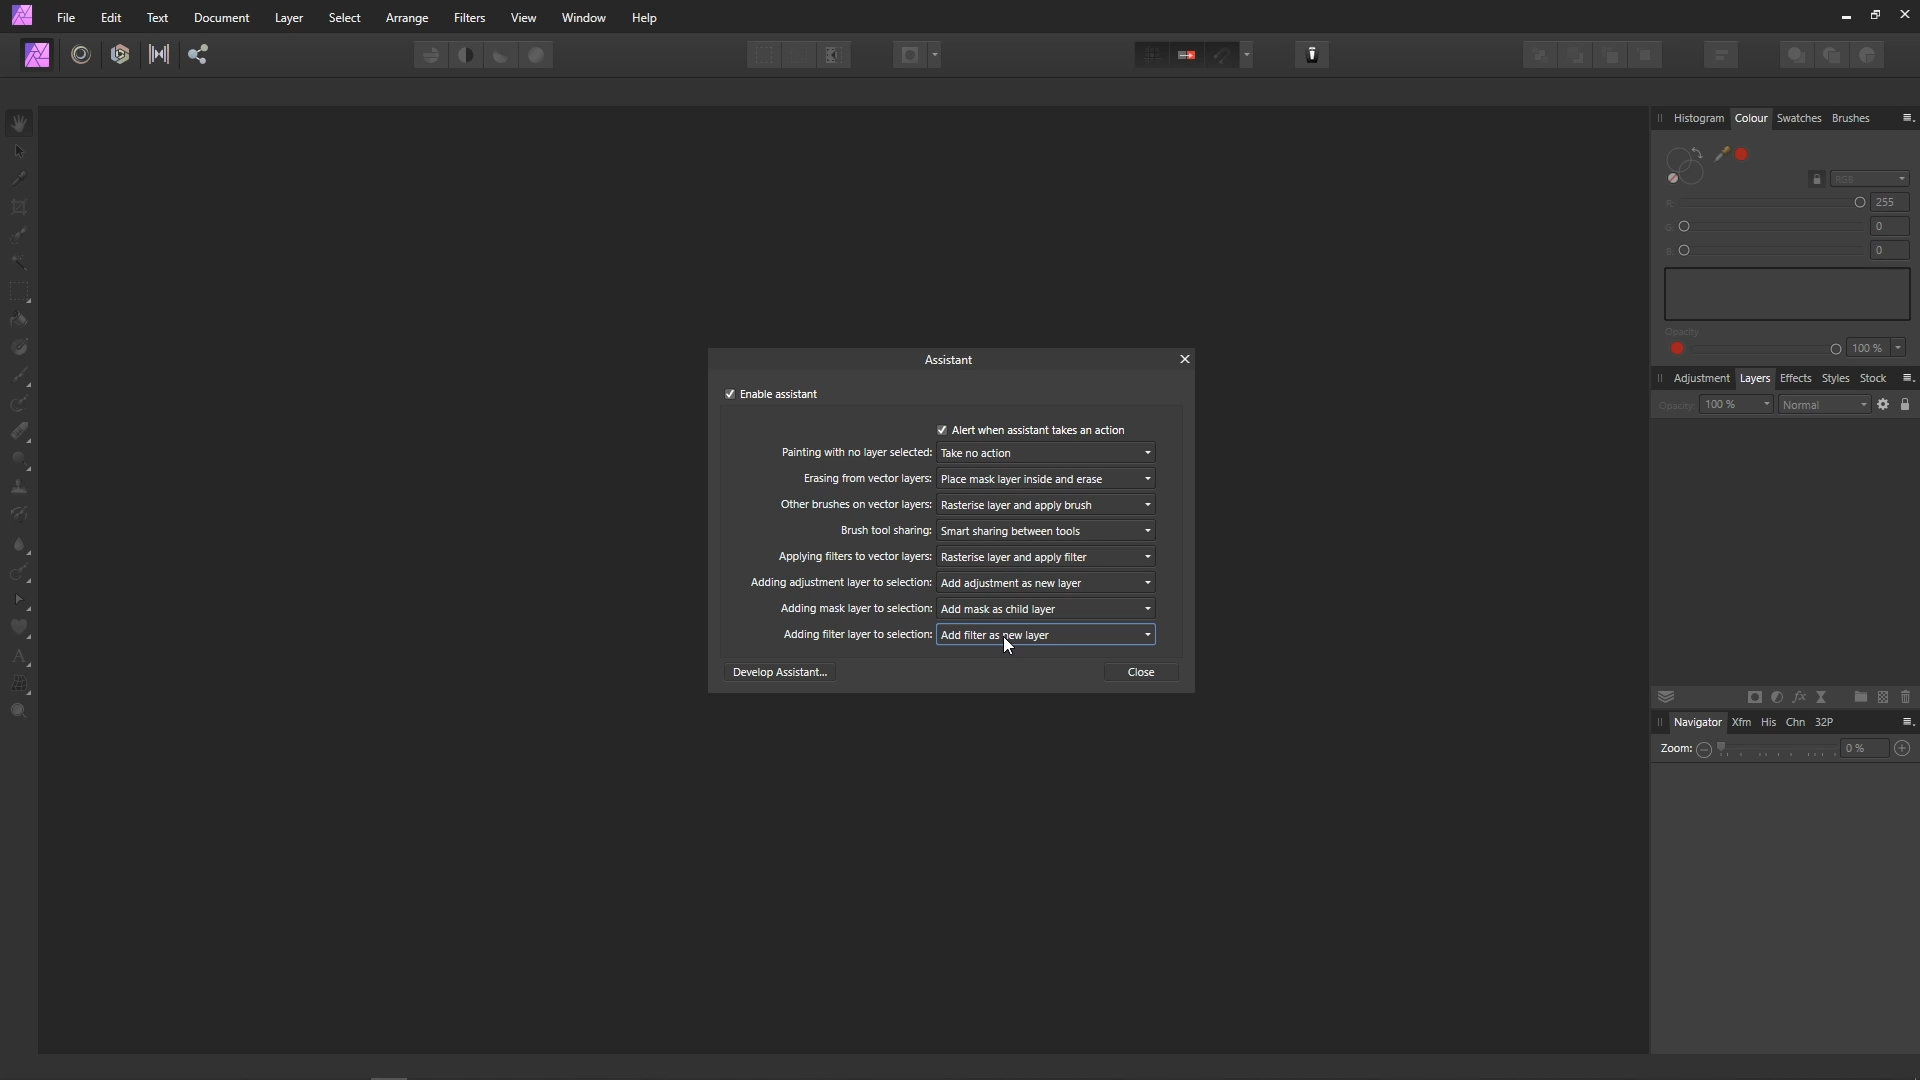
With that set, close the Assistant Manager panel.
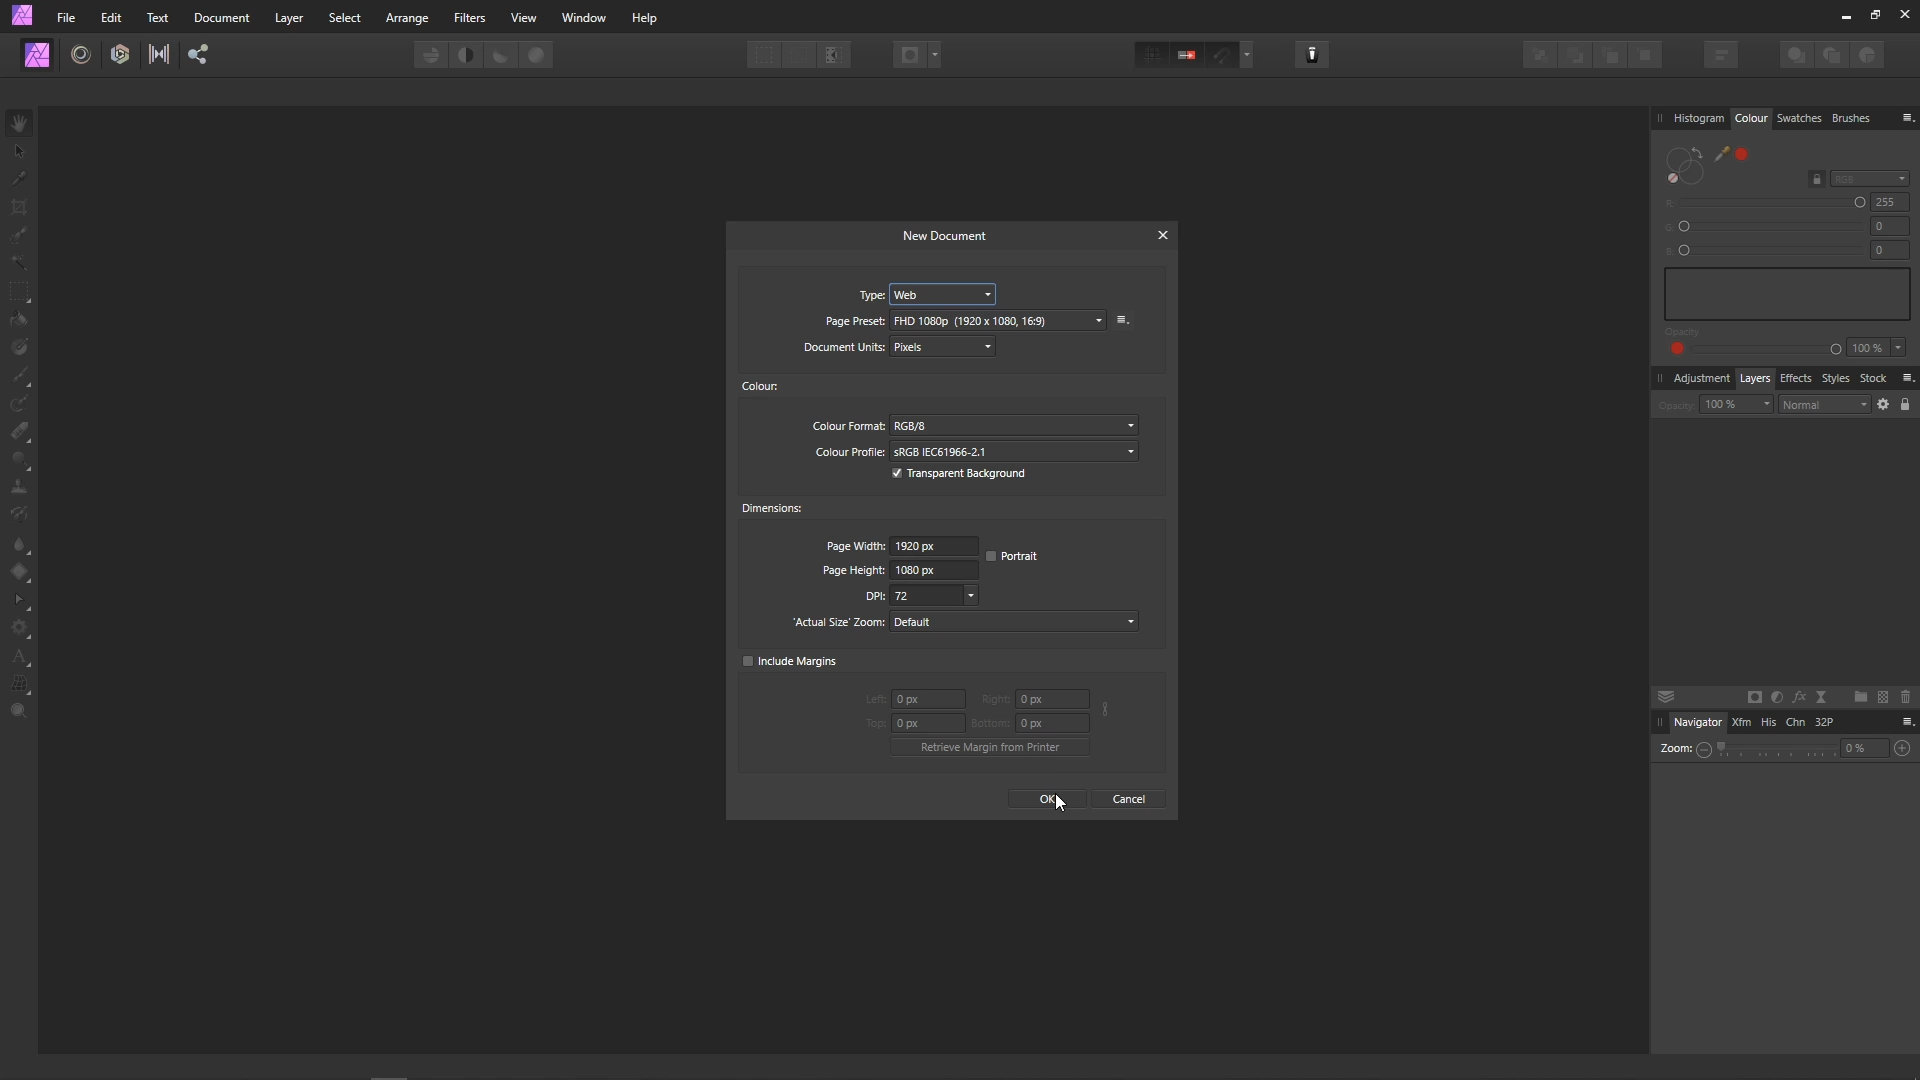
Create a new image, set the resolution to 1920x1080, and click OK. The resolution is important for this tutorial, as the parameters we will be typing into the layout effects panel are resolution dependent.
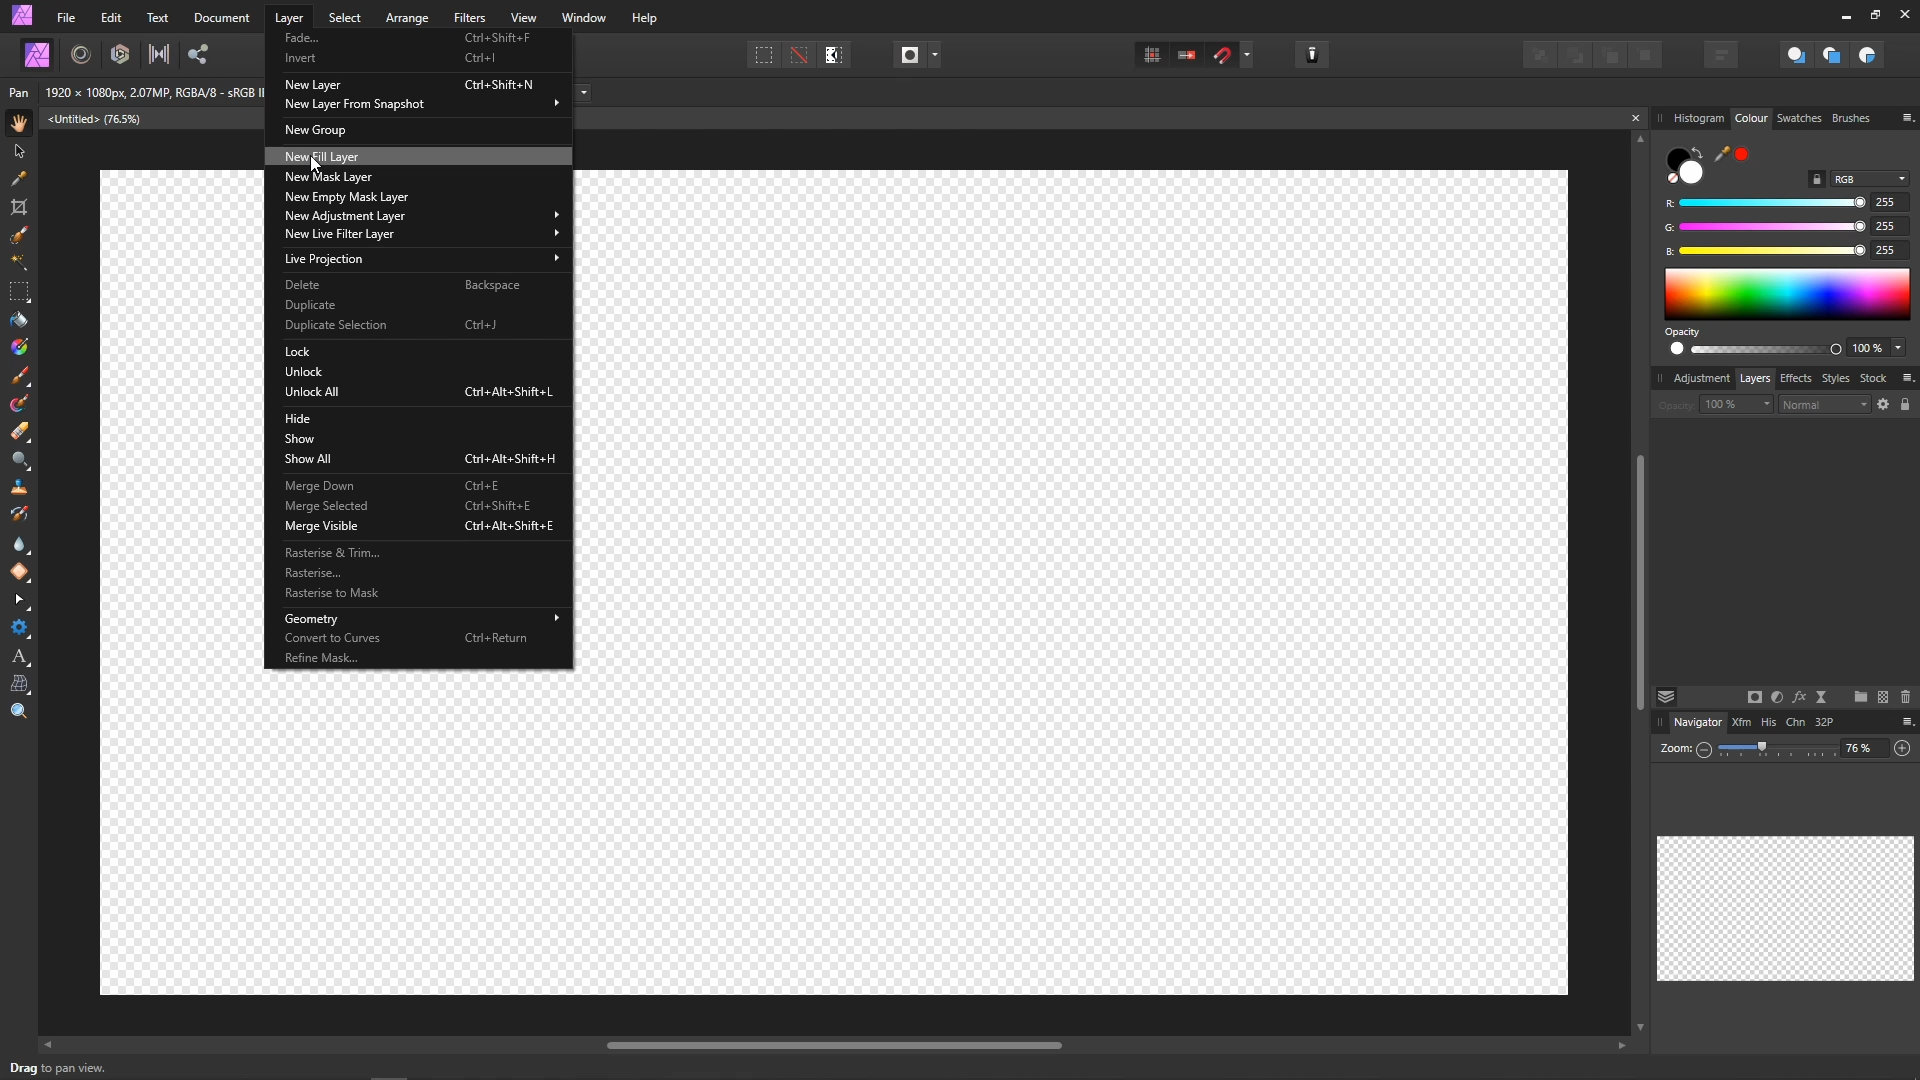
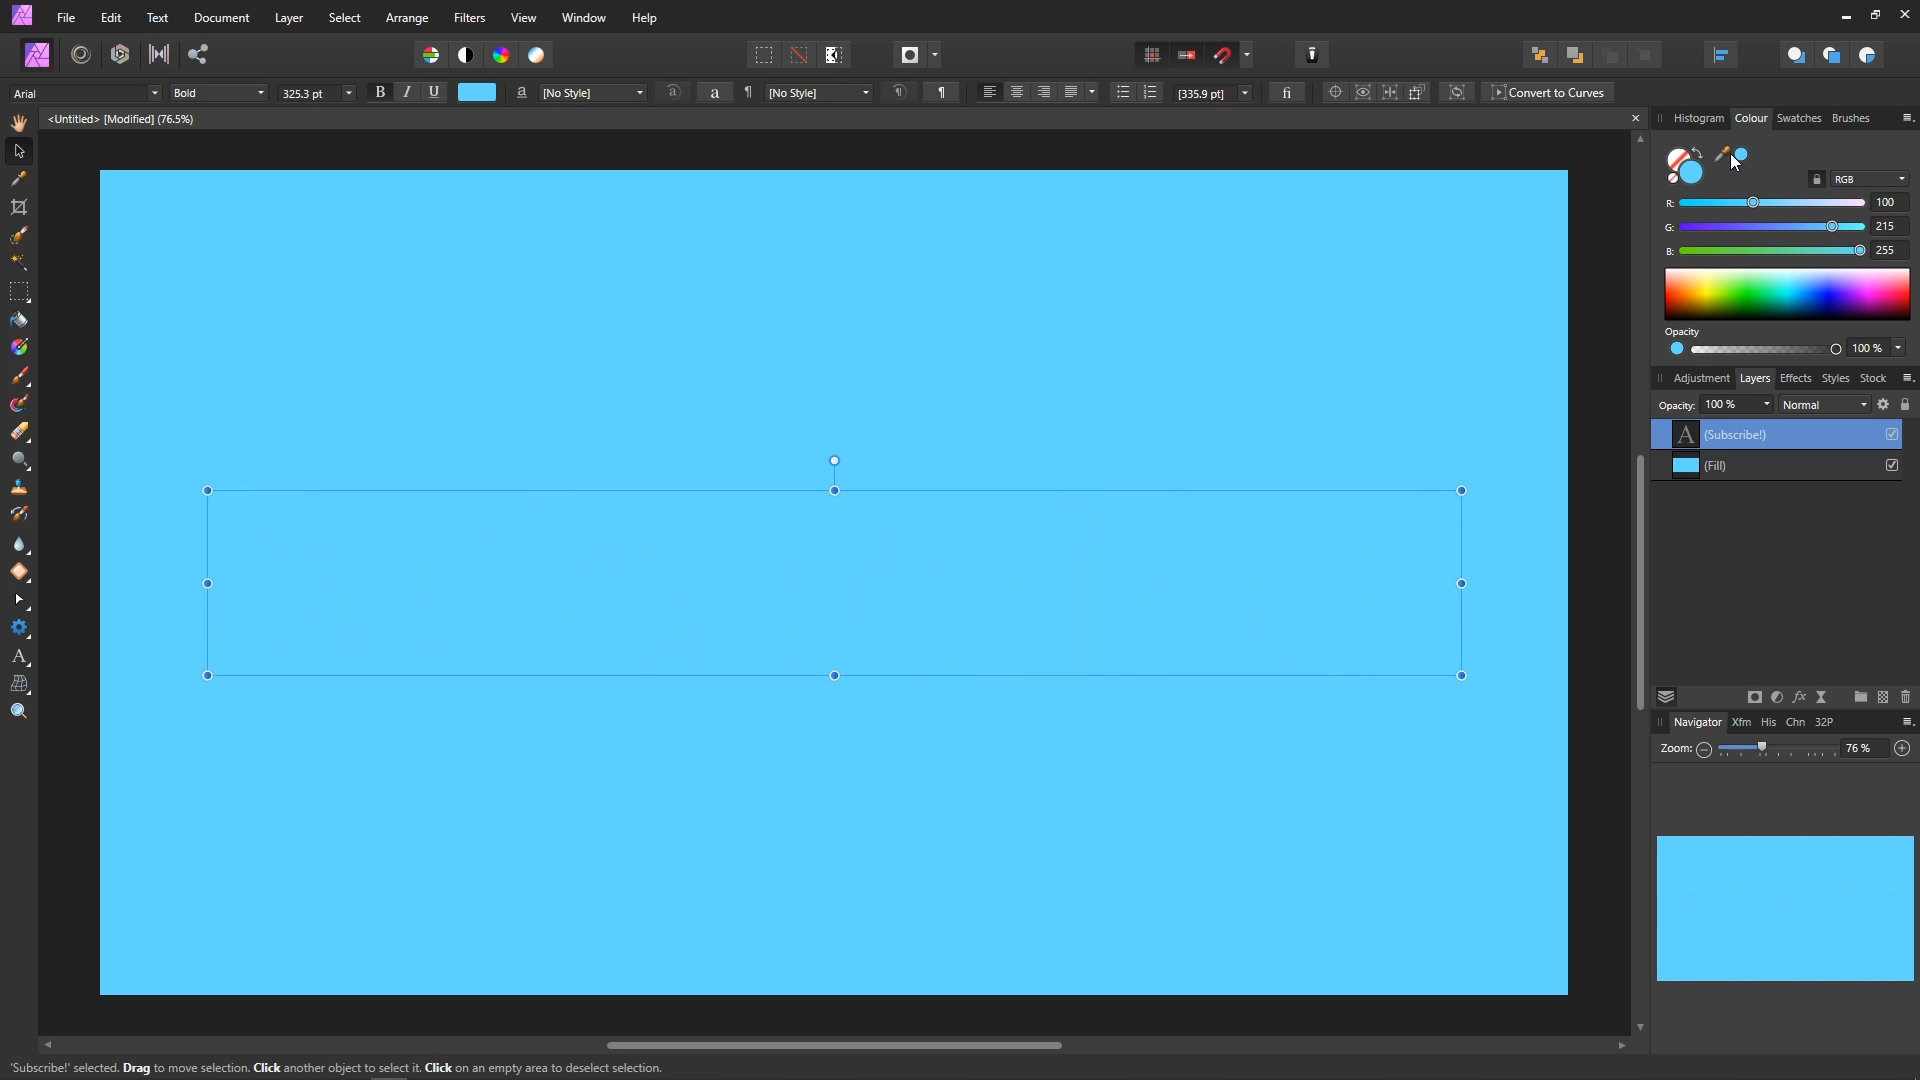
We need some colour for the lettering to appear on. Select Layer > New Fill Layer. A new white layer will be added.
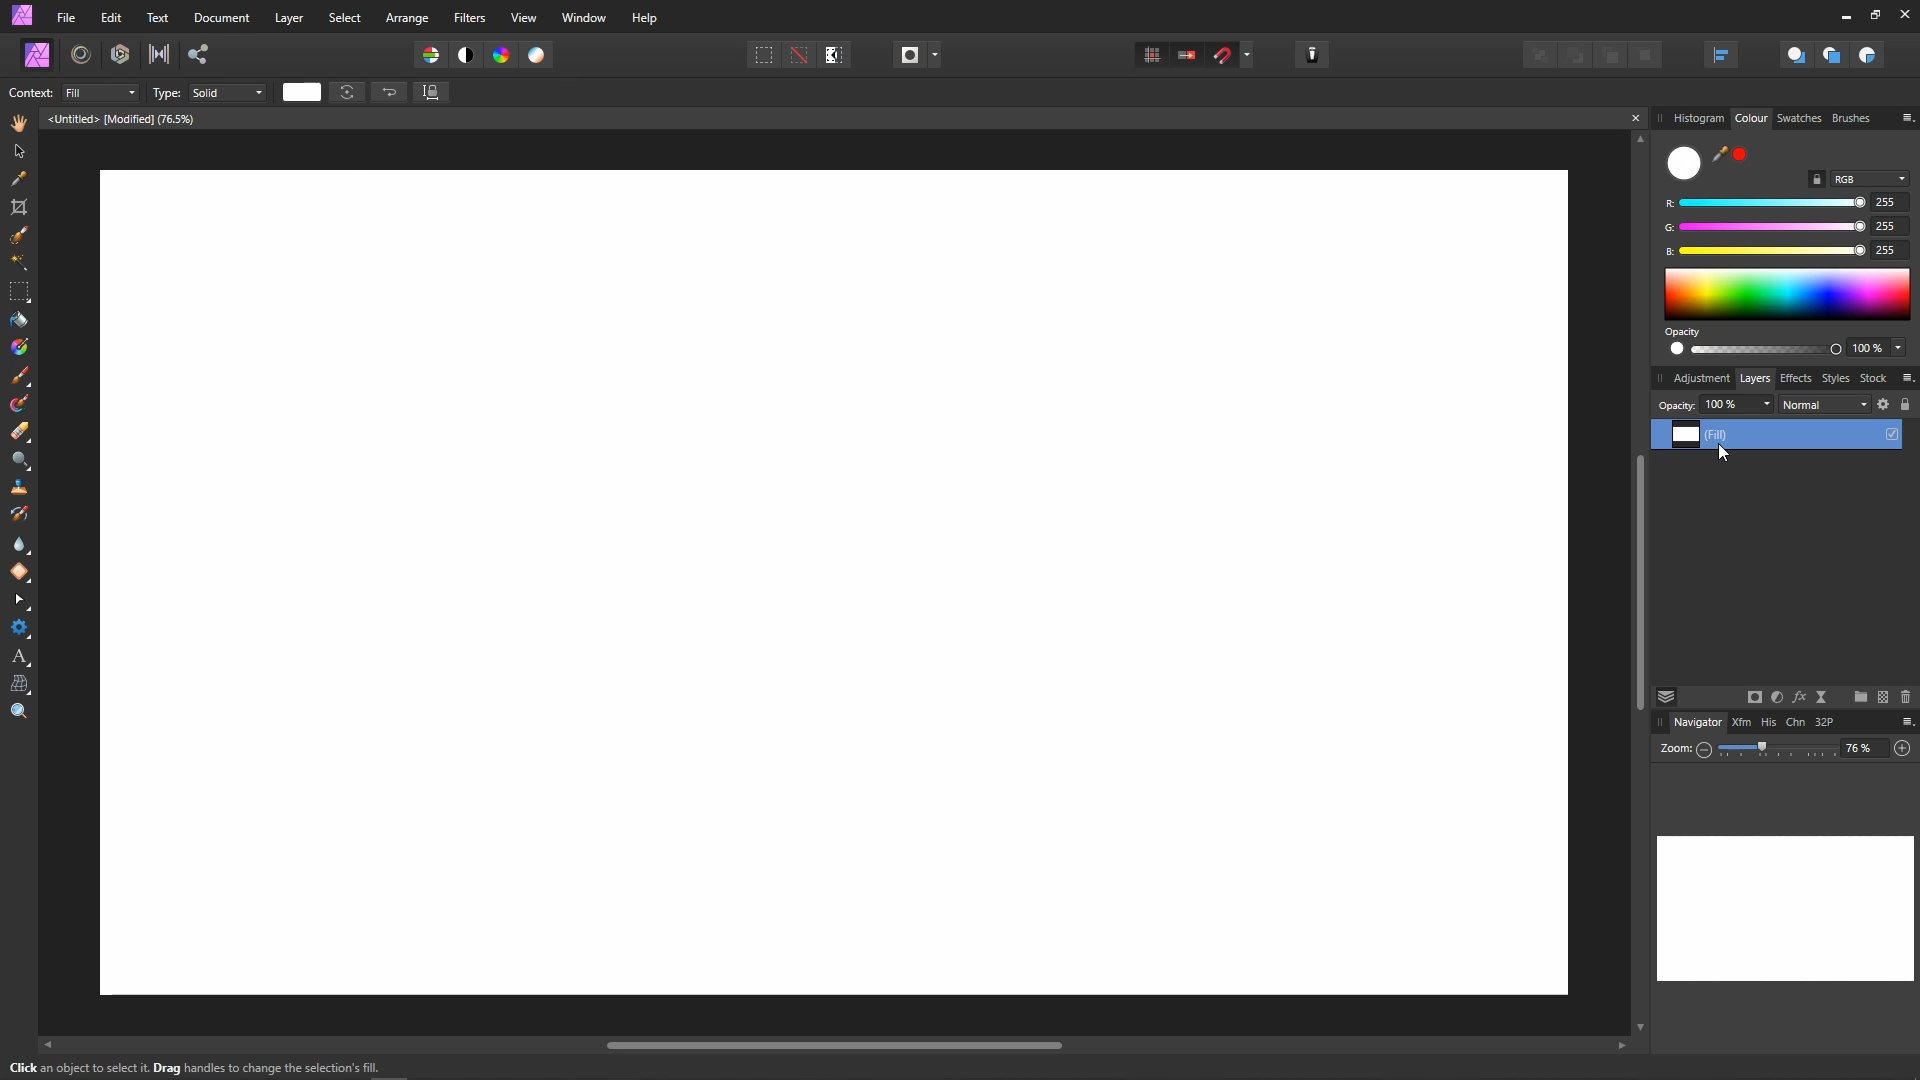
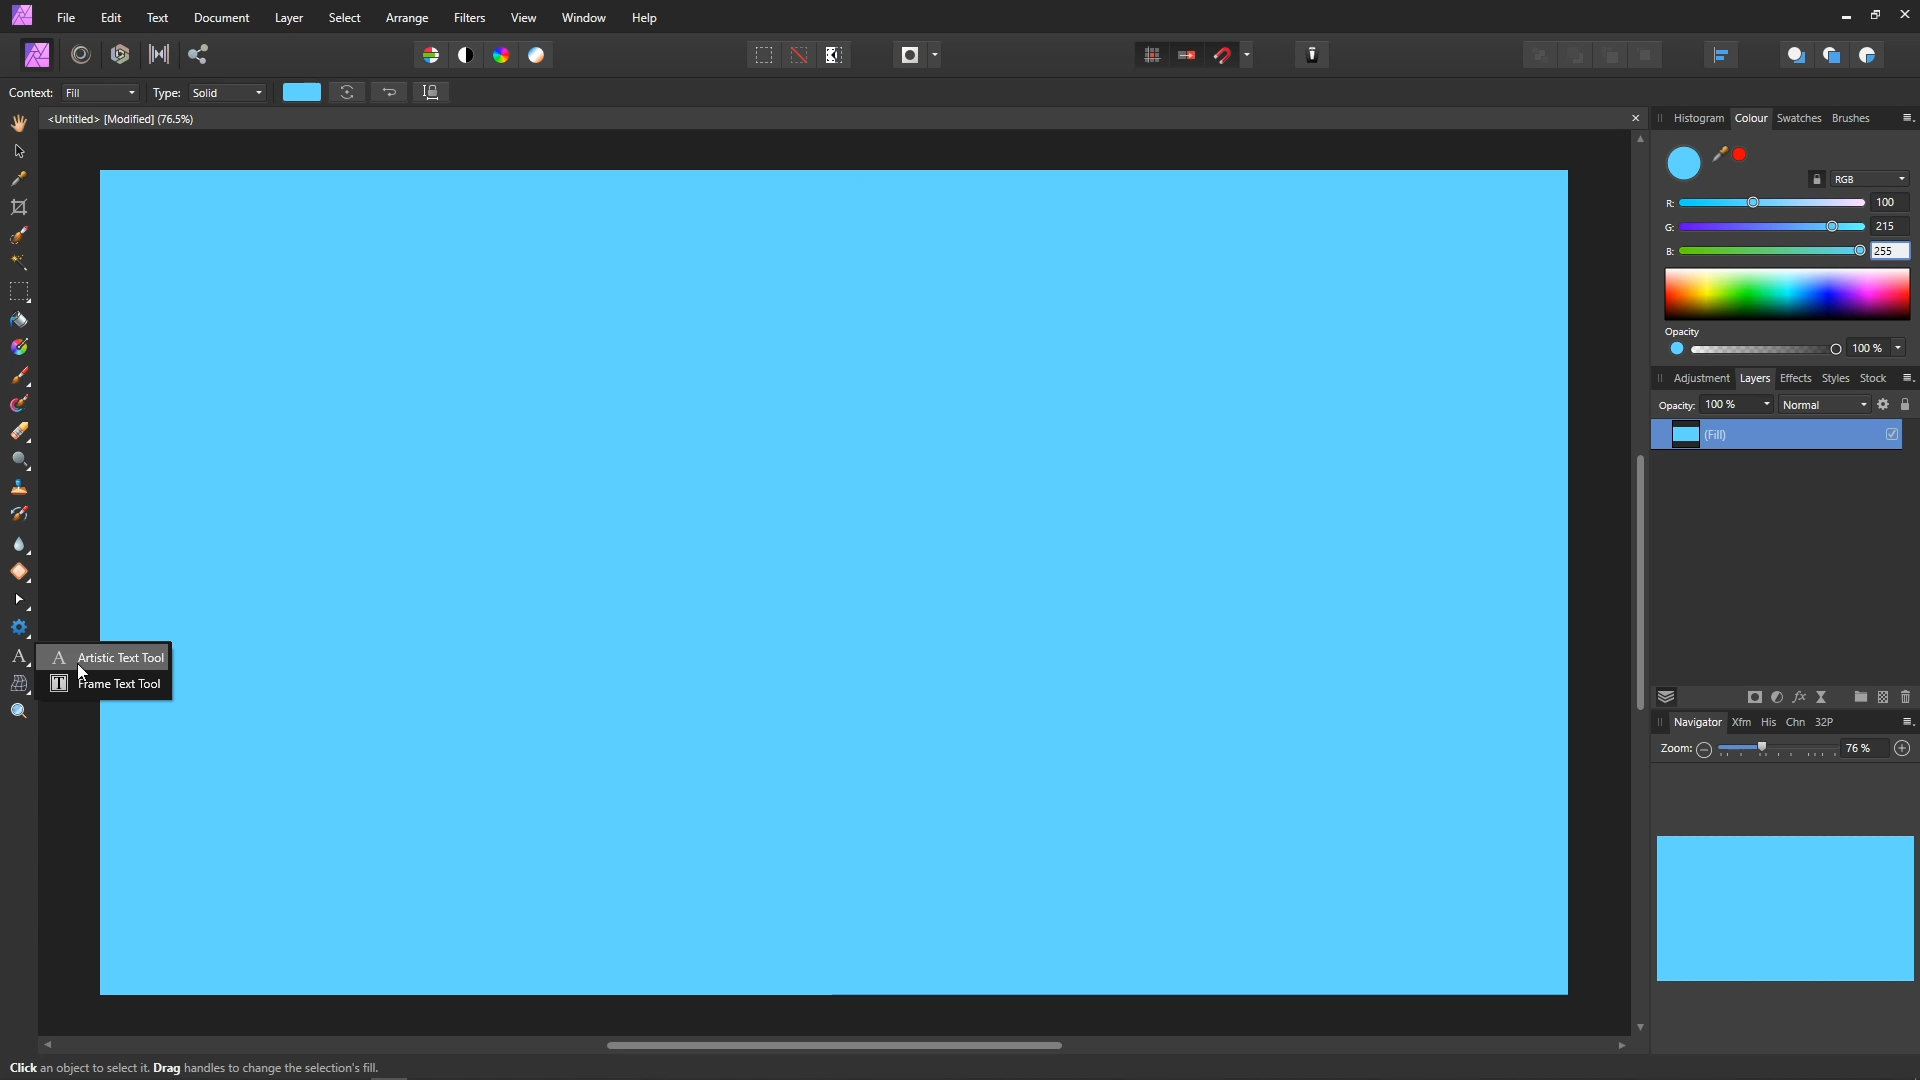
In the Colour tab on the right, make sure RGB is selected on the drop down menu, and set the colour to 100, 215, 255. This will give you a nice cyan colour which looks really nice for this effect.

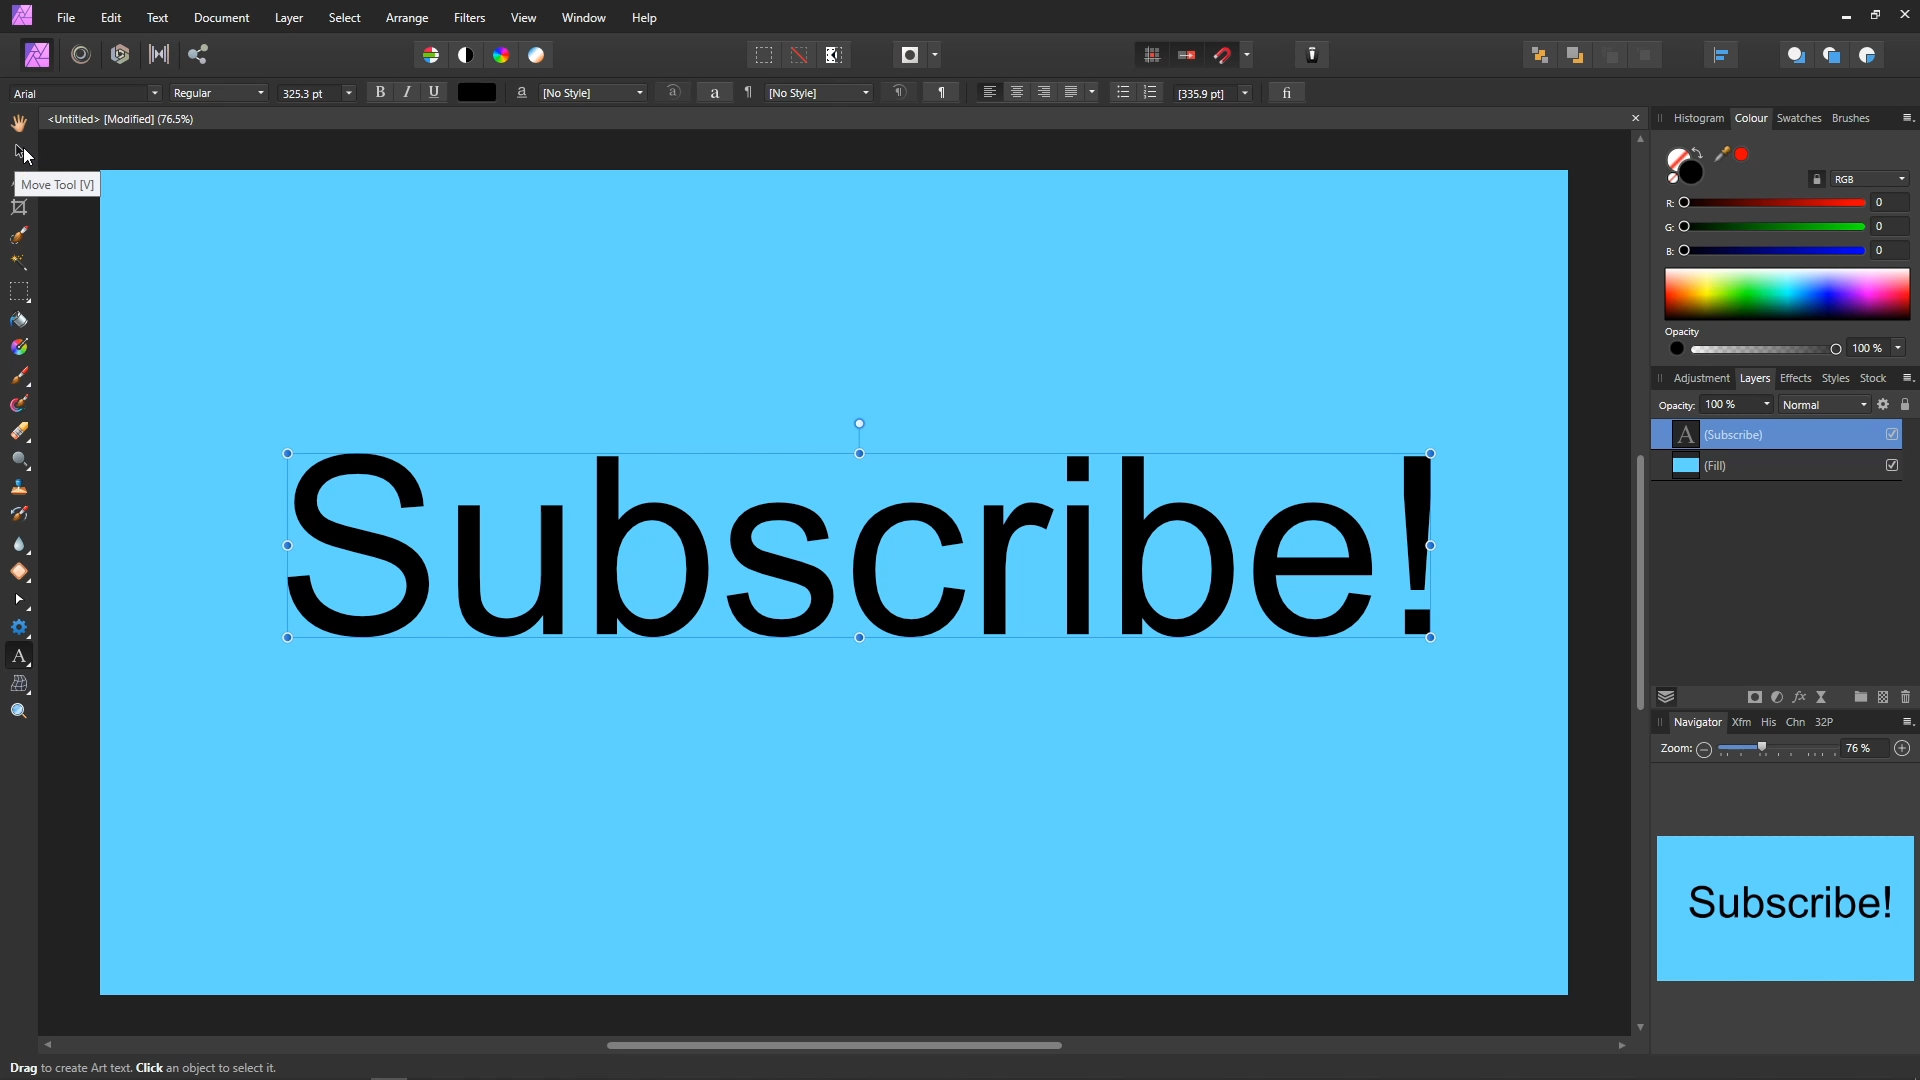
Next, we'll add some text. Select the Artistic Text Tool from the Tools on the left.
Click and drag until the text is roughly a quarter of the height of the image.
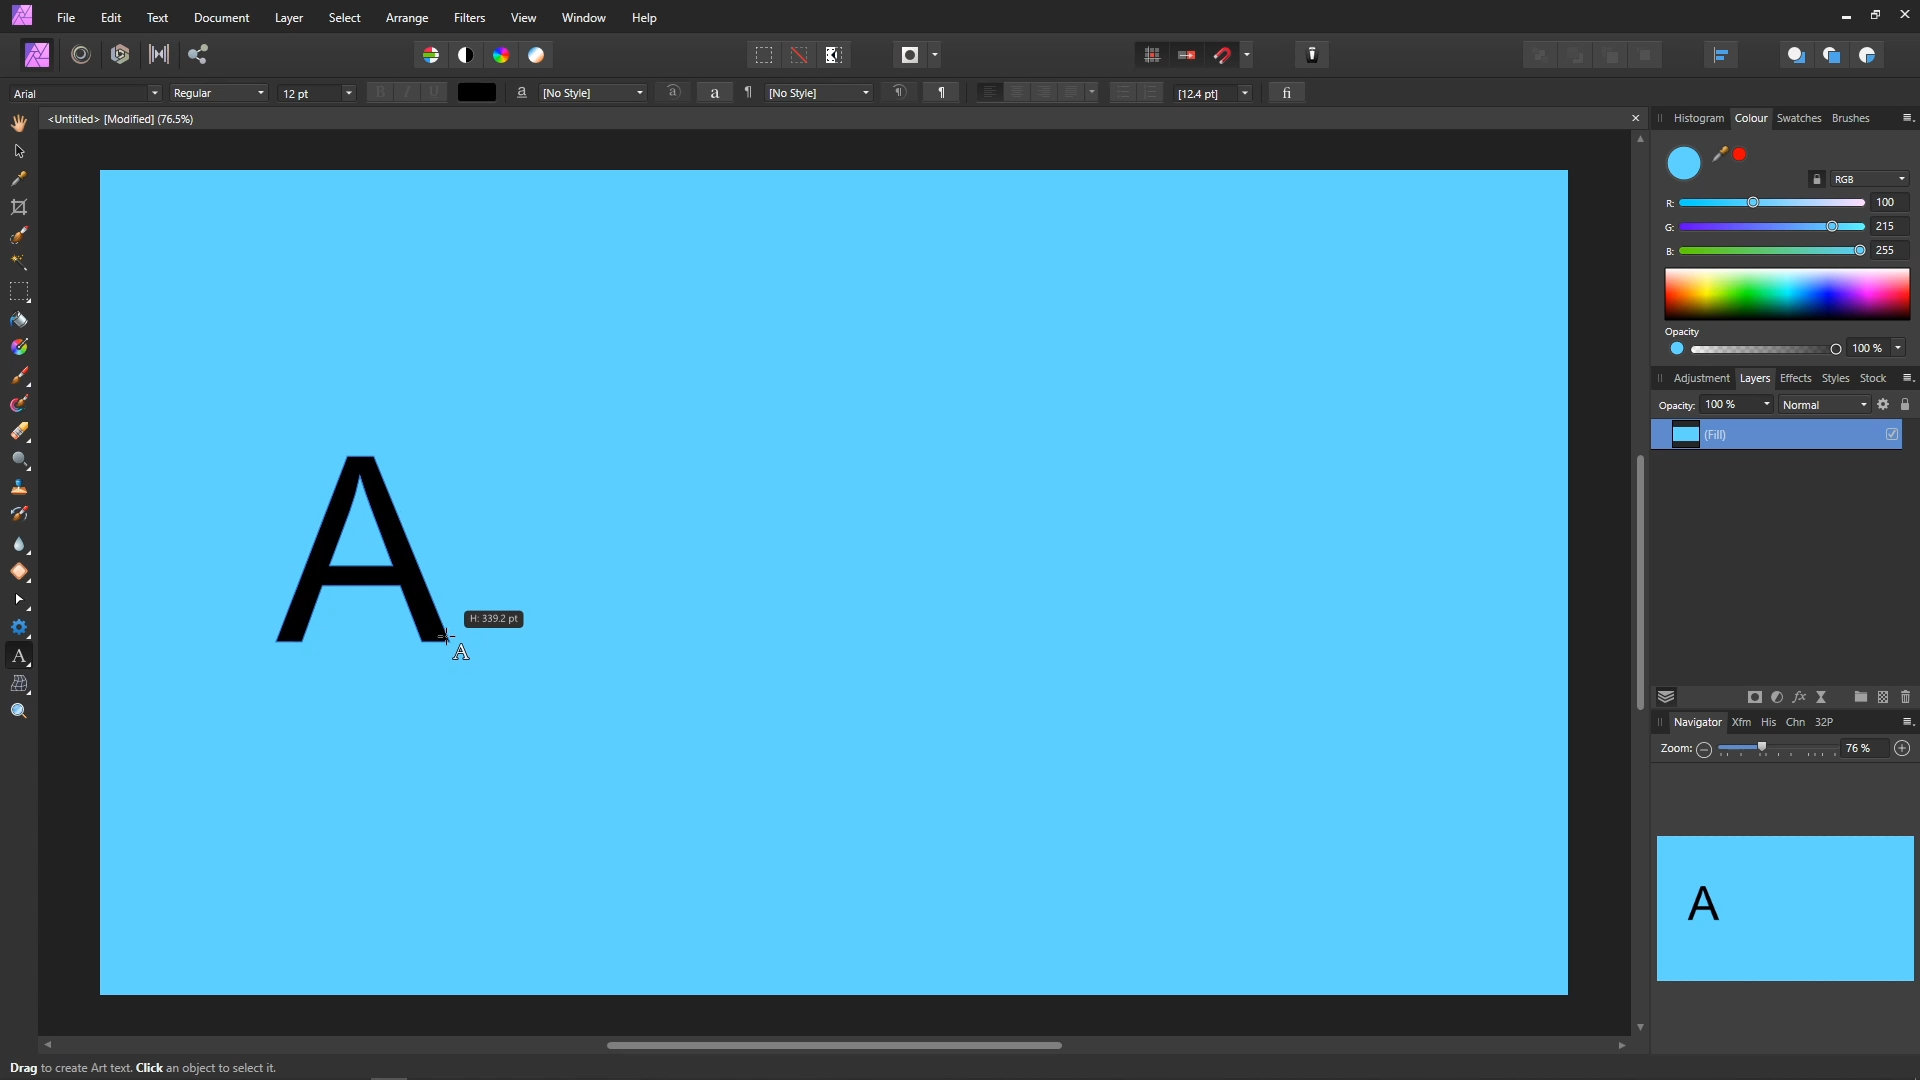
Type the word of your choice...
Select the Move Tool.
Be sure to turn on snapping, as it makes the next step easier.
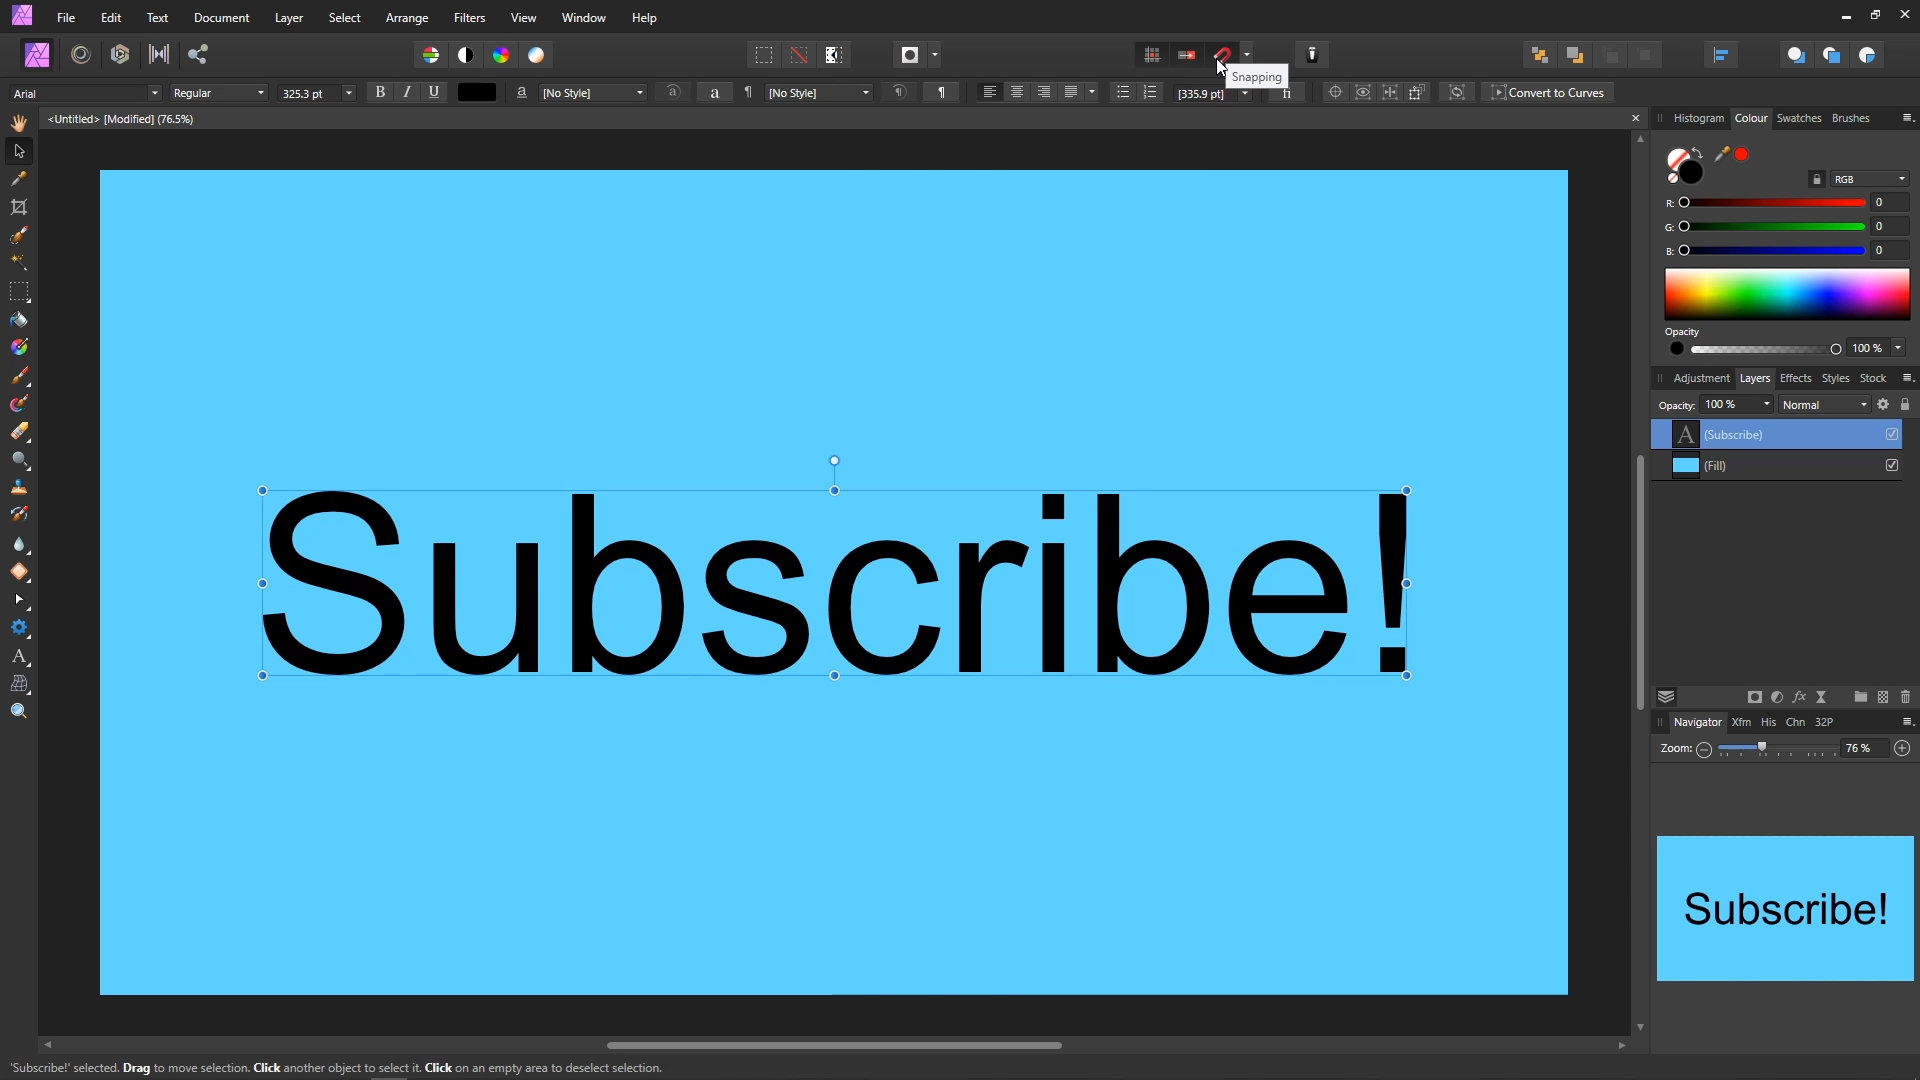
Drag the text to center it.

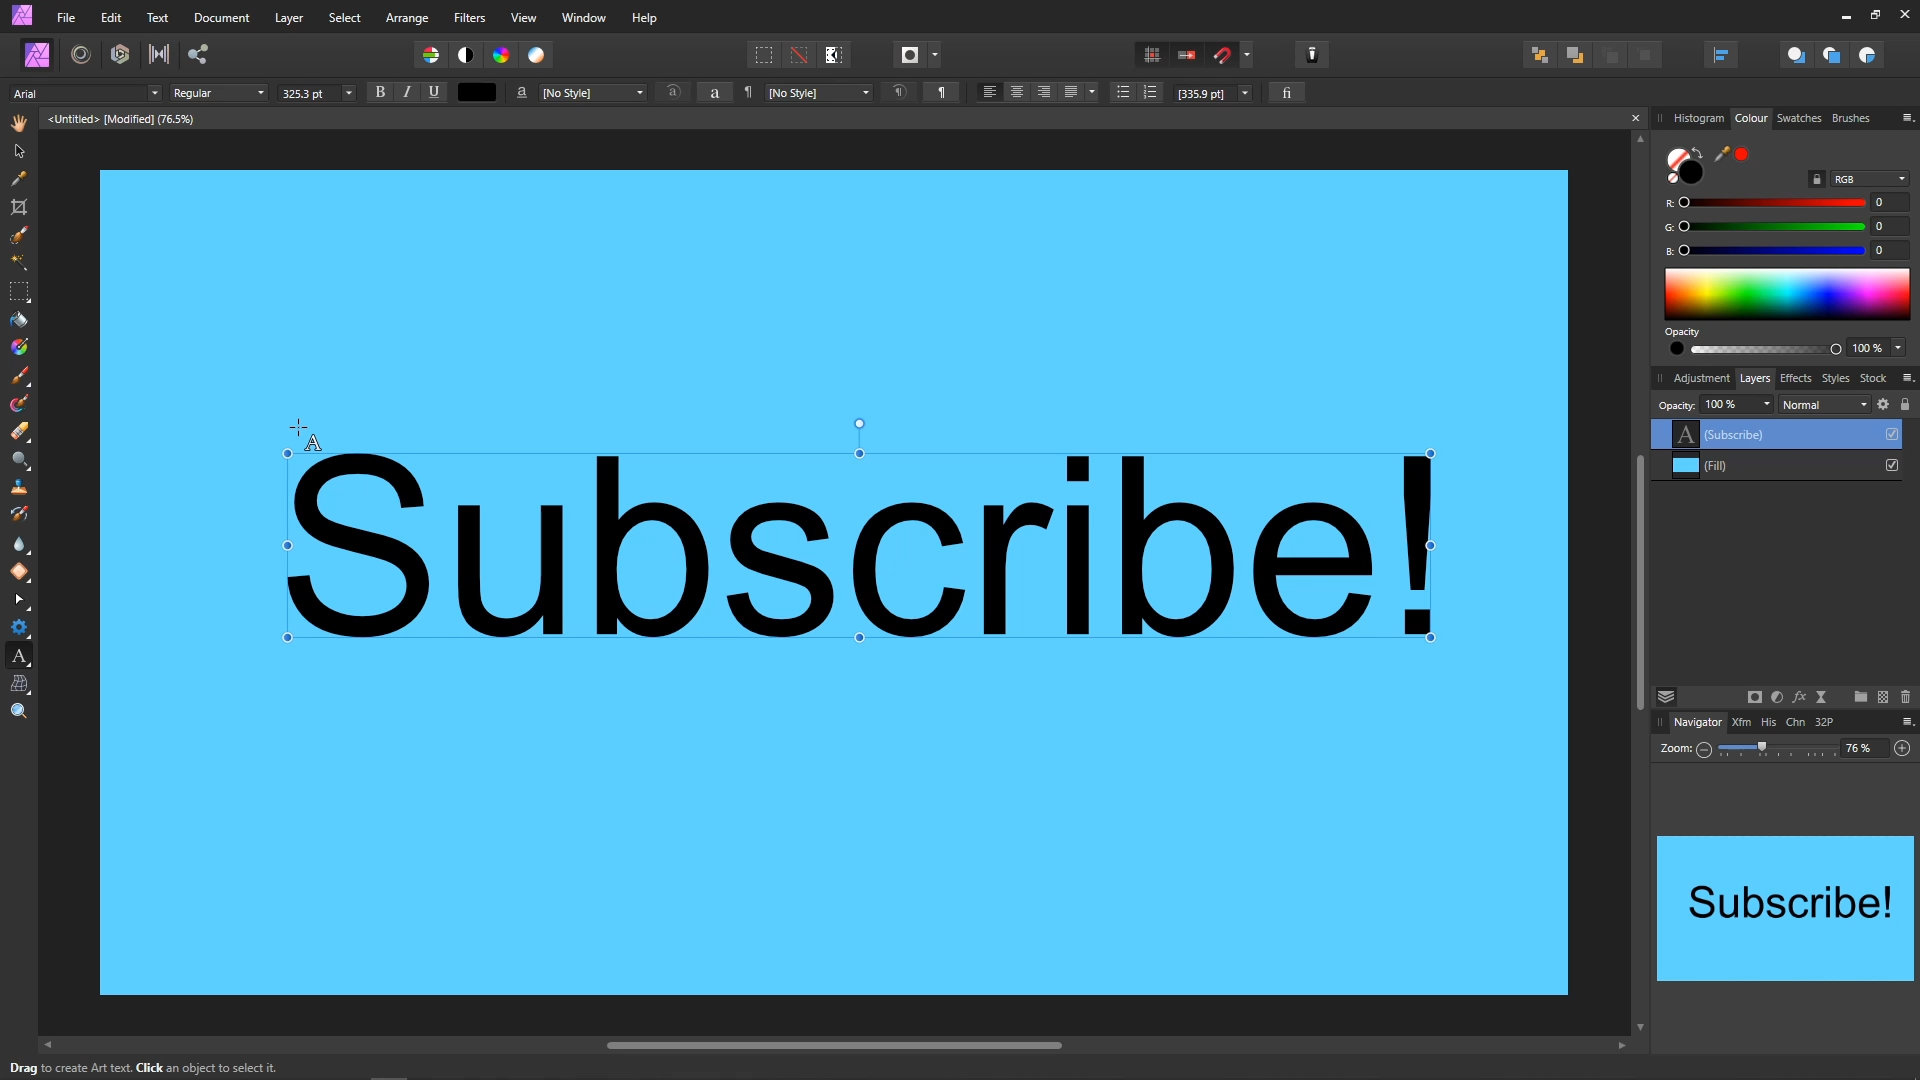
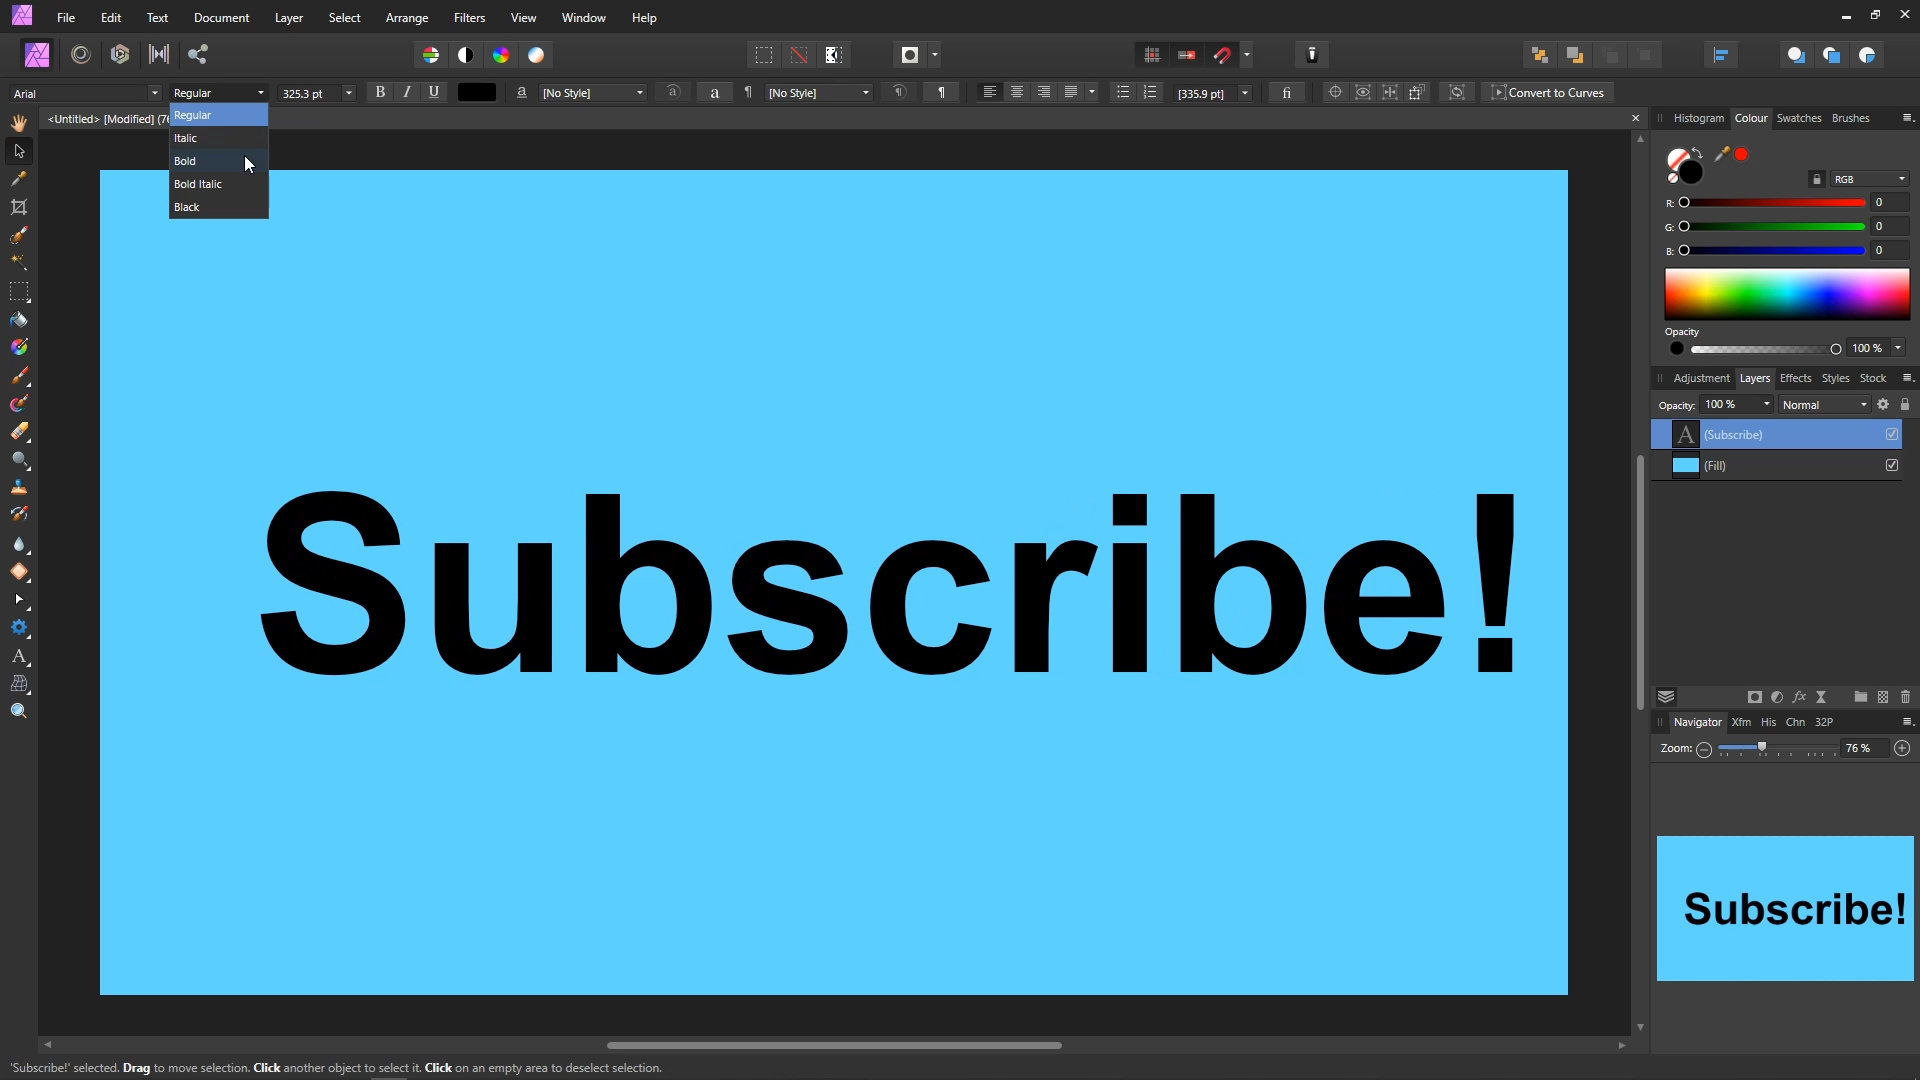
This effect looks better with bold text, so select Bold from the dropdown menu in the Toolbar. Changing the text to bold will make it wider, and it will no longer be centered. So be sure to drag it to the center again.
This effect looks its best when the text colour is the same as the backgroud colour. You could just type the values in again manually while the text is selected. But a nice quick why to do this is to "drag" the colour picker from the colour tab onto the background layer. This will cause the colour picker to be set to the colour you drag to (in this case, the cyan background layer).

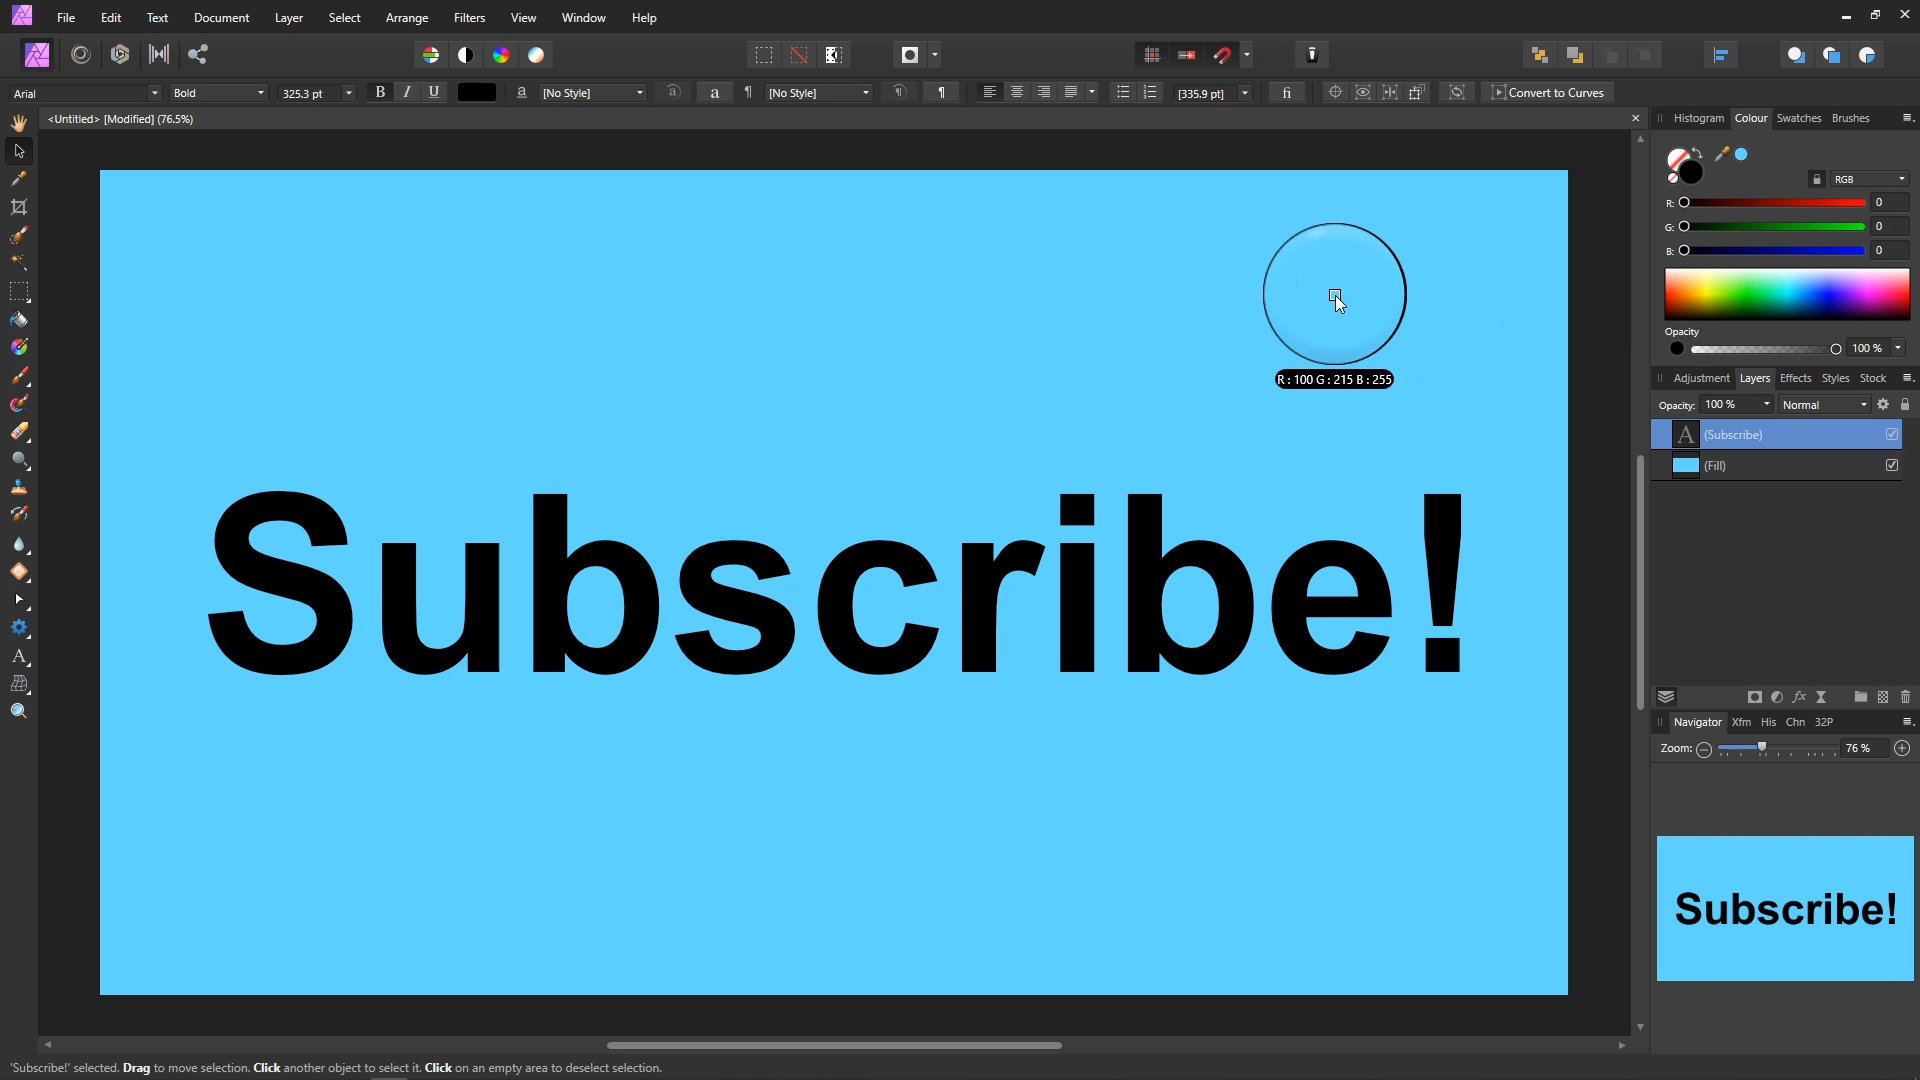
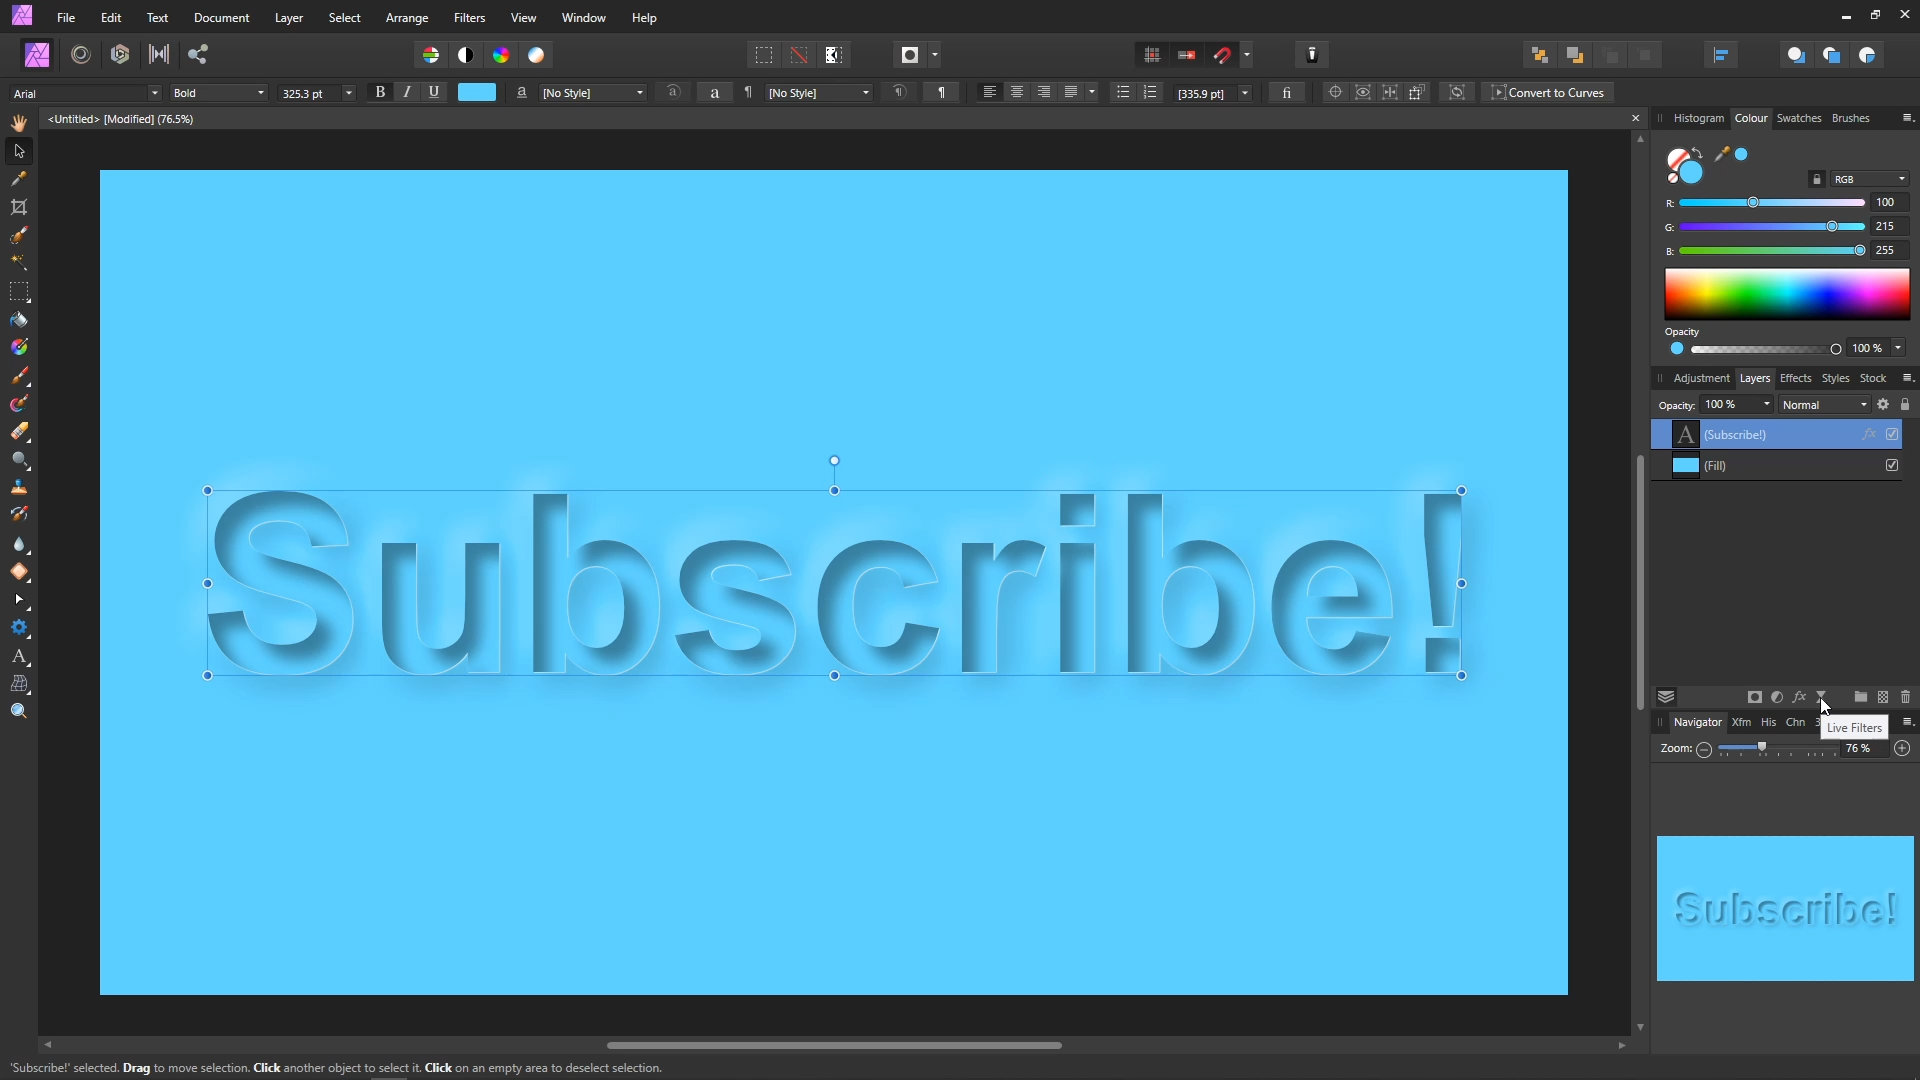
Now you can just click on the colour picker once to change the text colour. The text will seem to dissappear as it's now the same colour as the background.
Next, we're going to turn this invisible text into text that looks like paper. Click on the Layer Effects Icon at the bottom of the Layers Tab. The Layer Effects panel will appear.
![]()
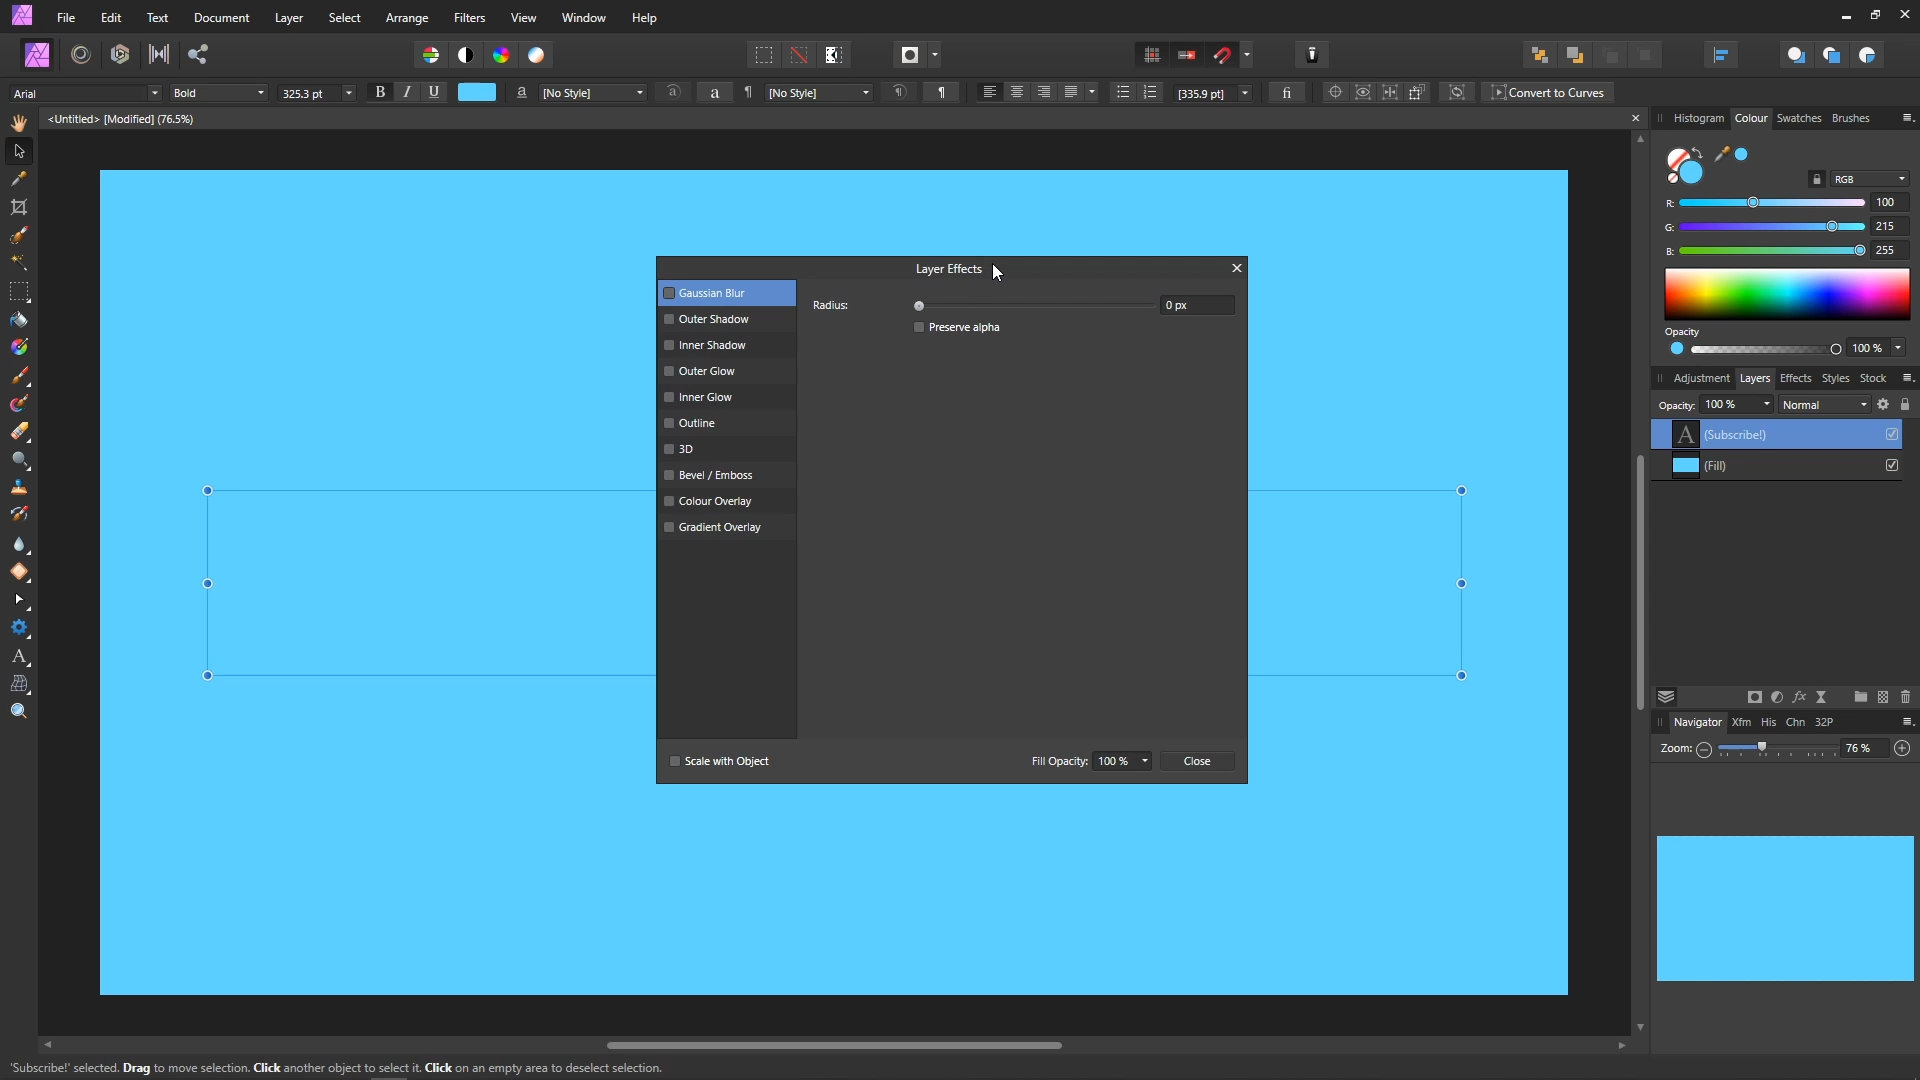
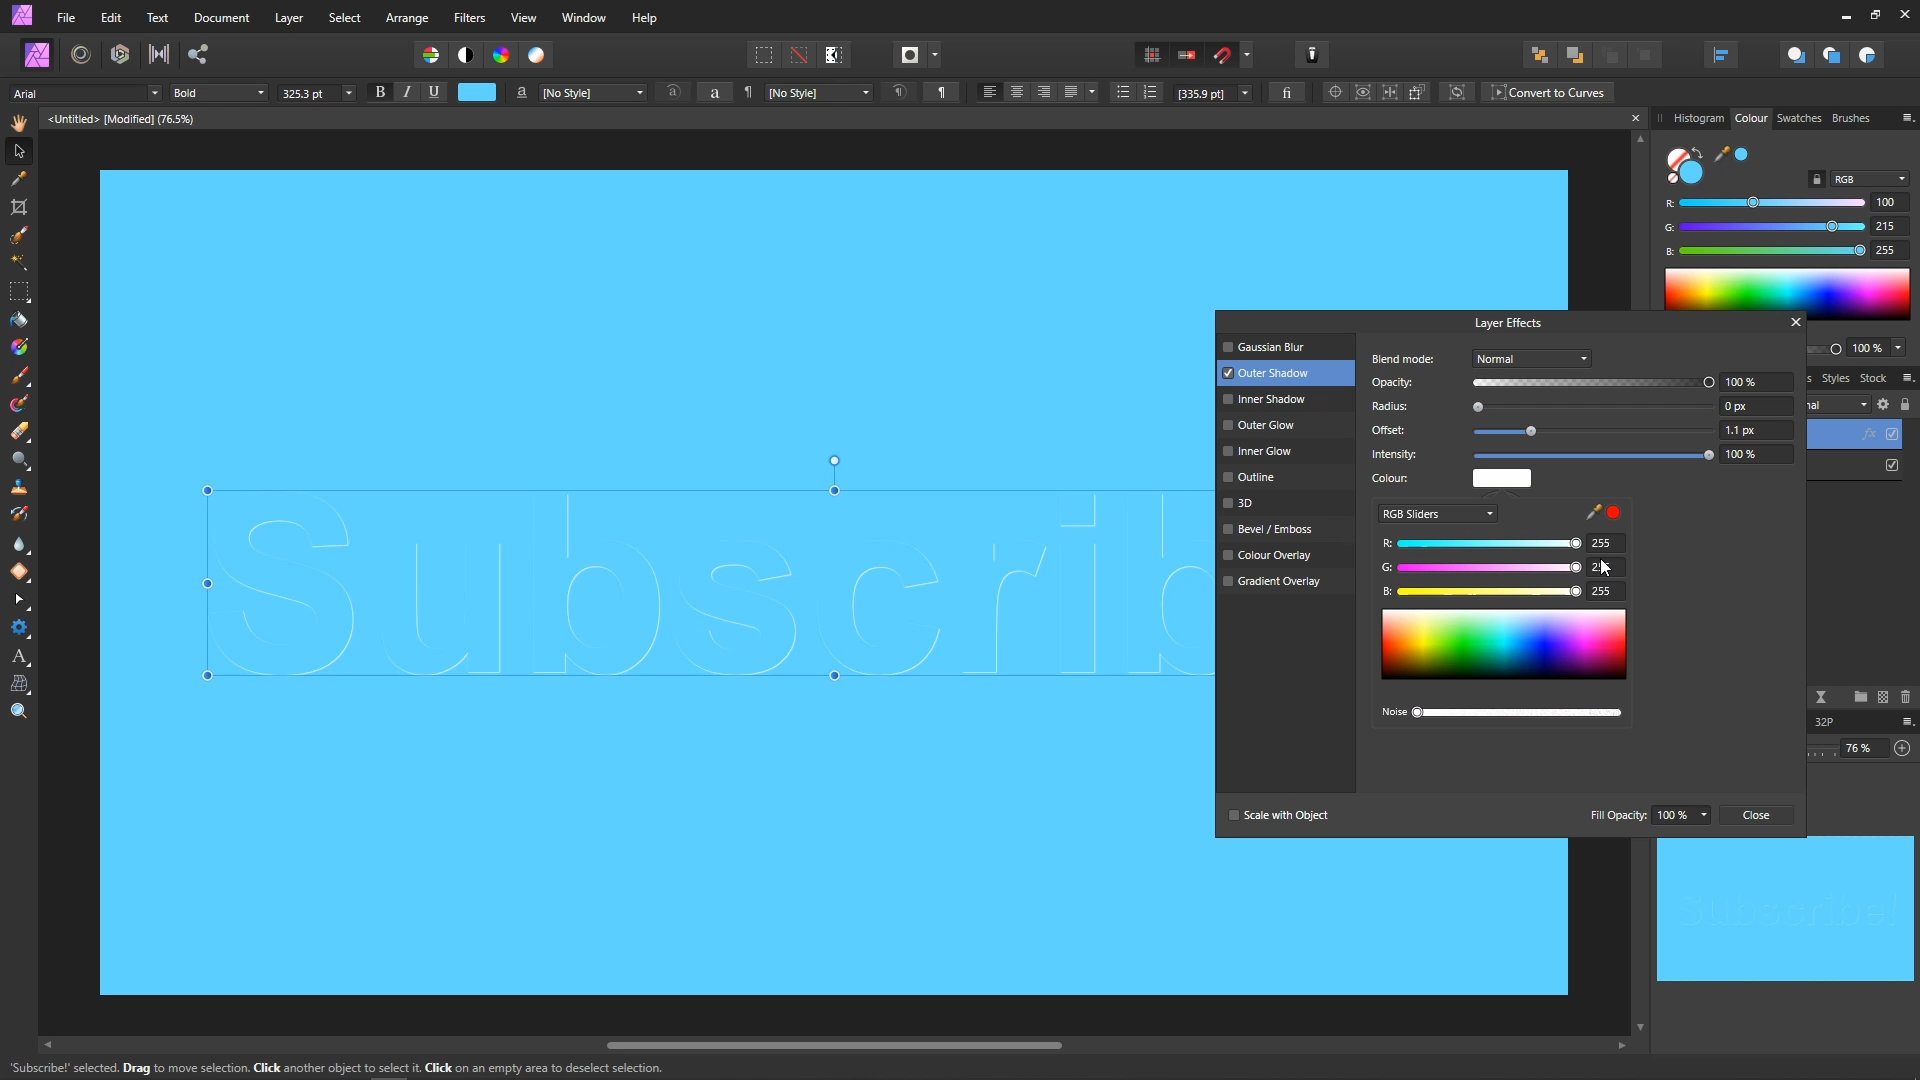
Choose the Outer Shadow option and make sure it is ticked. Then, set the settings as follows:
- Set Blend Mode to Normal
- Set Opacity to 100%
- Set Offset to 1.1px
- Set Intensity to 100%
- Click the colour icon and set all to 255
- Leave the remaining settings as they are
These settings will give a nice white edge to the text.
Choose the Inner Shadow option and make sure it is ticked. Set the settings as follows:
- Set Opacity to 38%
- Set Radius to 21.5px
- Set Offset to 28.4px
- The remaining settings can be left as they are
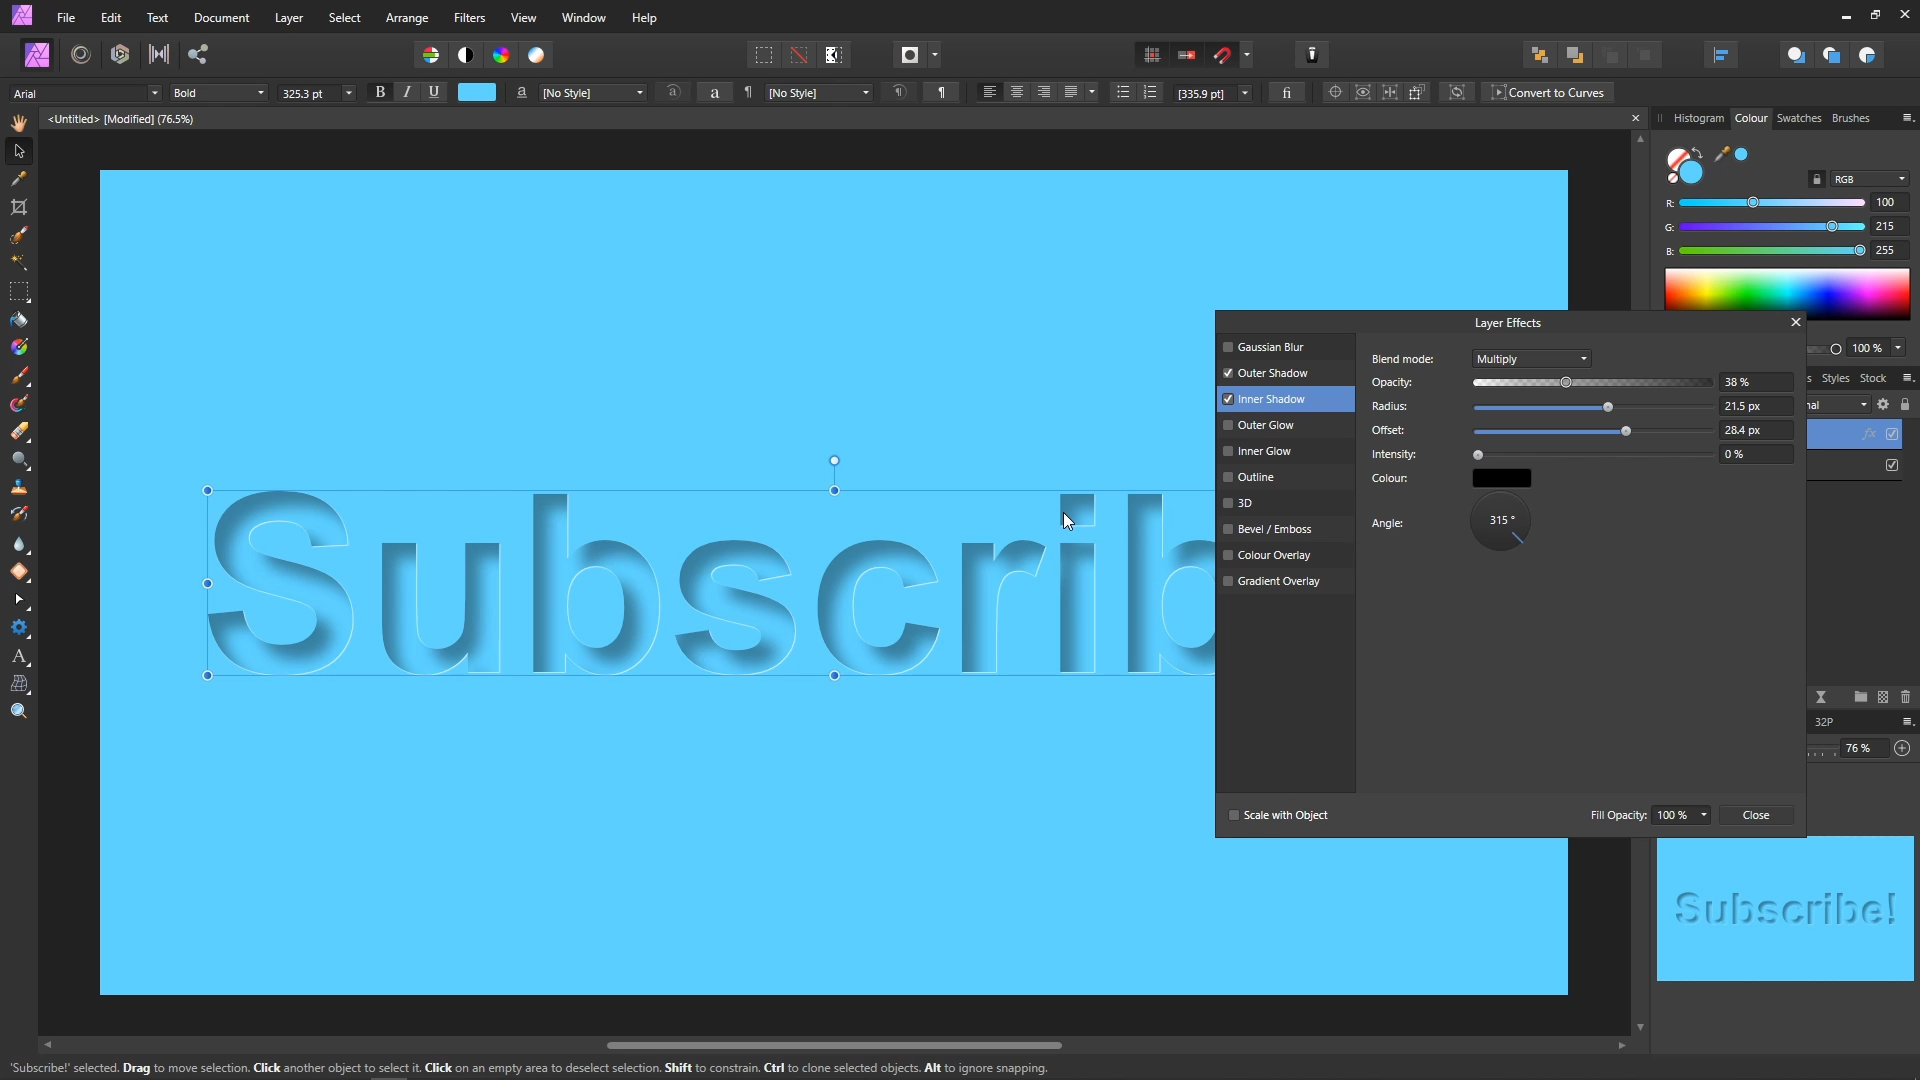
As you can see, we now have our cutout with the shadow on the backdrop, and it has the appearance of light coming from the top-left.
Next, we're going to create a slight raising effect on the outside, to give it a bit more of a paper-like appearance.
On the Layer Effects Panel, select Bevel / Emboss, and make sure it's ticked.
- Set Type to Outer
- Set Radius tp 57.7px
At this point, the image should look something like the following:
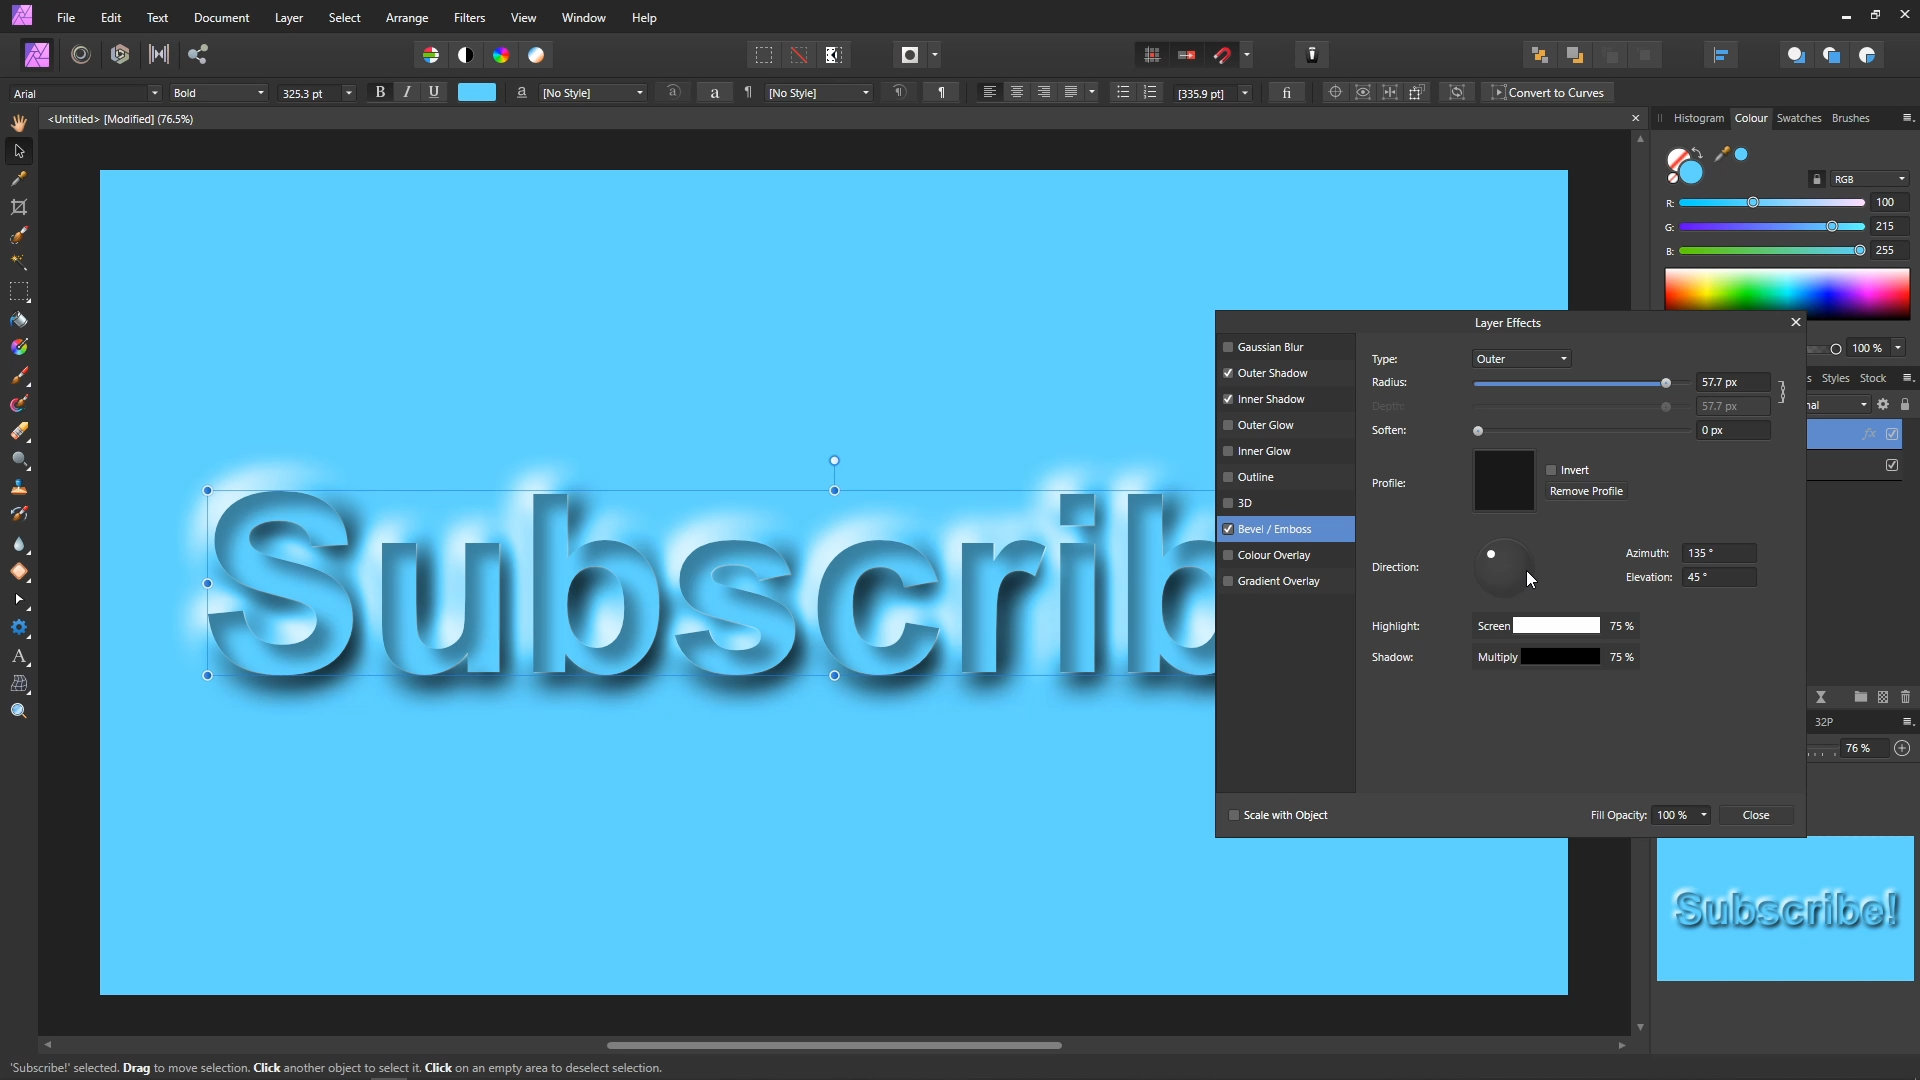
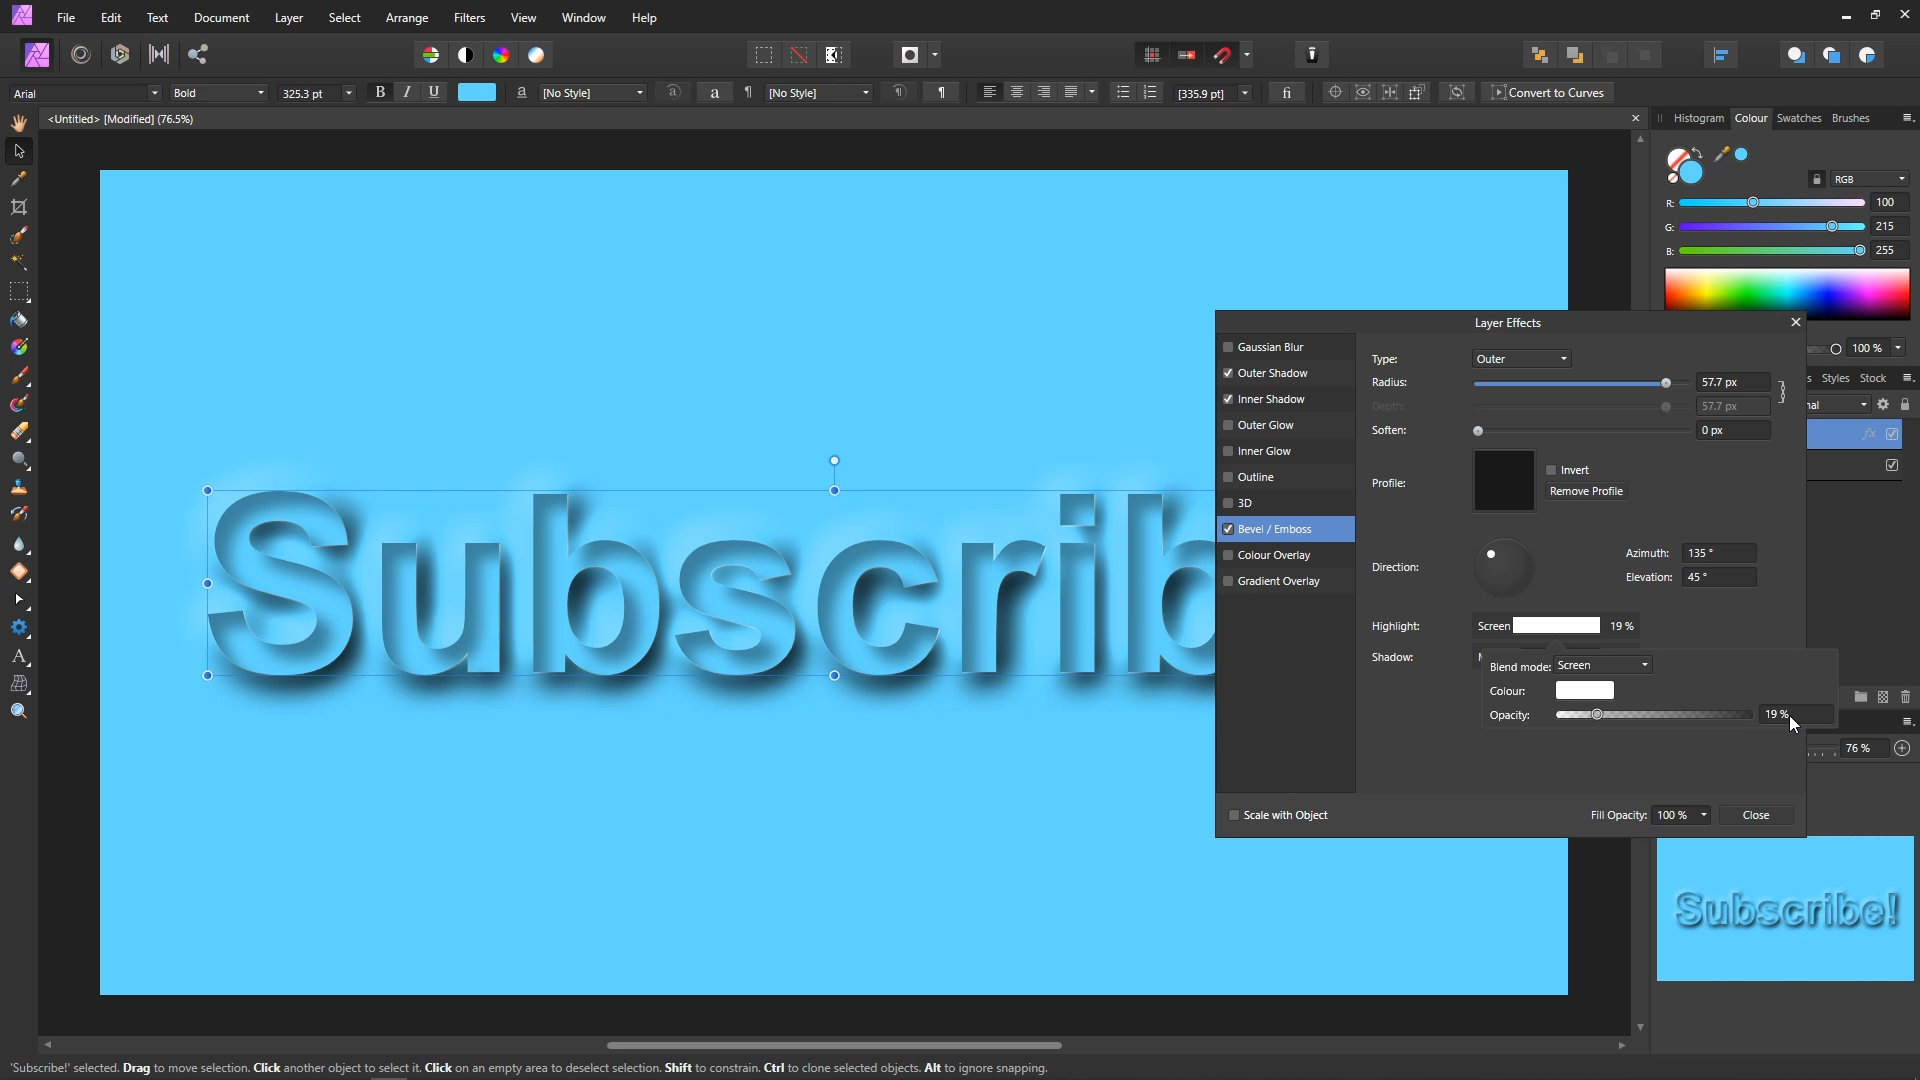
We're now going to use the Highlights and Shadows on this panel to soften the effect. Click on the Highlights colour box, and on the little dialog set the Opacity to 19%. Then click just outside the little dialog to get rid of it.
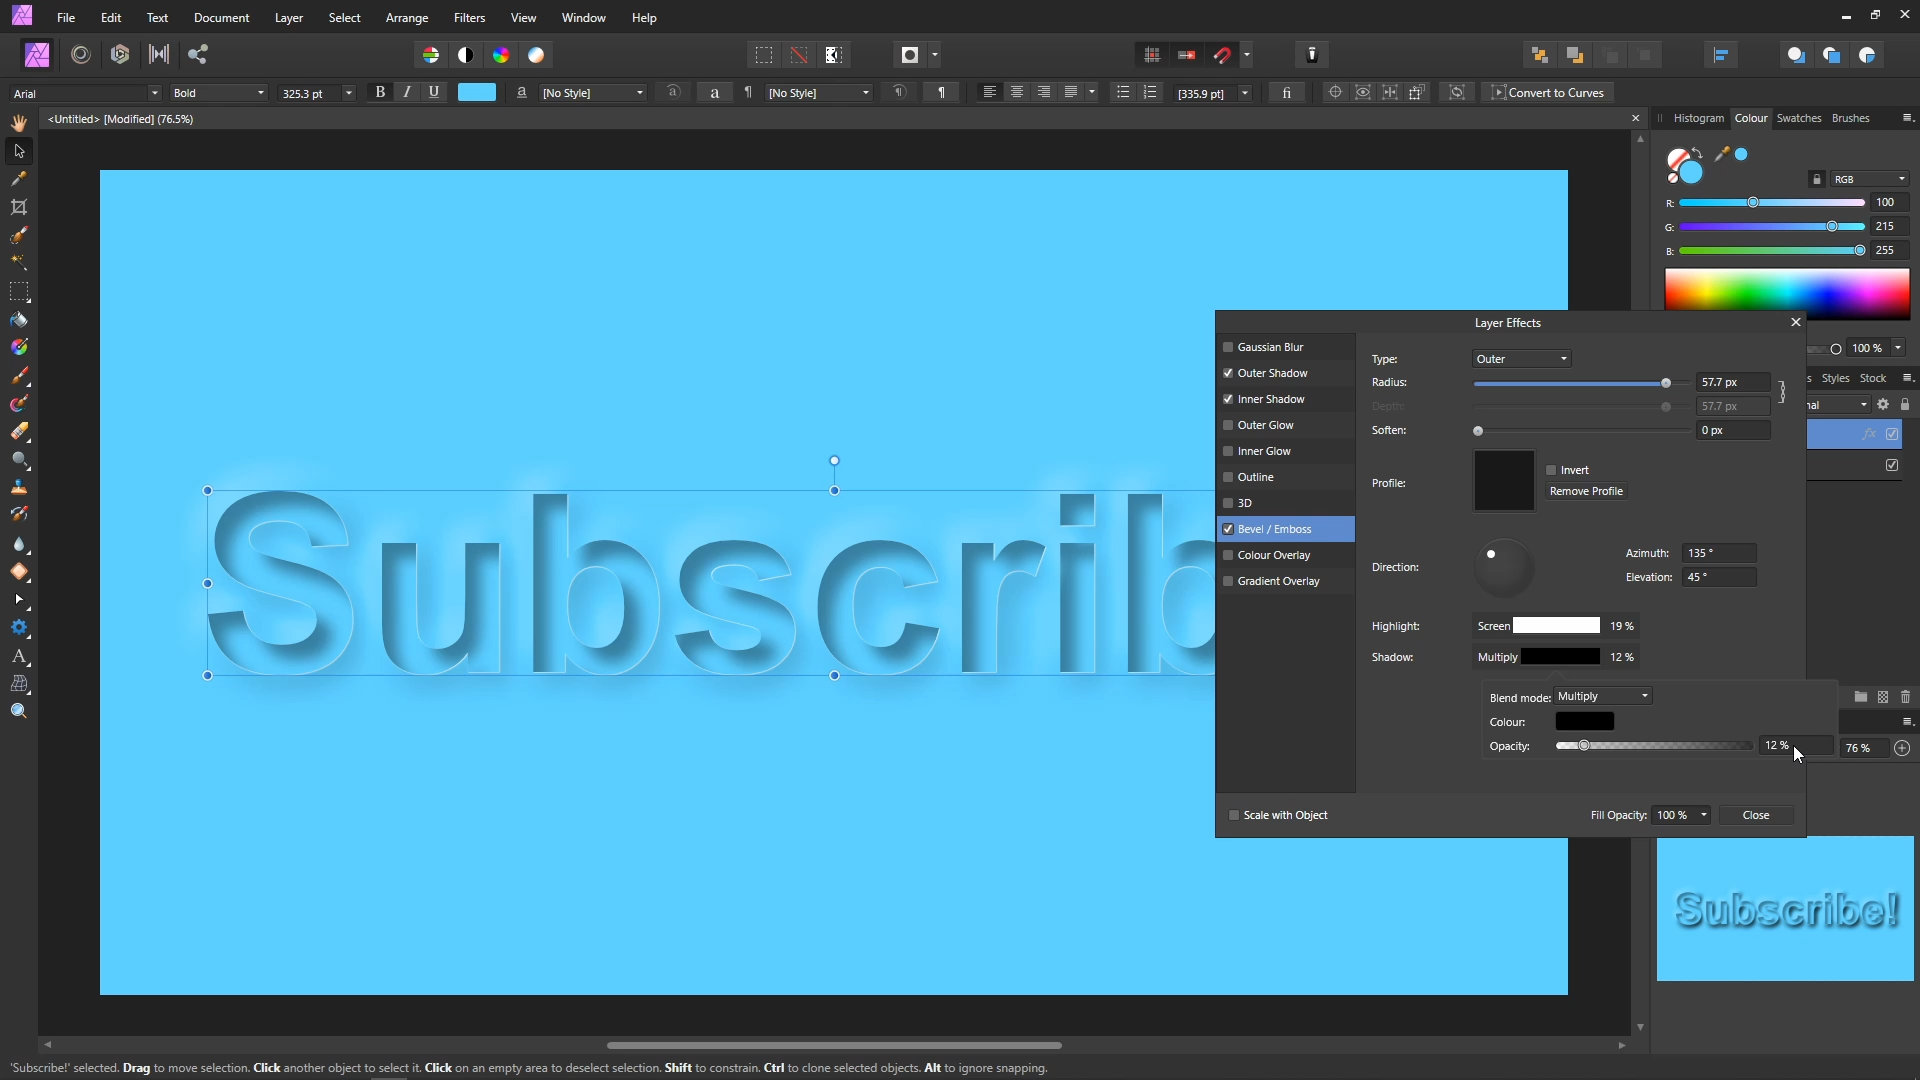
Click on the Shadow colour box, and set the Opacity to 12%. Then click just outside the dialog to get rid of it.
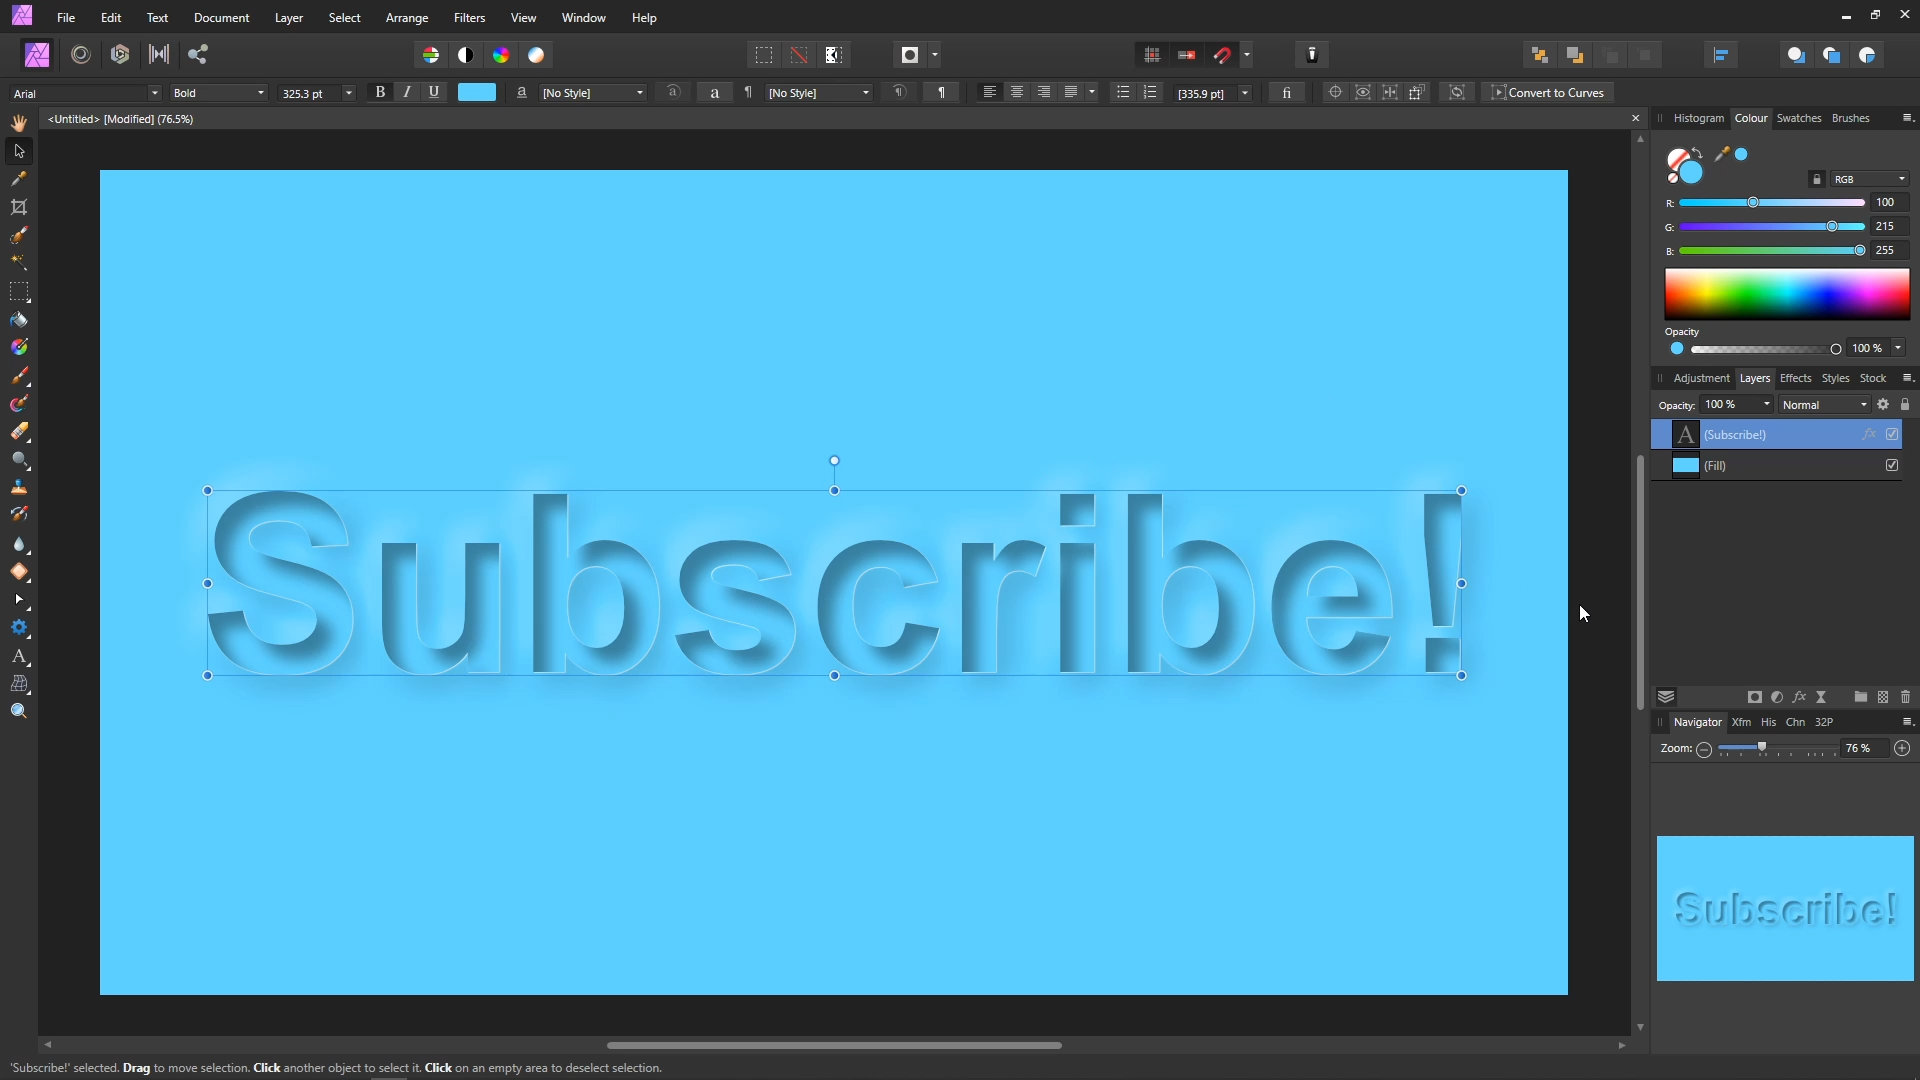
The effect is almost done at this stage. Here's a little preview of what it should look like now.
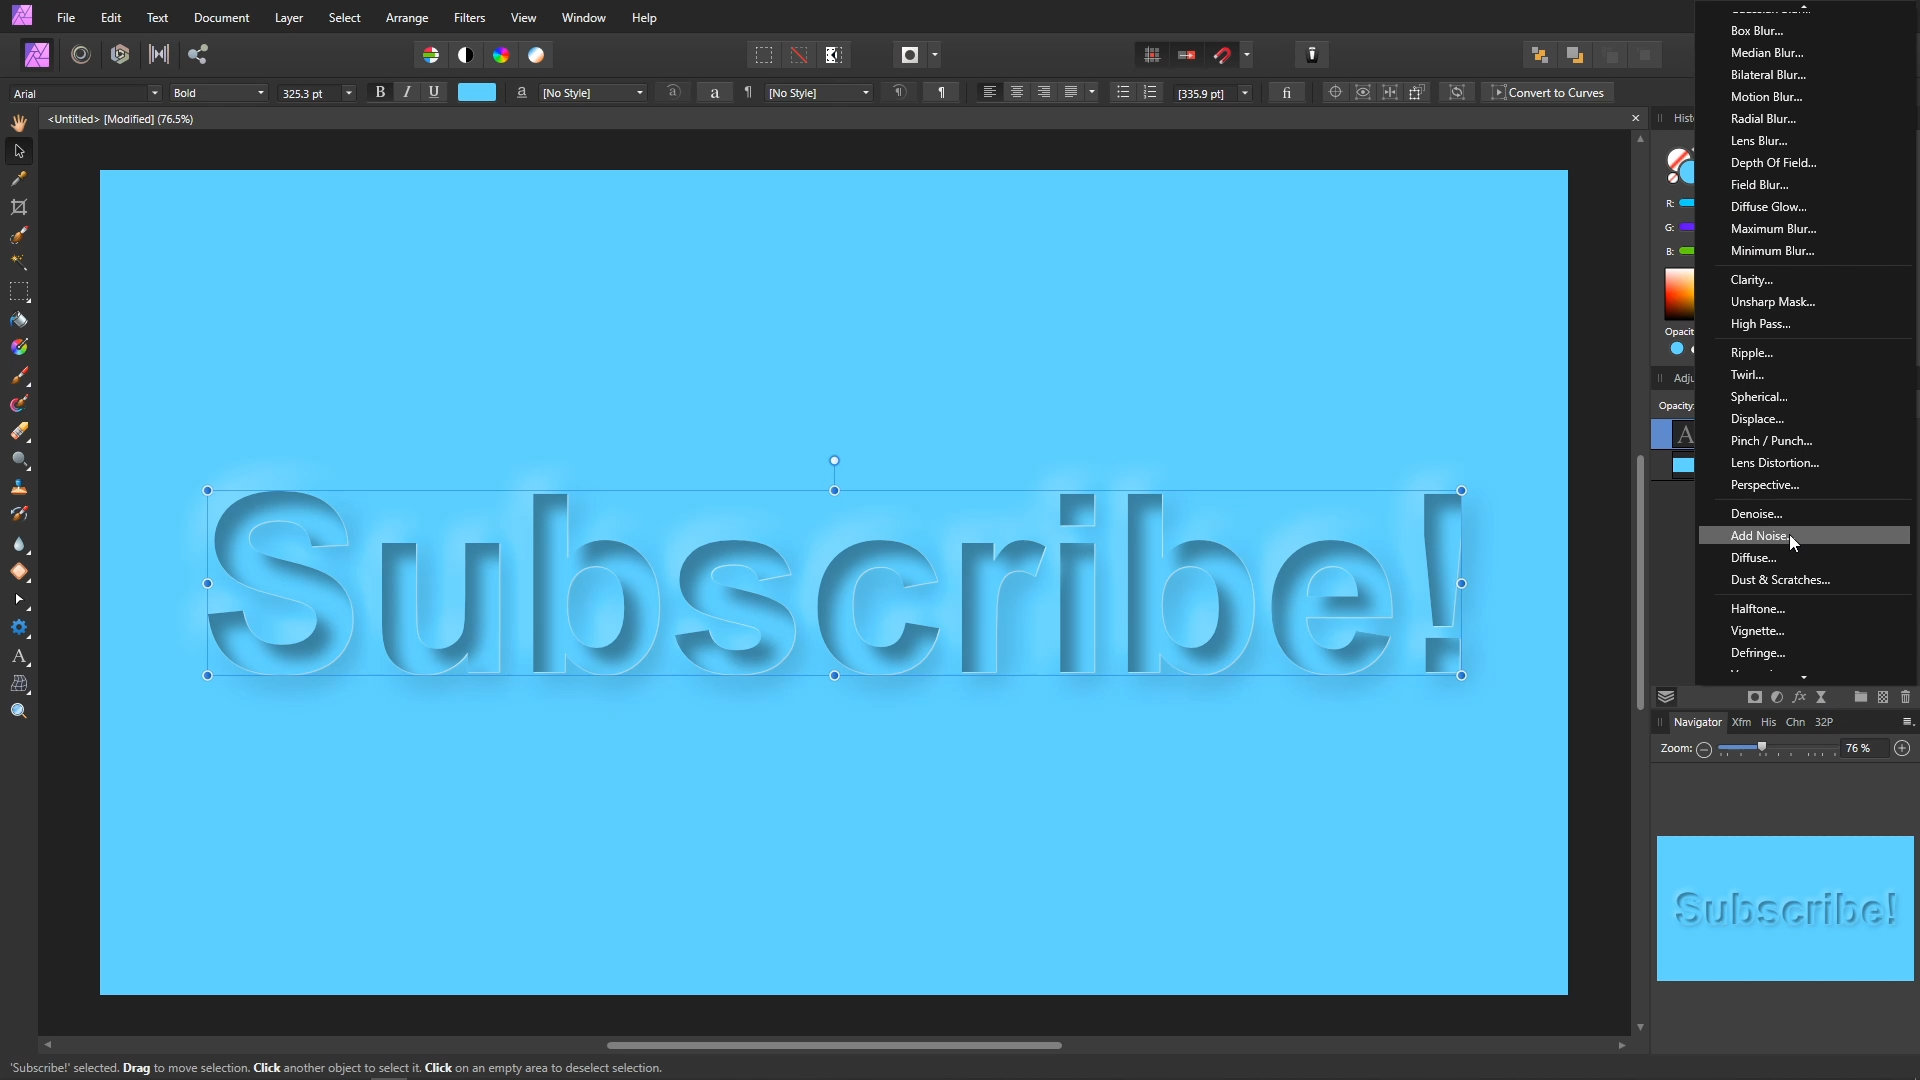
Next, we're going to add some noise to make the whole image look a bit more like paper. Click on the Live Filters icon, and select Add Noise.
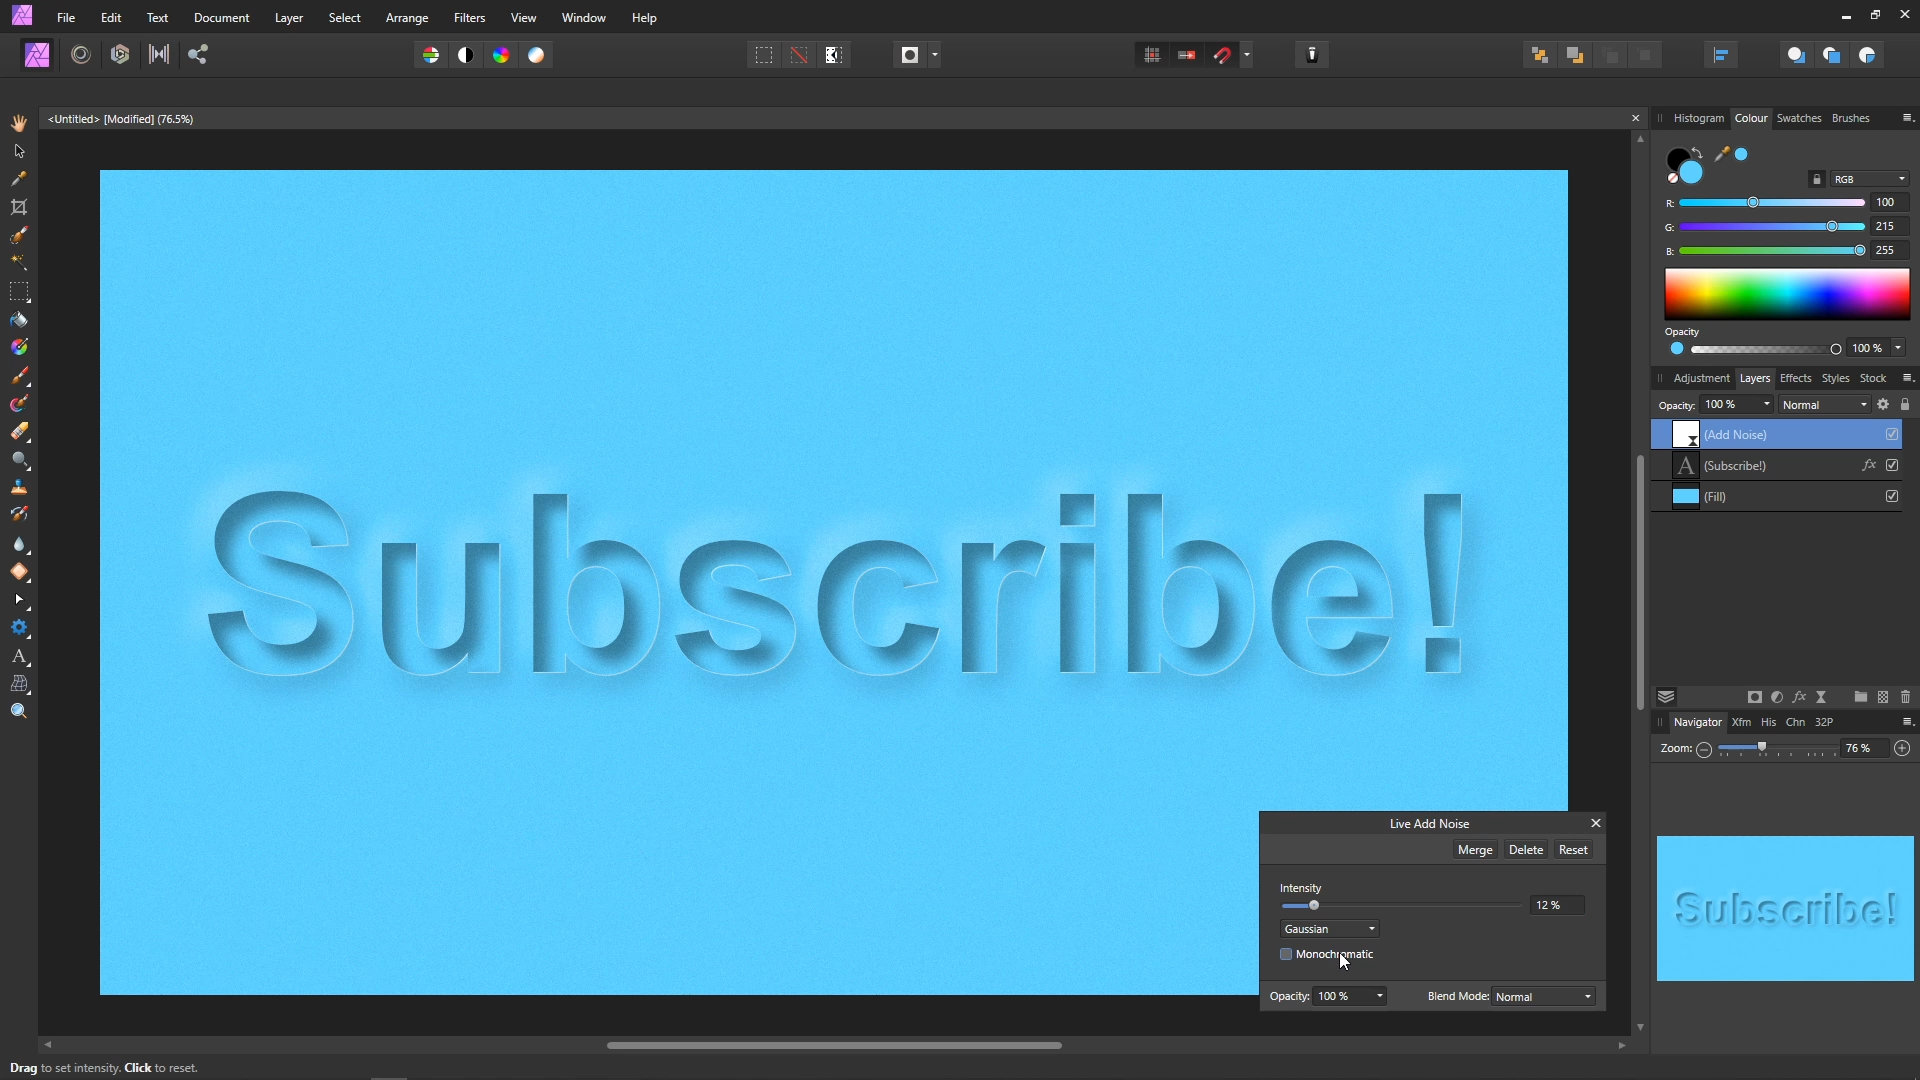
The Live Add Noise panel will appear.
- Set Intensity to 12
- Set the dropdown menu to Gaussian
- Untick Monochromatic
Close the Live Noise panel, and you're set!
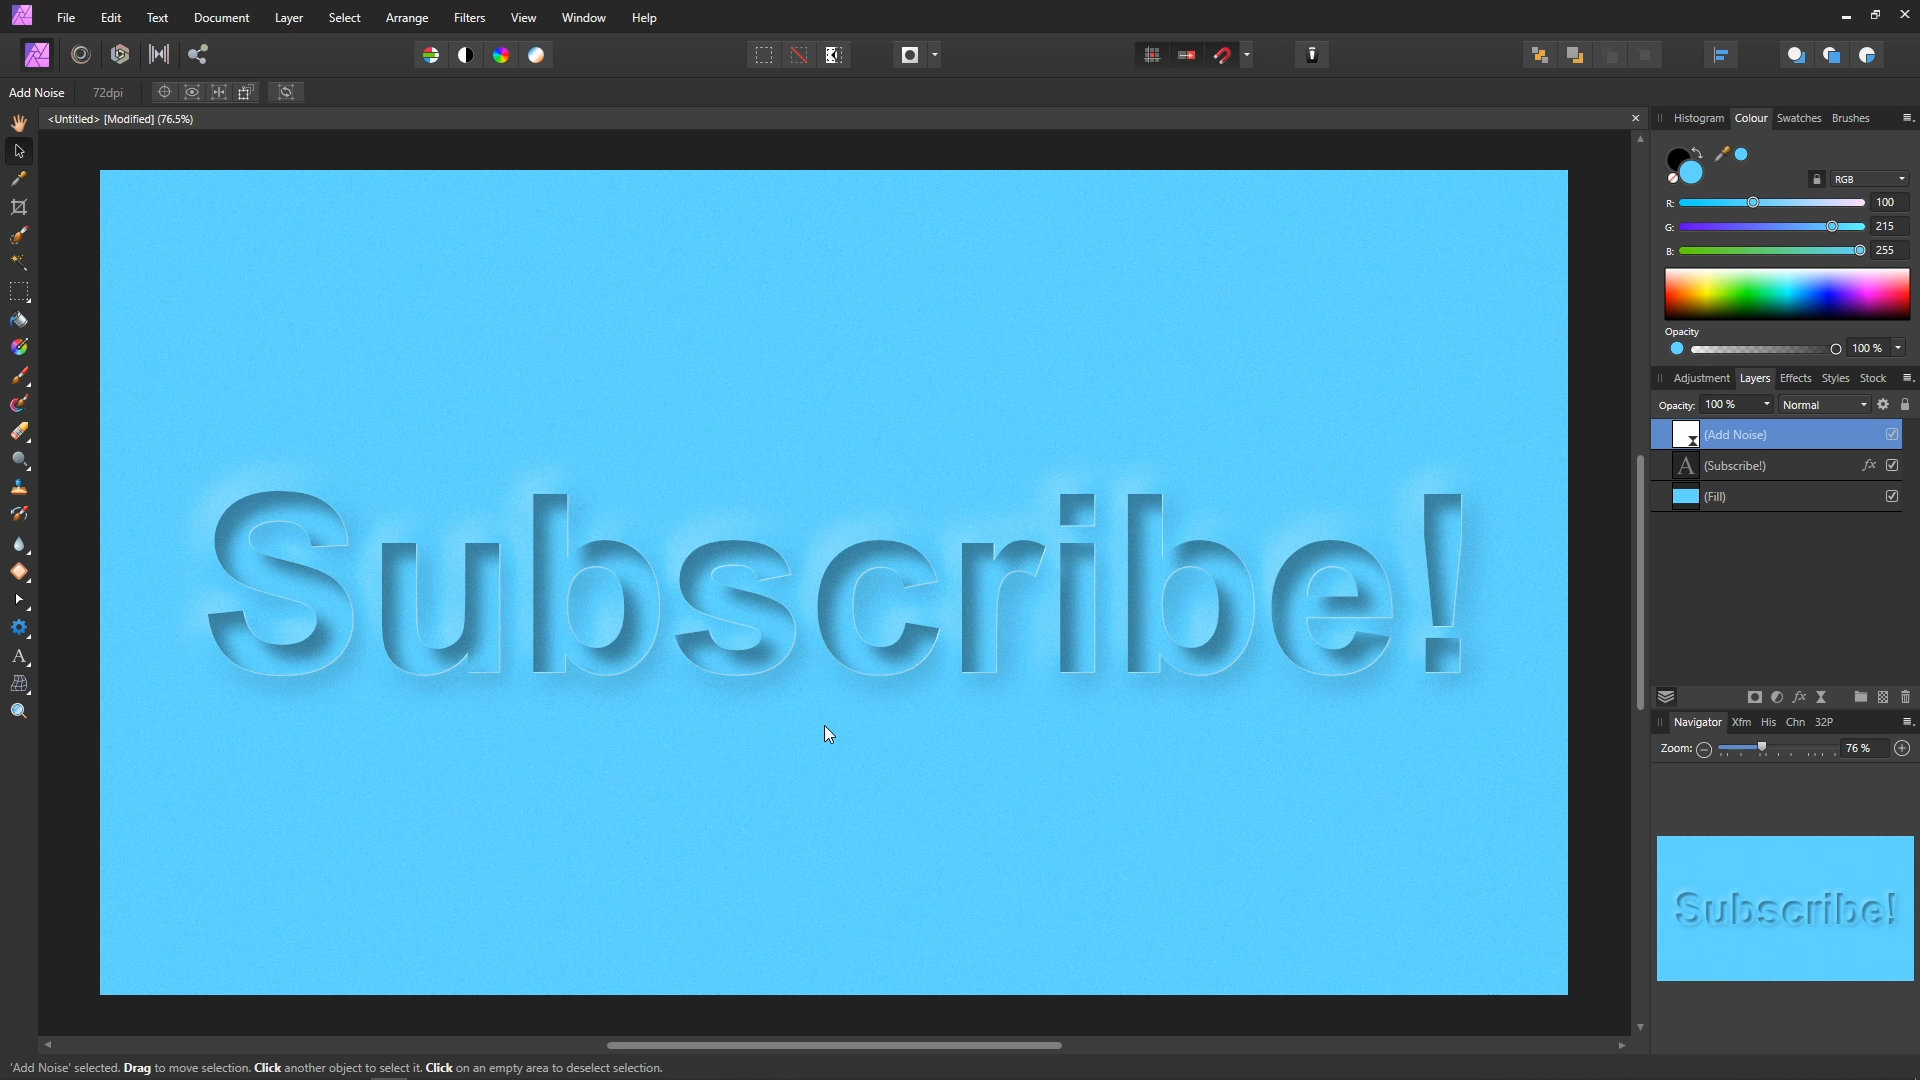
Congratulations! You have completed the Paper Cutout Effect tutorial!