Quick Dodge and Burn Trick for Affinity Photo
Part 2
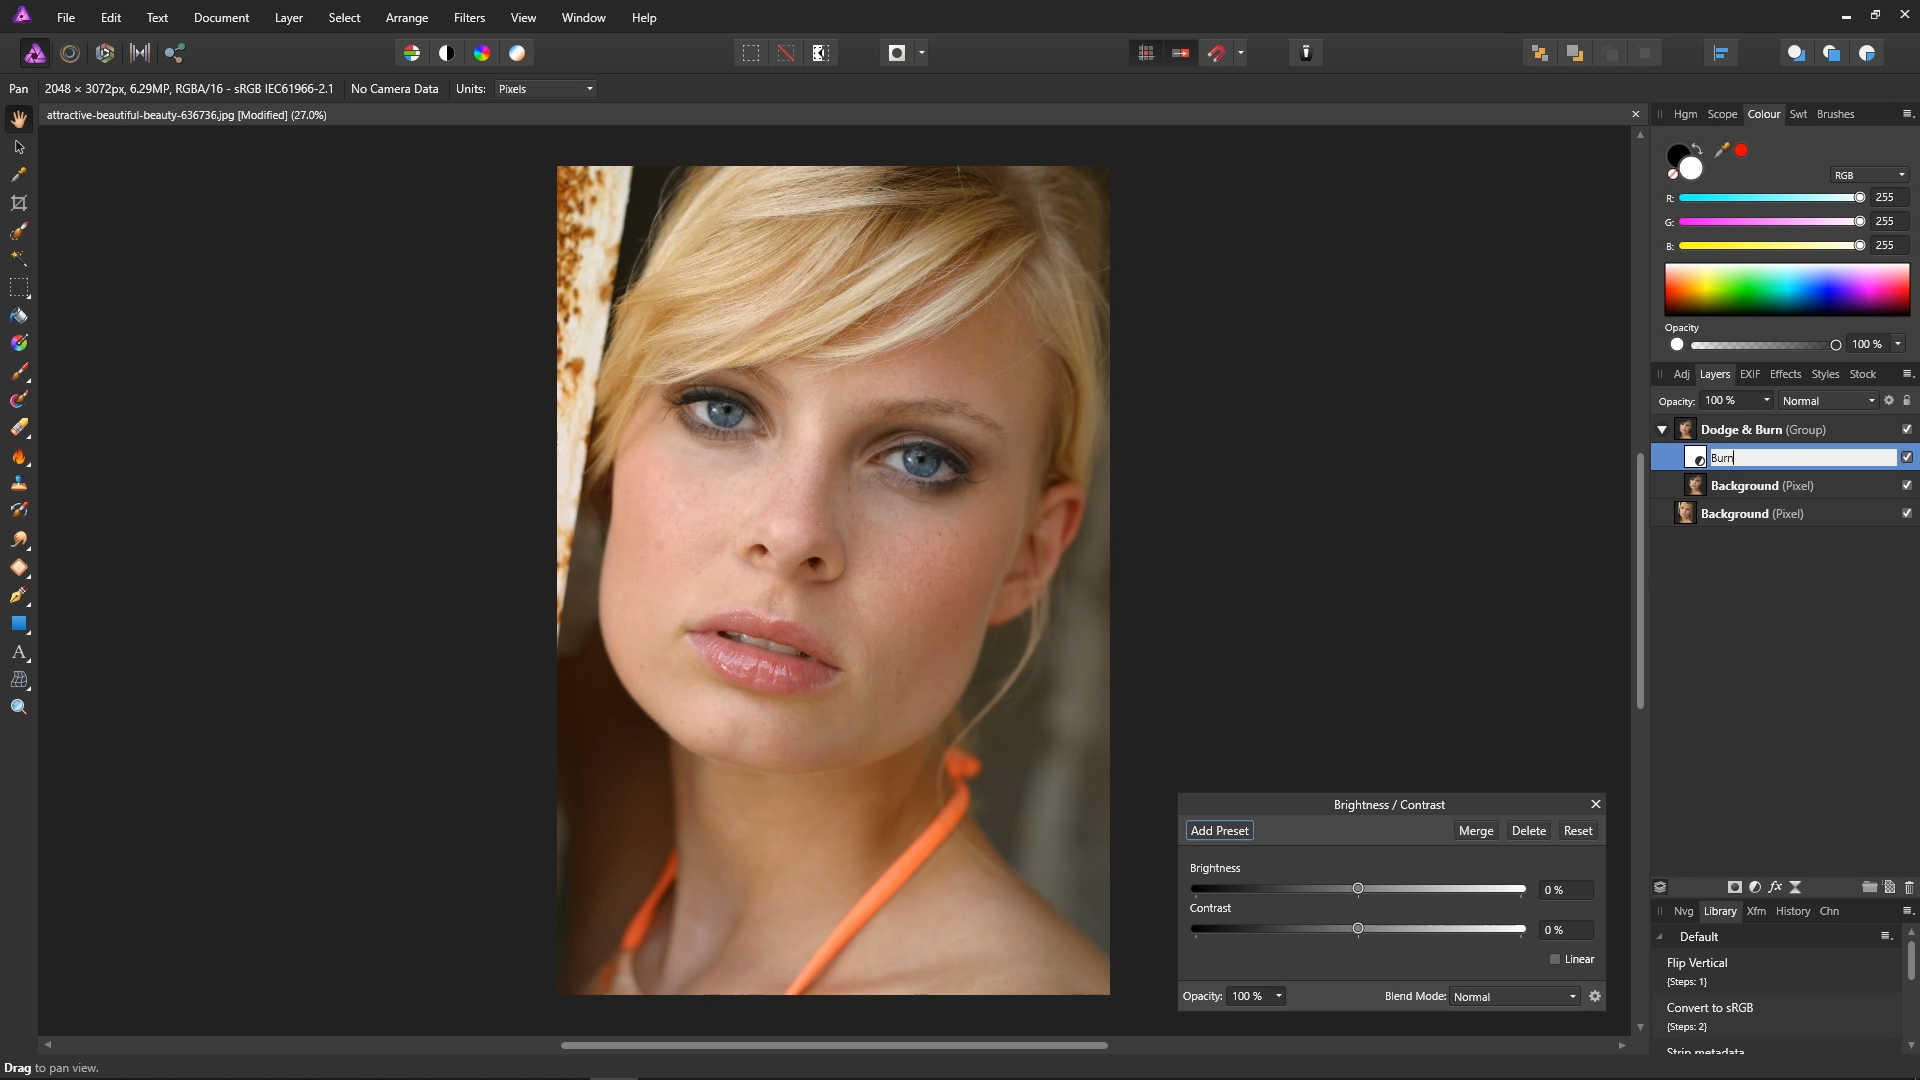
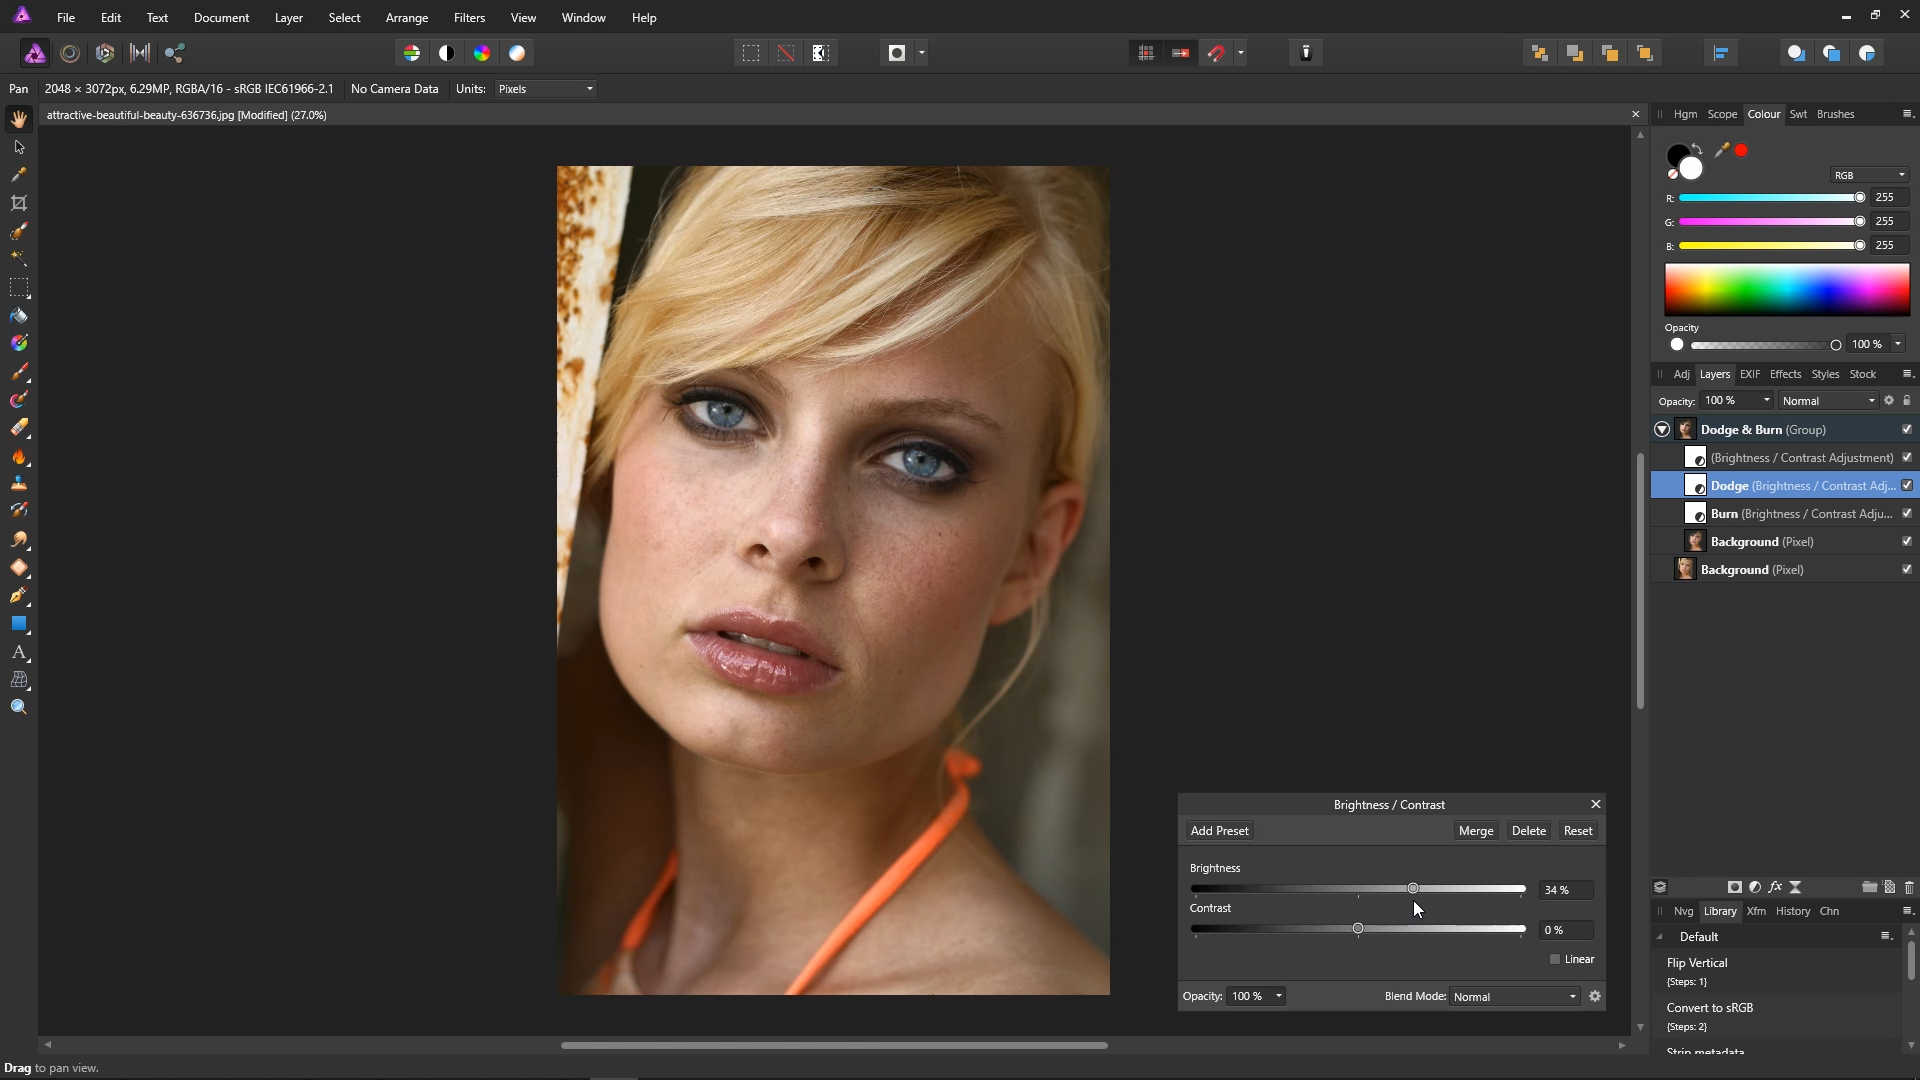
The Brightness and Contrast panel should now be up. Before we alter it, rename the layer "Burn".
Using the slider, bring the brightness down until you think the burn is as dark as it needs to be. In the example photo, we've gone with a value of -34%.

Click the Blend Ranges cog at the bottom right of the Brightness / Contrast panel, and the Blend Options panel will appear.

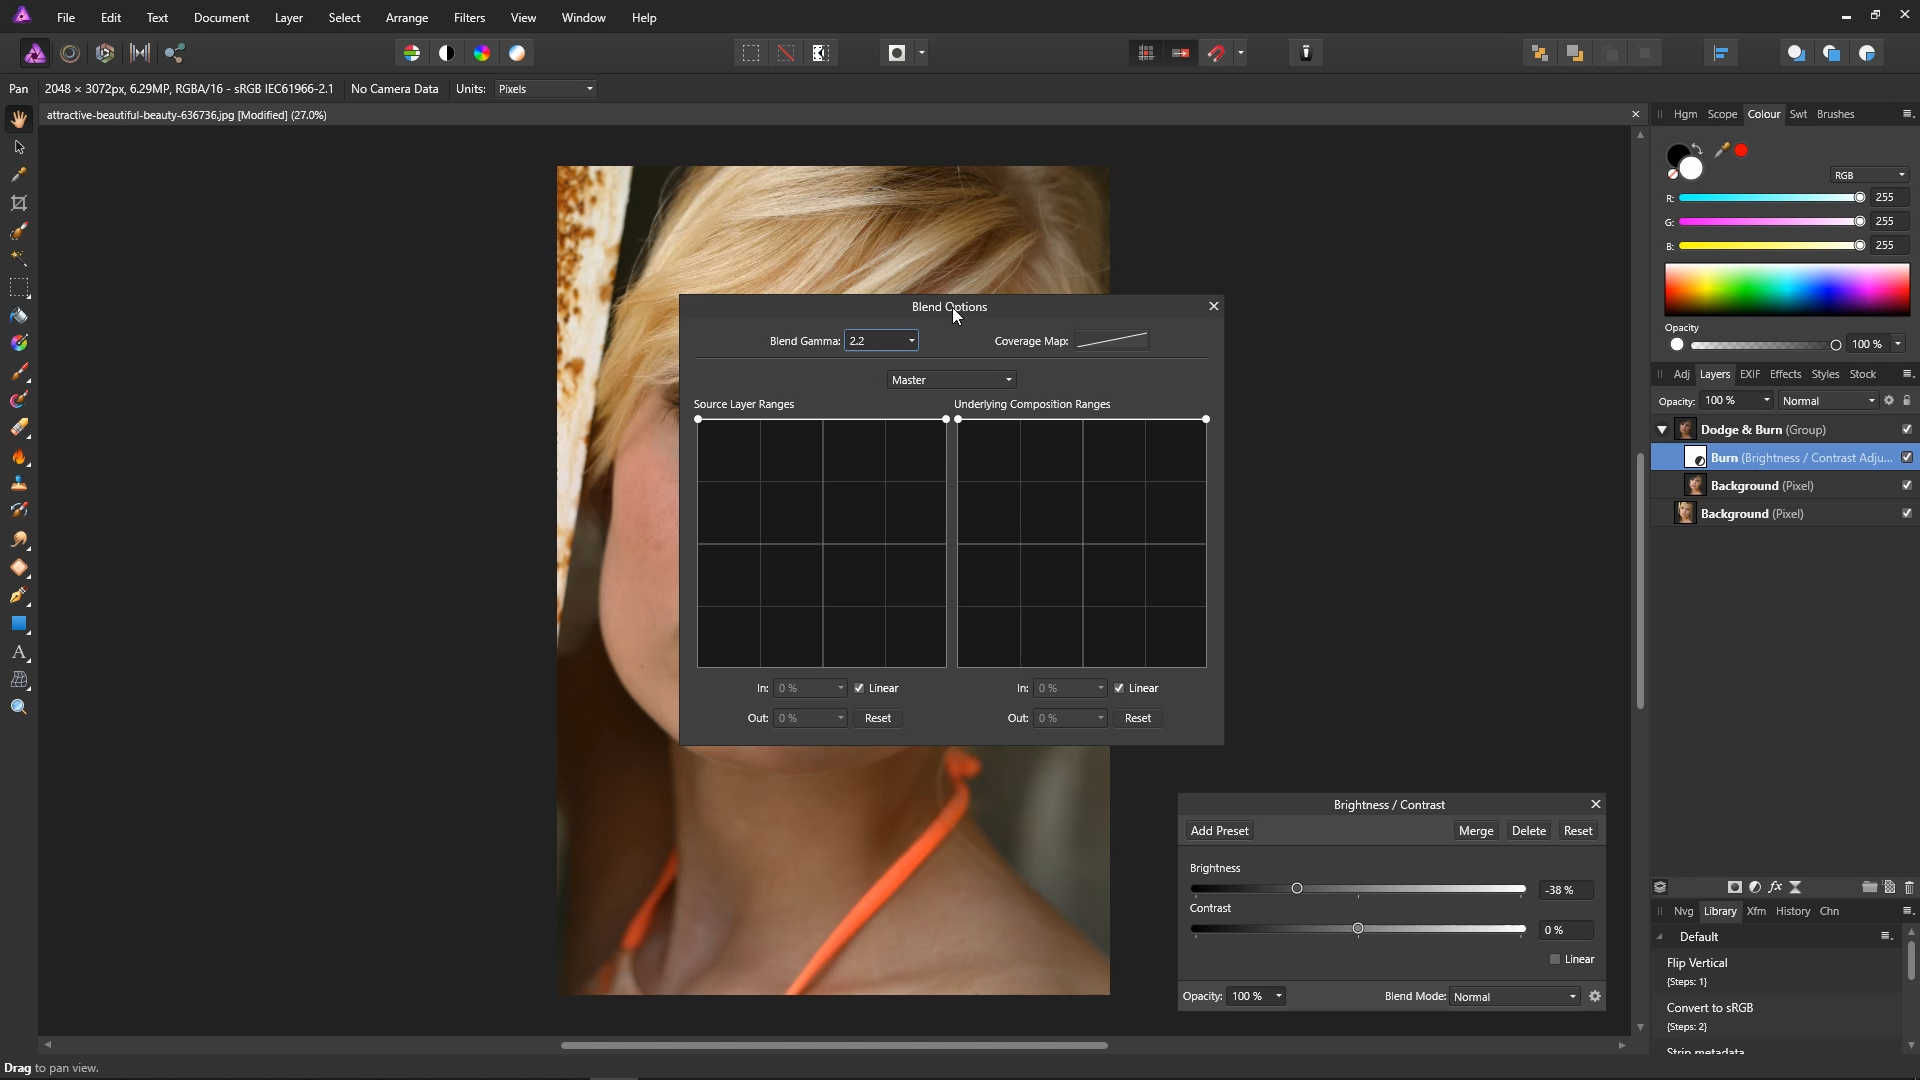
On the Source Layer Ranges graph, bring the second point to the bottom left. Then, slowly drag it rightward and you will see the darker areas of the photo getting darker. Keep dragging rightward until the effect just starts effecting the lighter areas, and then stop. In the example photo, the final In value is 73.1%.

Bring the left point across a little to block in a little bit more of the dark areas. In the example photo, we've gone with 17.8%.

That's the burn layer done, so close the Blend Options panel, and close the Brightness & Contrast panel.
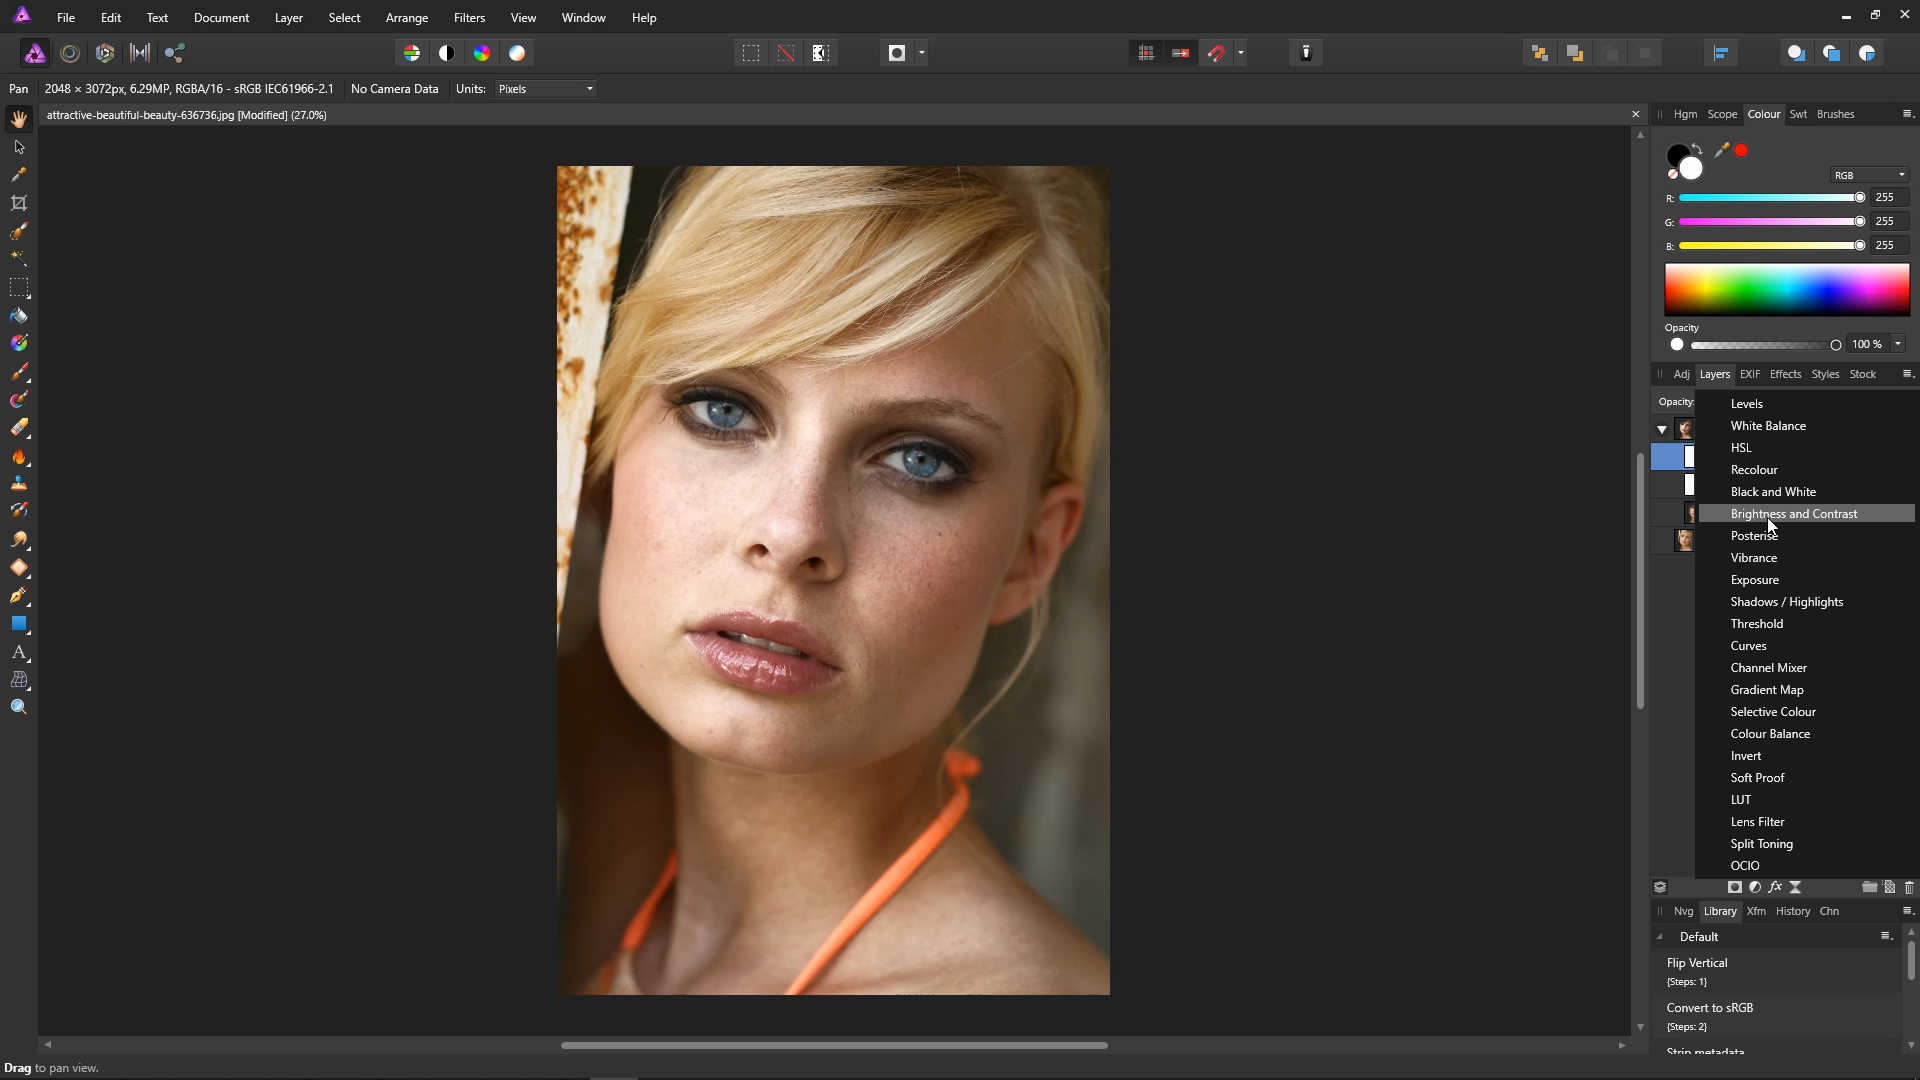
We're now going to create the dodge layer, so once again click the Adjustments Icon, and then select Brightness and Contrast.
![]()

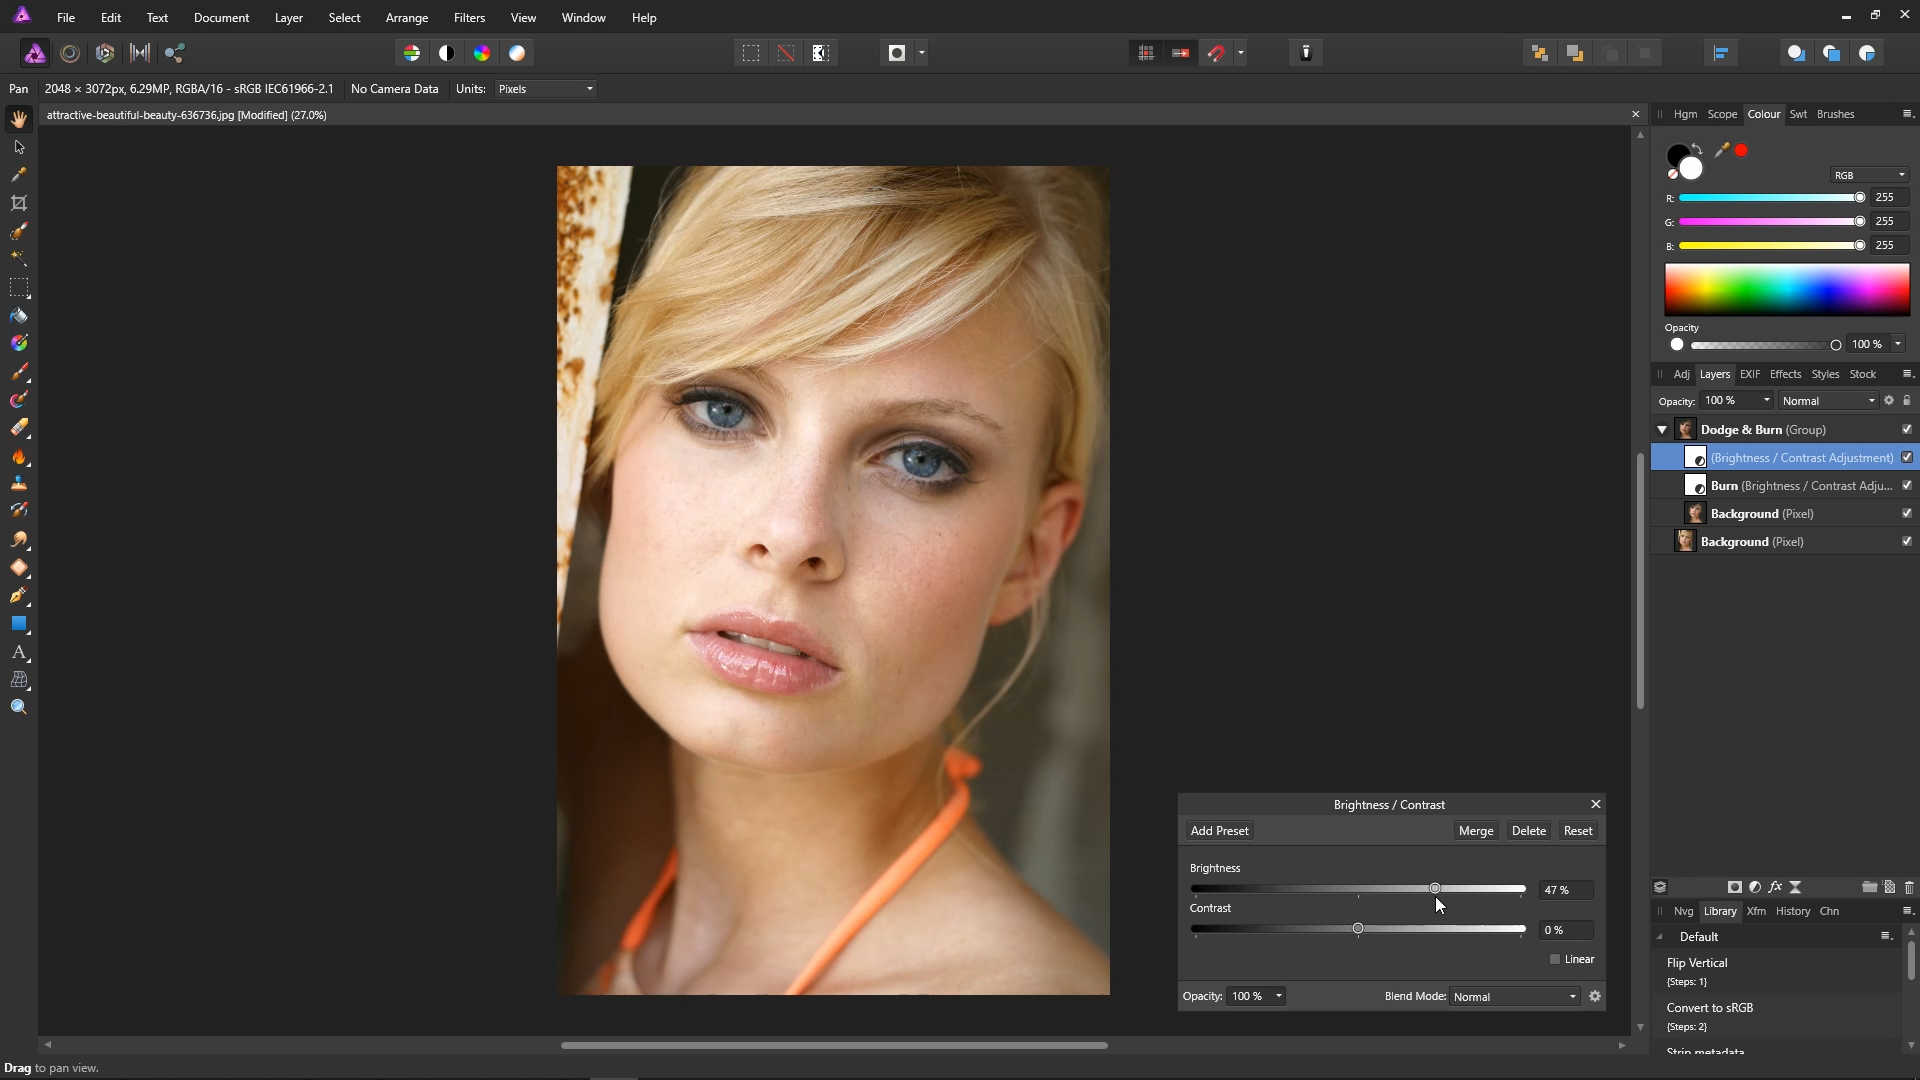
Using the slider, bring the brightness up to your preferred amount. In the example photo, we've gone with a brightness of 47%.
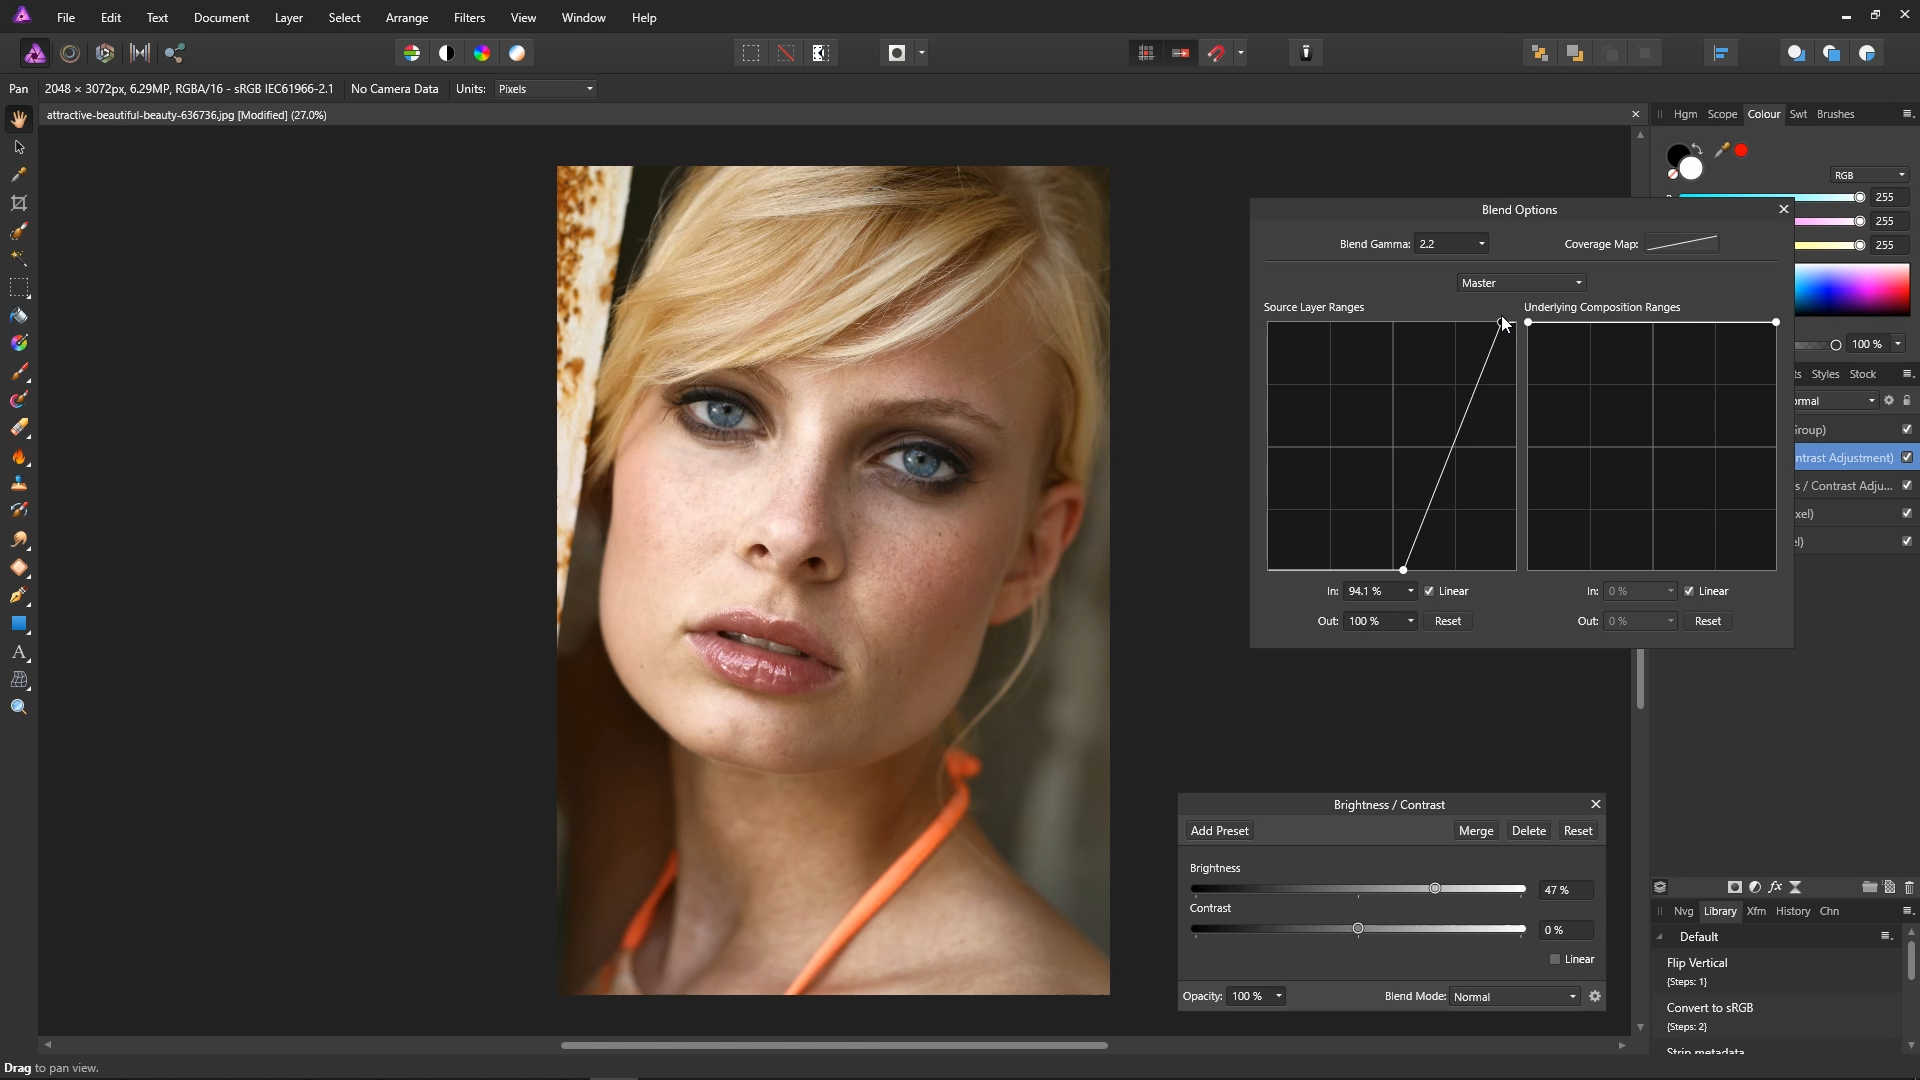
Open up the Blend Options panel using the little cog on the bottom right of the Brightness / Contrast panel.
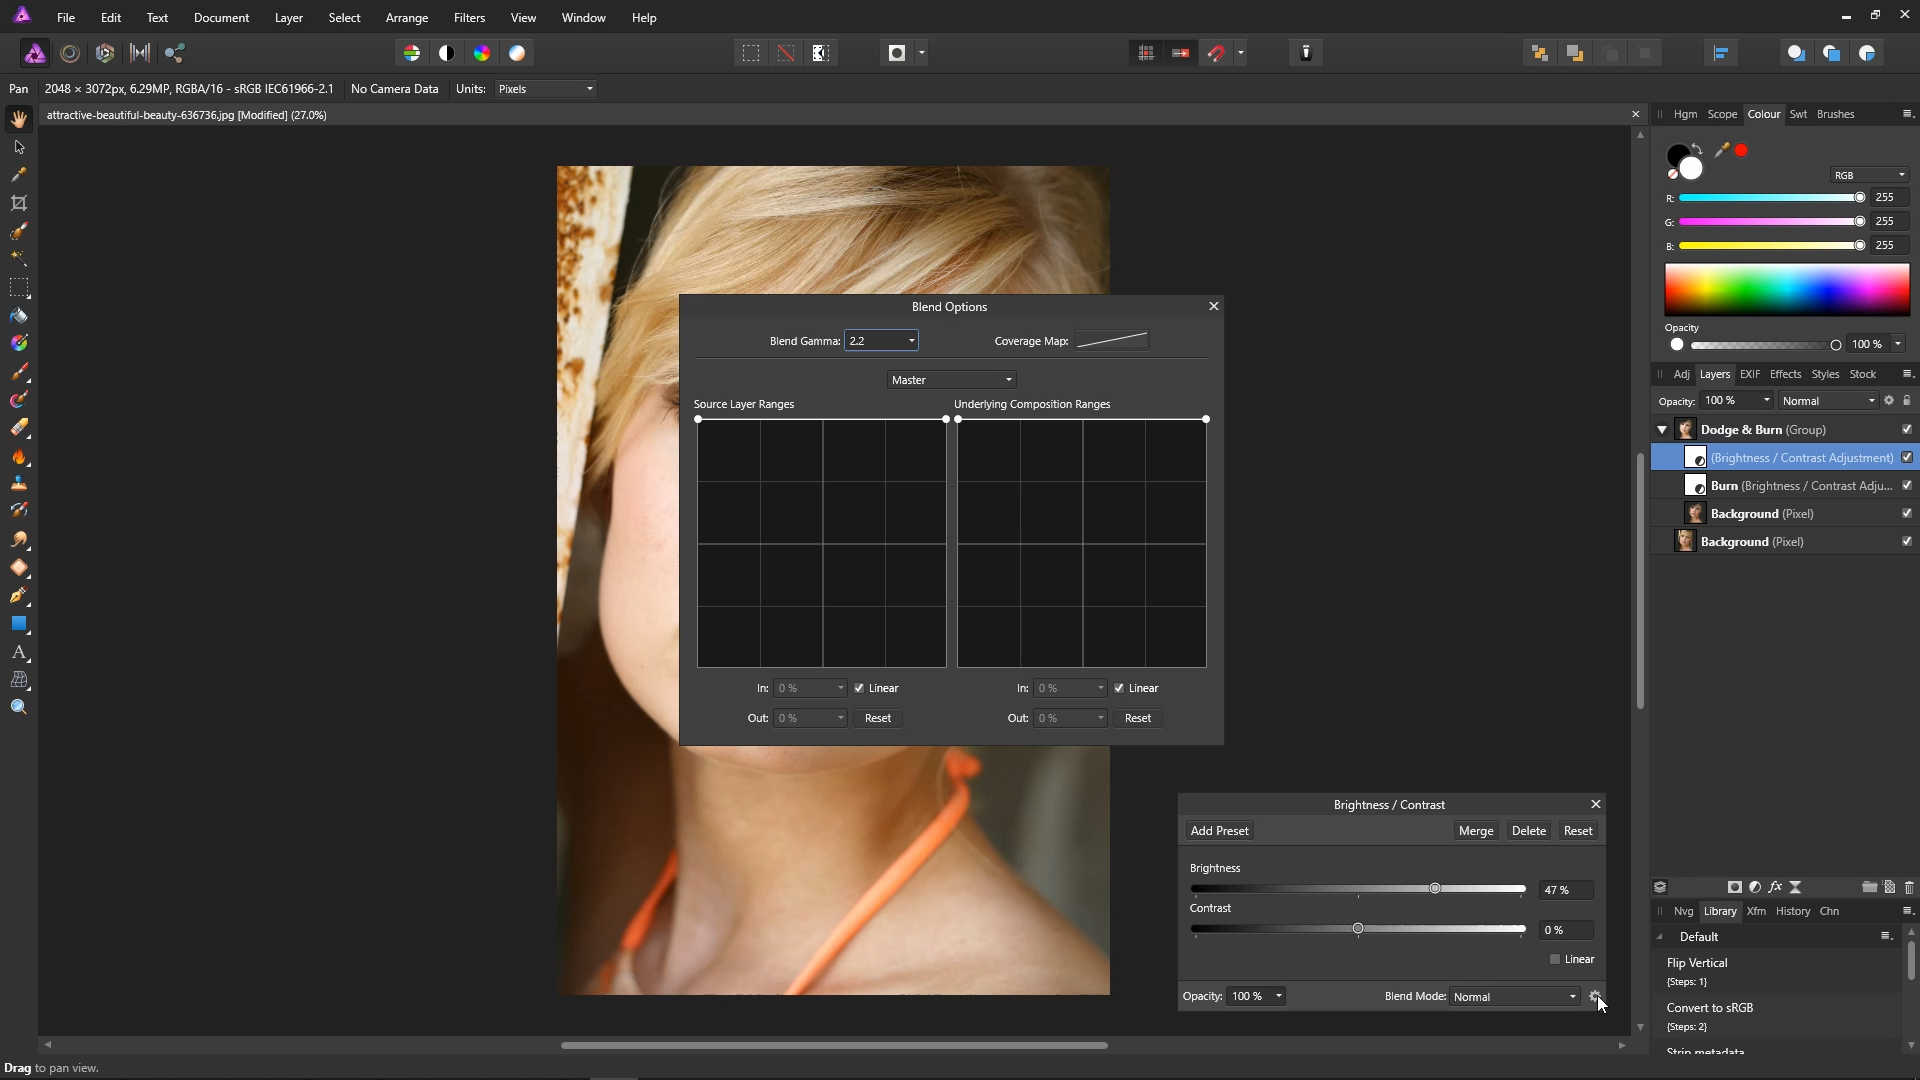
Drag the first point all the way to the bottom right, and then slowly bring it to the left until a little light comes through in the darker areas. In the example photo, we've gone with an In value of 54.5%.

Drag the second point in a little, to slightly block in the lighter areas. In the example photo, we've gone with an In value of 94.1%.
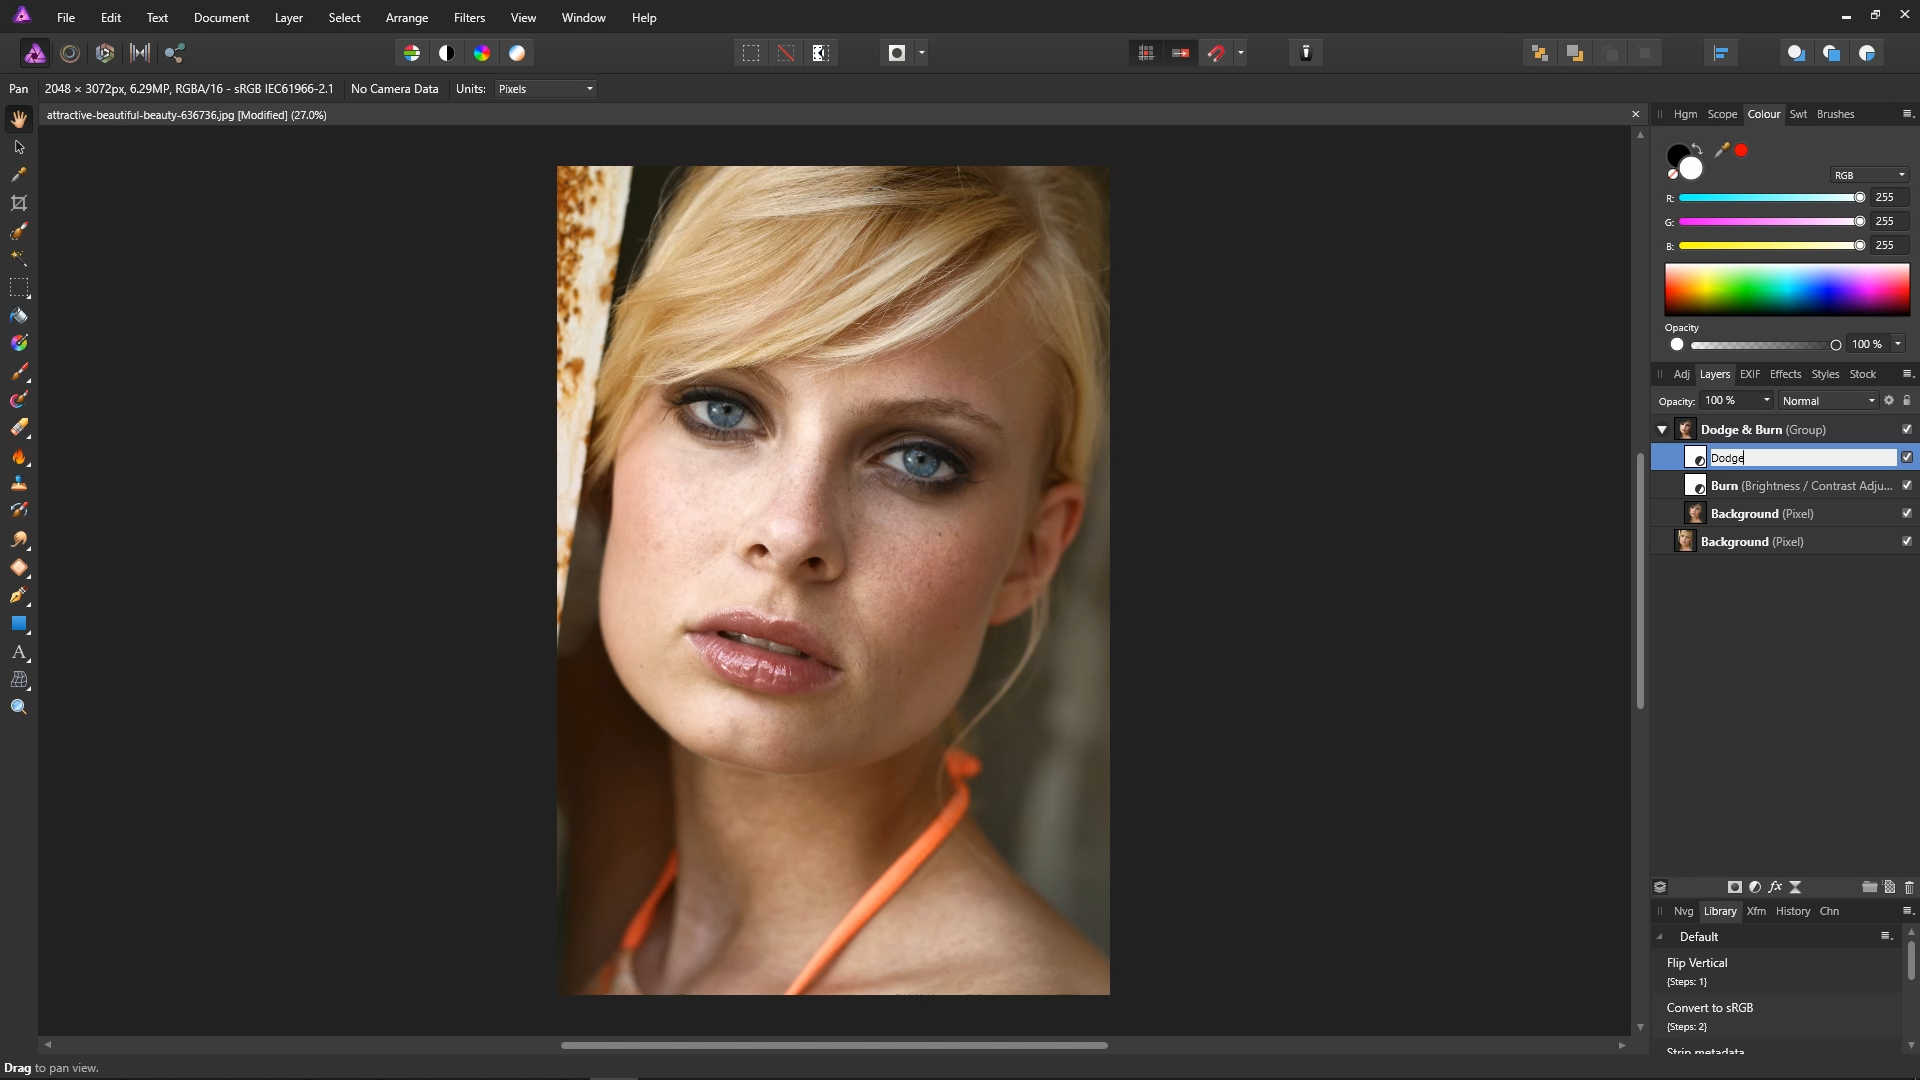
Close the Blend Options and Brightness / Contrast panels, and then rename the newly created layer, "Dodge".
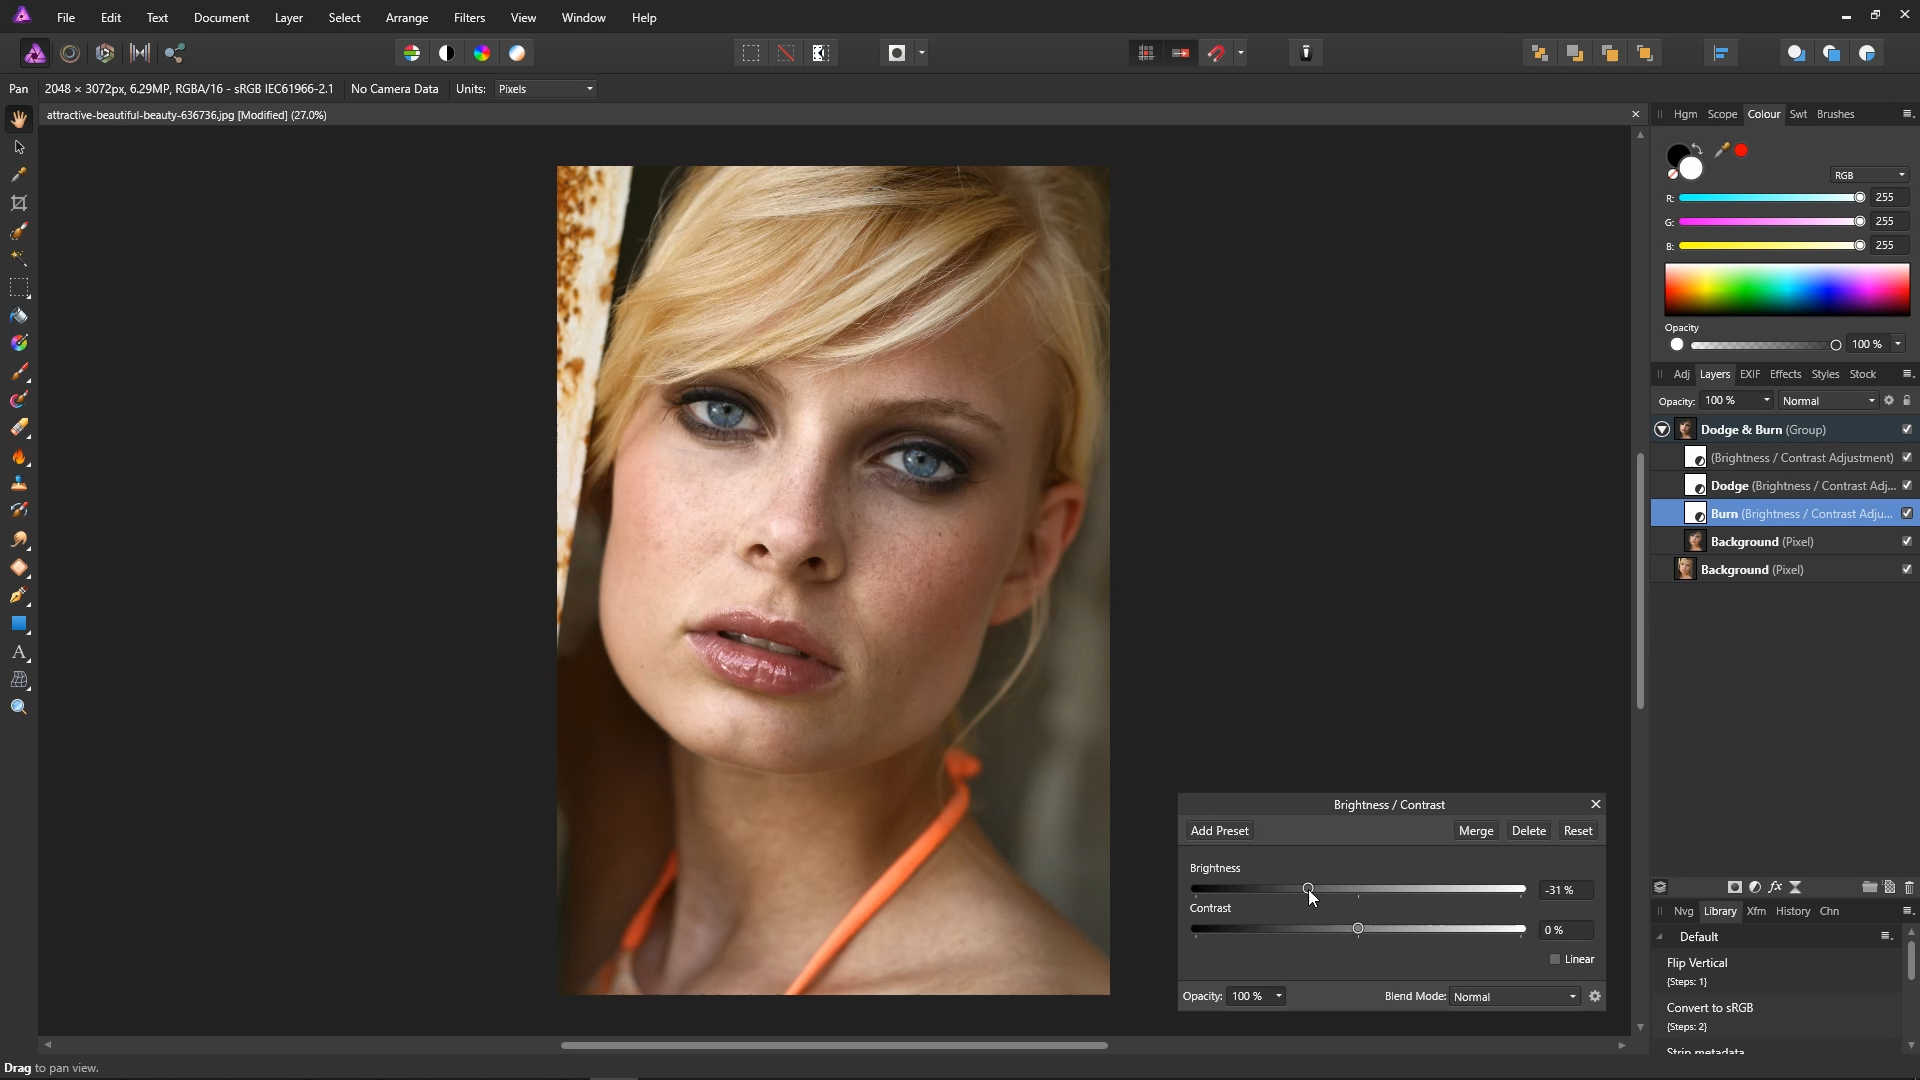
The Dodge and Burn effect is now done, but let's create a master control to control the overall brightness of the effect.
Make sure the Dodge layer is selected, and then create another Brightness and Contrast adjustment.
There's no need to rename this layer, since brightness and contrast is exactly what it's for!
Using the slider, bring down the brightness slightly, then close the Brightness / Contrast panel.

With the layers we have created, we now have complete control over the Dodge & Burn effect.
Double-click the square on the Burn layer, and bring the brightness up slightly. This will reduce the effect of the burn slightly.
Close the Brightness / Contrast panel.
Double-click the square on the Dodge layer, aand bring the brightness down slightly. This will reduce the effect of the dodge slightly.
You can further tweak the settings to your preference.
Let's take a look at our work. If you'd like to reveal the original photo, untick the Dodge & Burn group in the layers panel. You can tick it again to bring it back.
This concludes the Affinity Photo Dodge & Burn tutorial. This effect also works in other situations, such as definining muscles. If you'd like to learn more about the Dodge & Burn effect, be sure to take a look at The Video Version of this tutorial, where this technique is expanded upon further.