Quick Dodge and Burn Trick for Capture One Pro
Part 2
Create a new layer and call it "Dodge".

As we did a moment ago with the Burn layer, copy the mask from the Brightness layer. You could also copy it from the Burn layer, as they have the same mask.
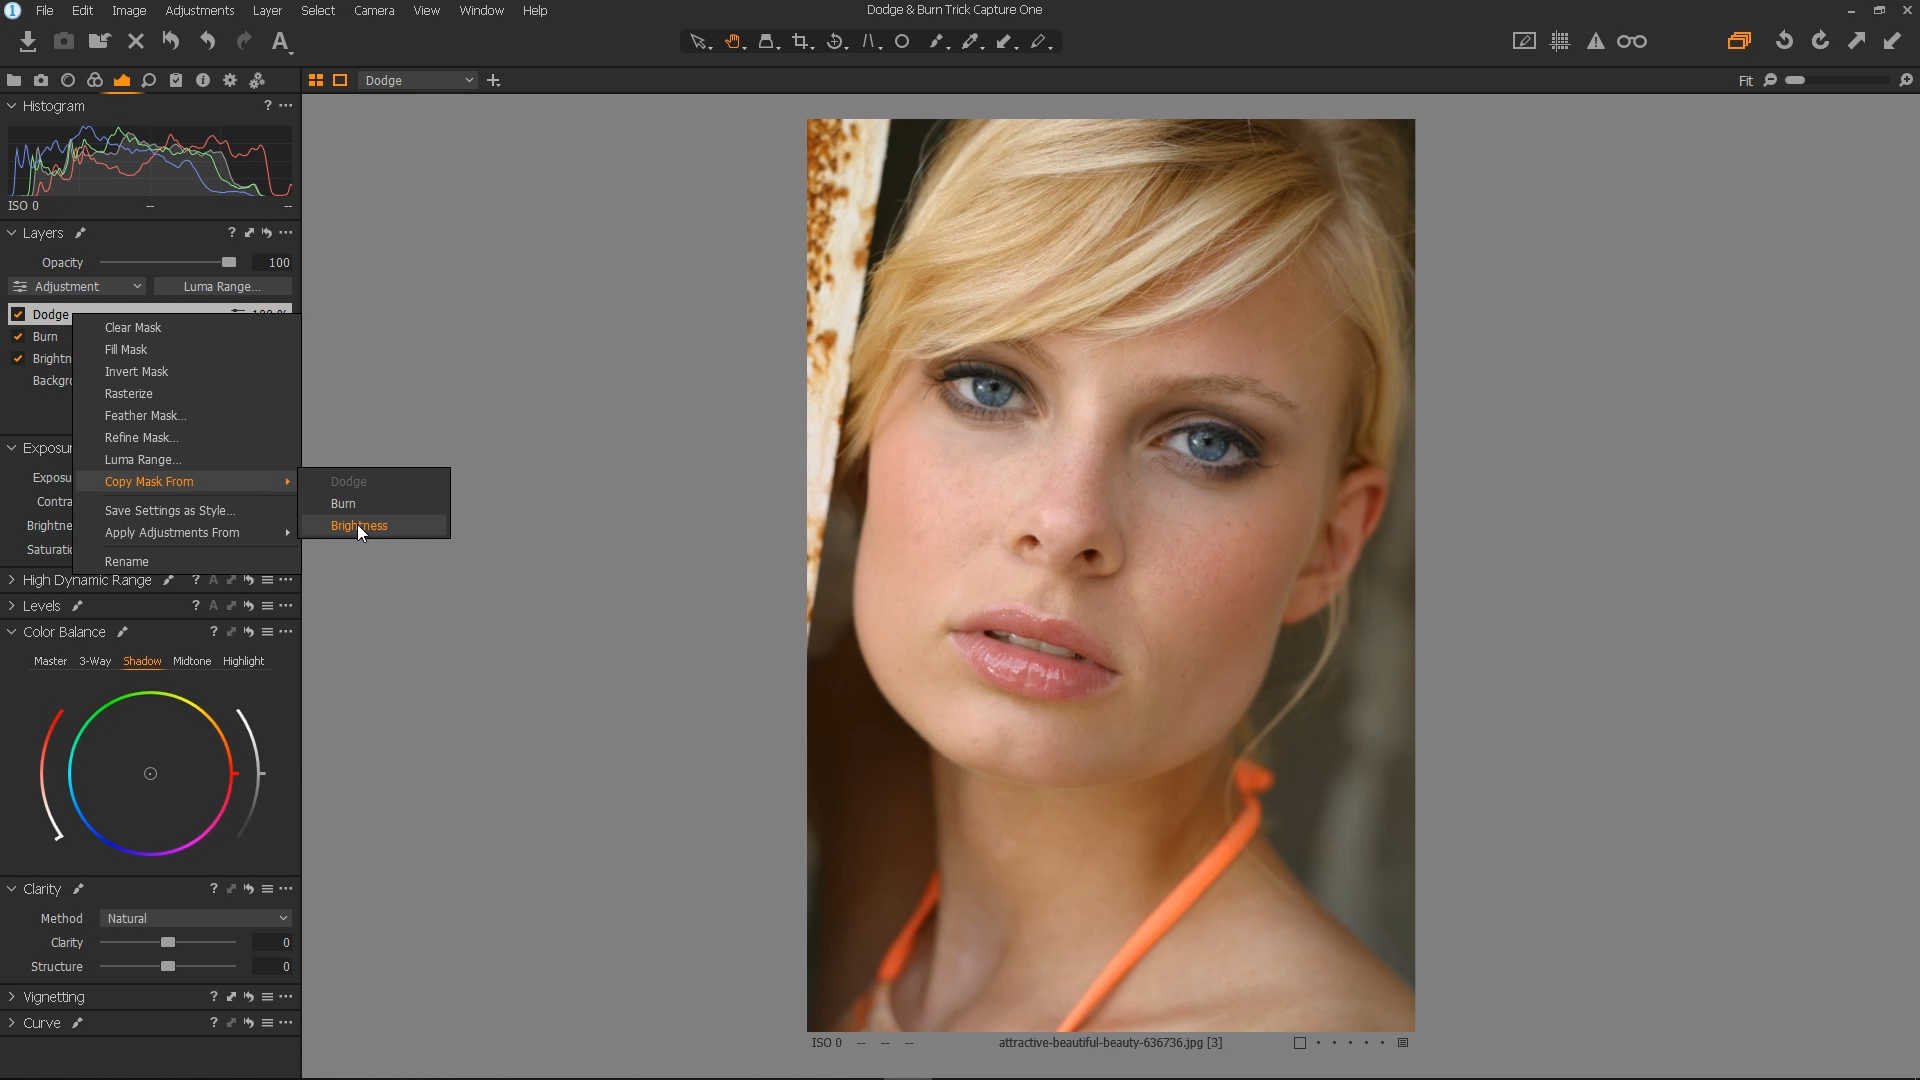
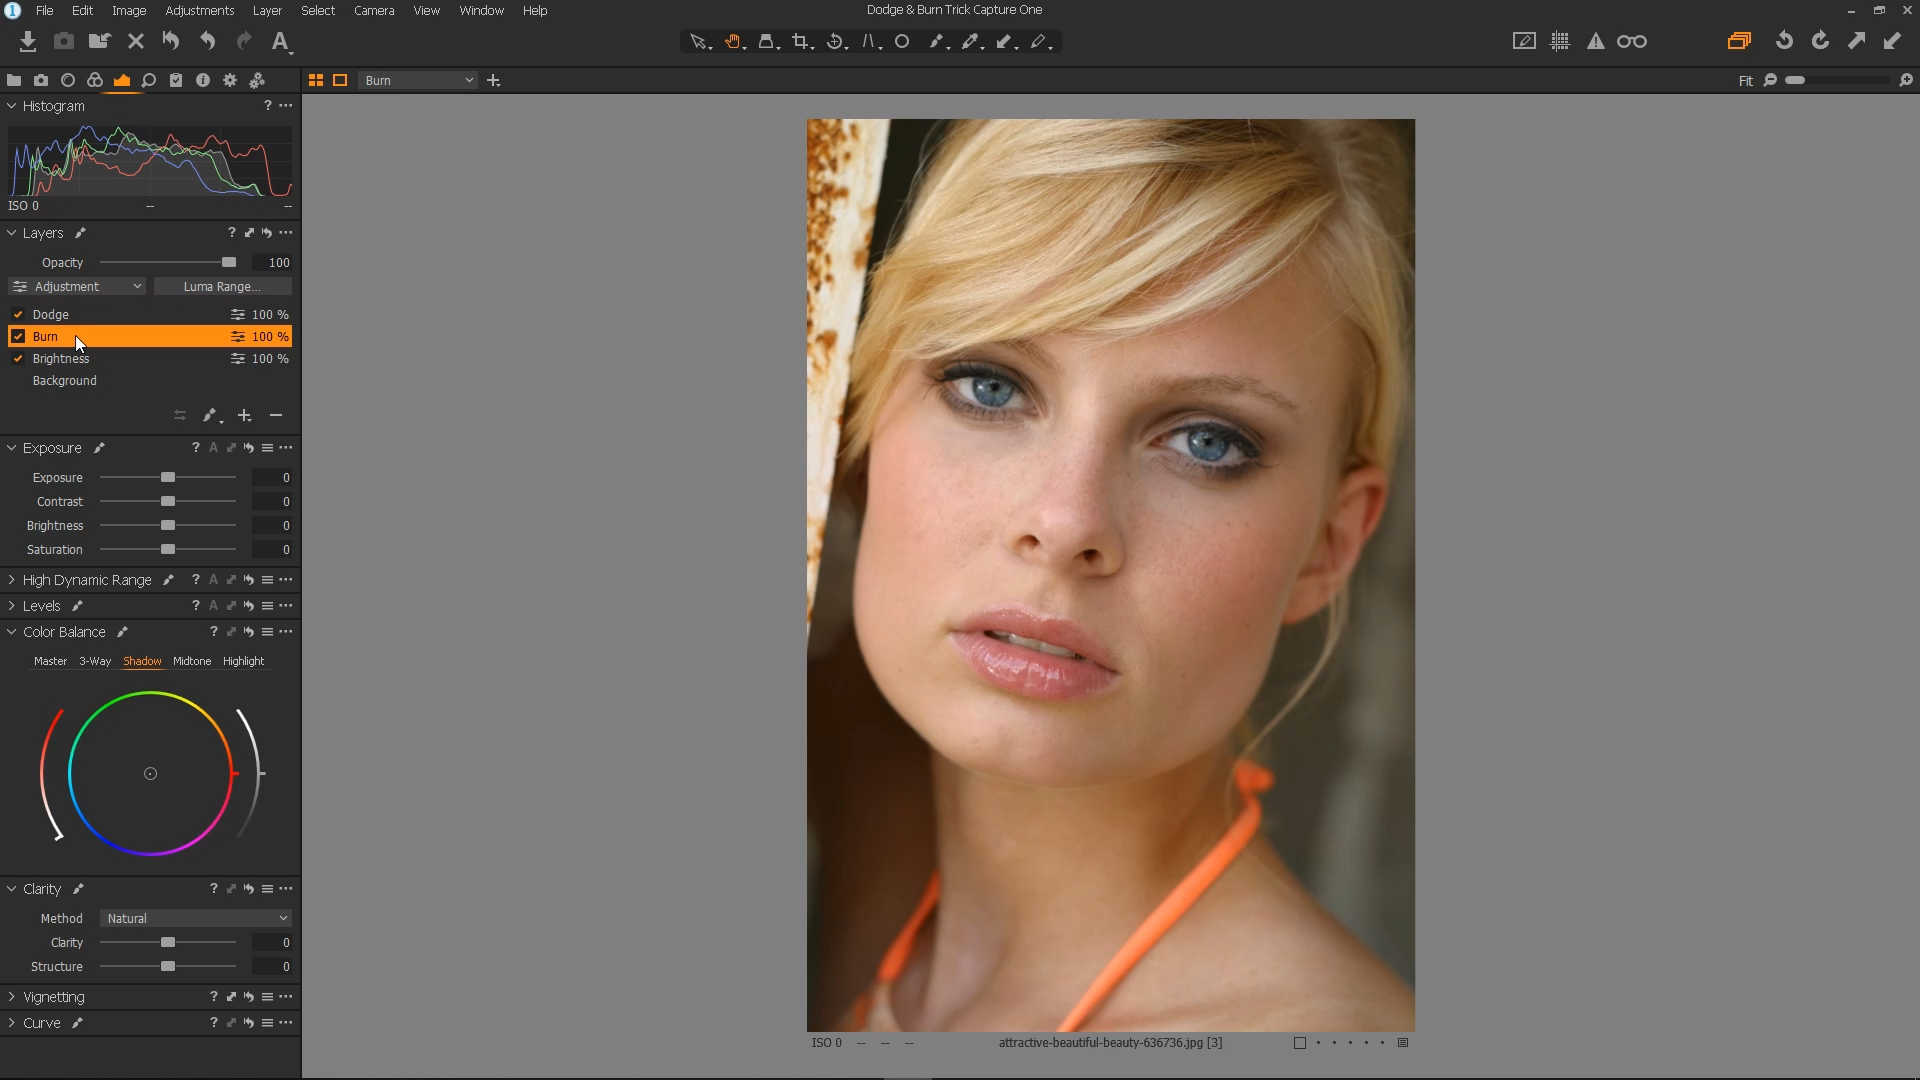
Select the Burn layer.

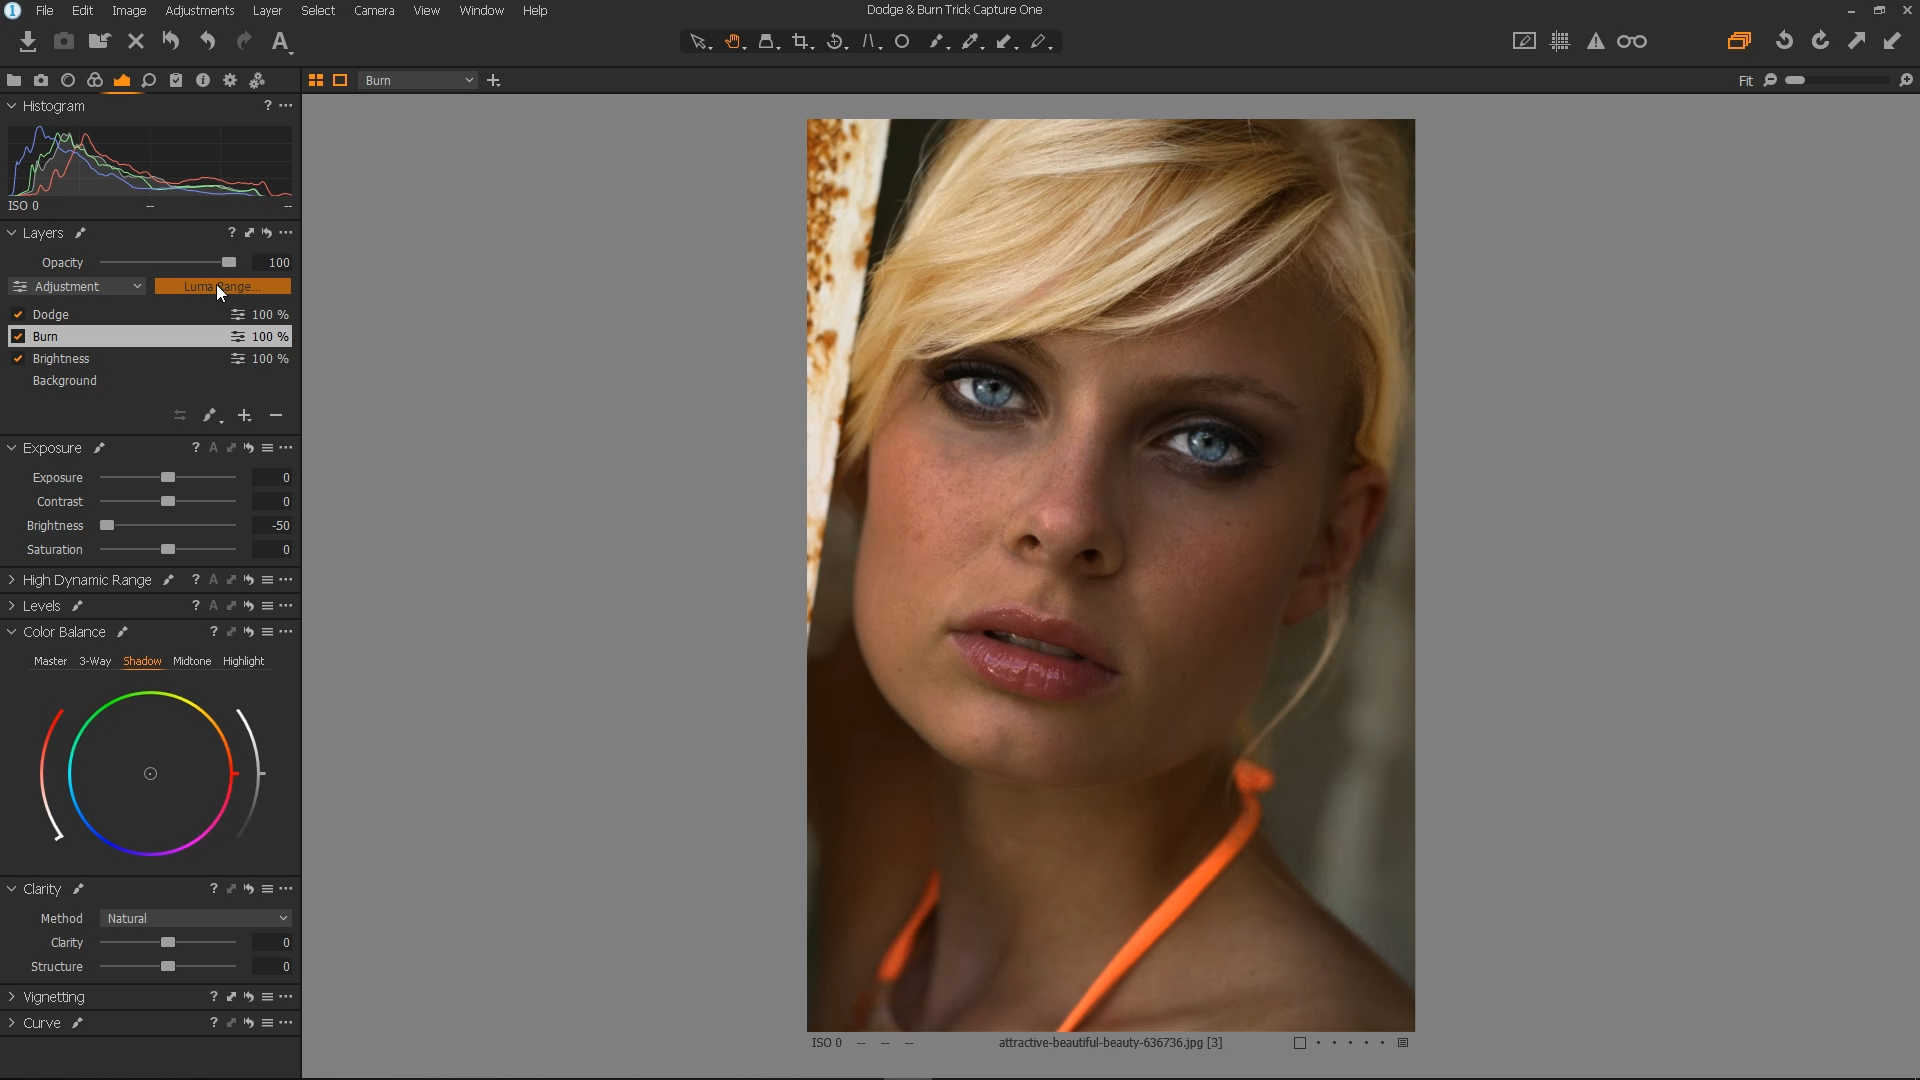
In the exposure panel, using the slider, bring the Brightness all the way down to -50.
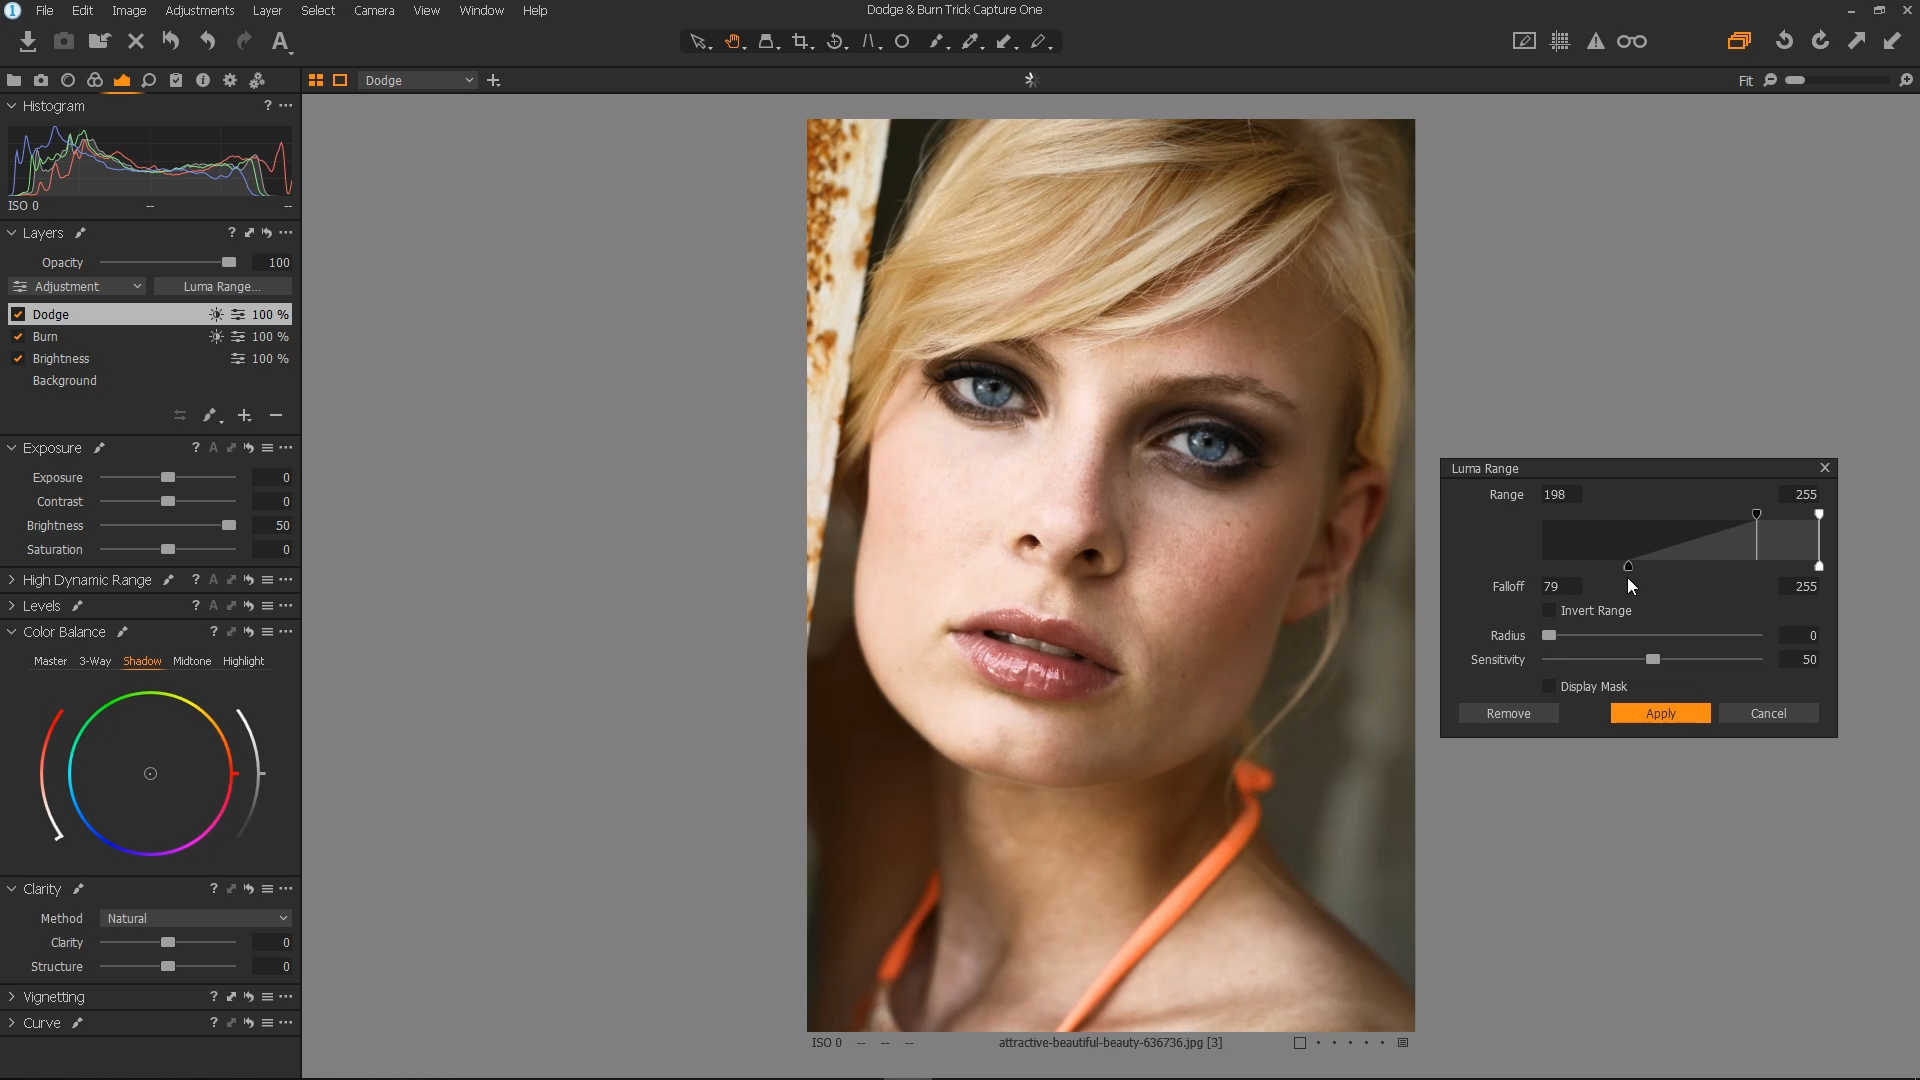
In the layers panel, click the Luma range button, and the Luma Range dialog will appear.

We are now going to set the range of the burn. Bring the left marker all the way to the left, to zero.

Bring the second marker all the way down, and then bring it up again until you can just see the black starting to appear in the eyes.

Drag the final marker across until you get the desired effect. The farther to the right is it, the more it will effect the lighter areas, but gradually.
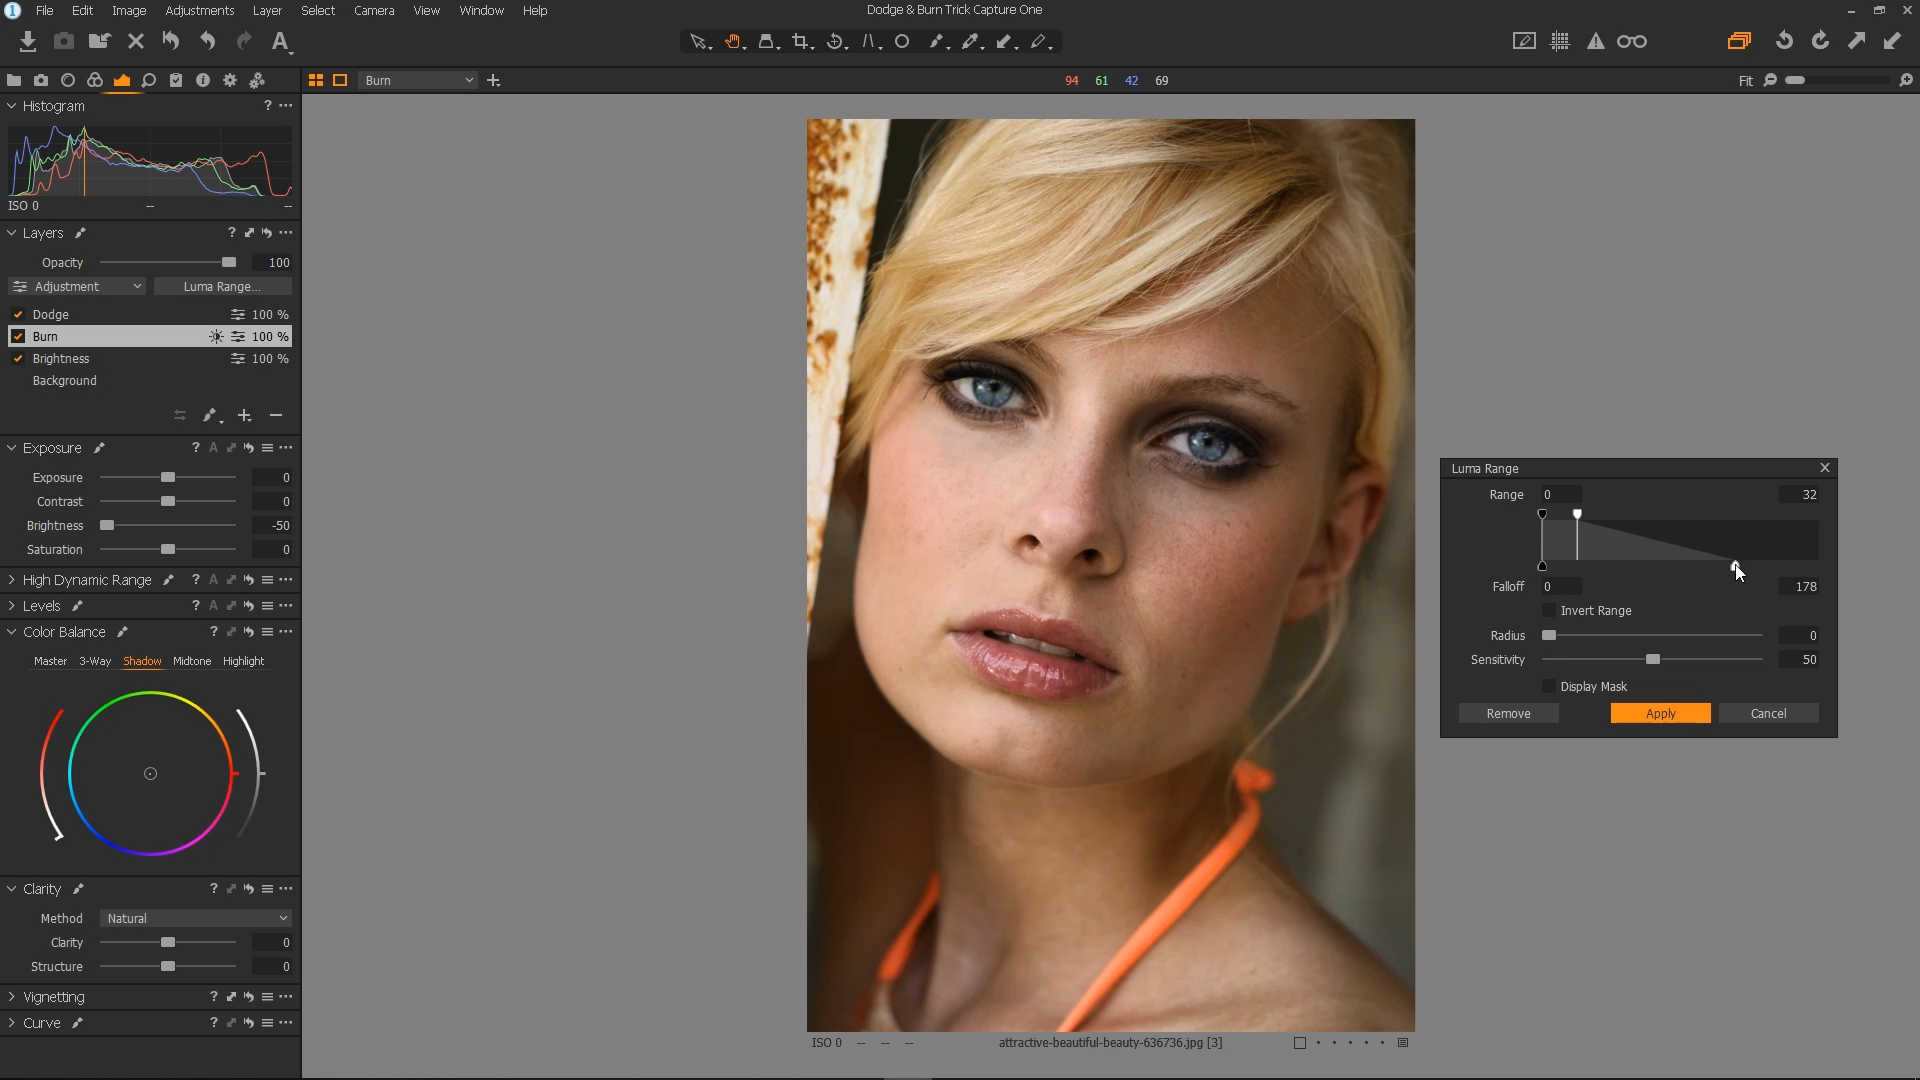
To make the falloff smoother, increase the radius using the slider until it is about half way.

If you tick the Display Mask checkbox. You should now be able to see that there is more mask in the darker areas, and less in the lighter areas. Untick the Display Mask checkbox when you've finished taking a look at the mask, and click the Apply button.

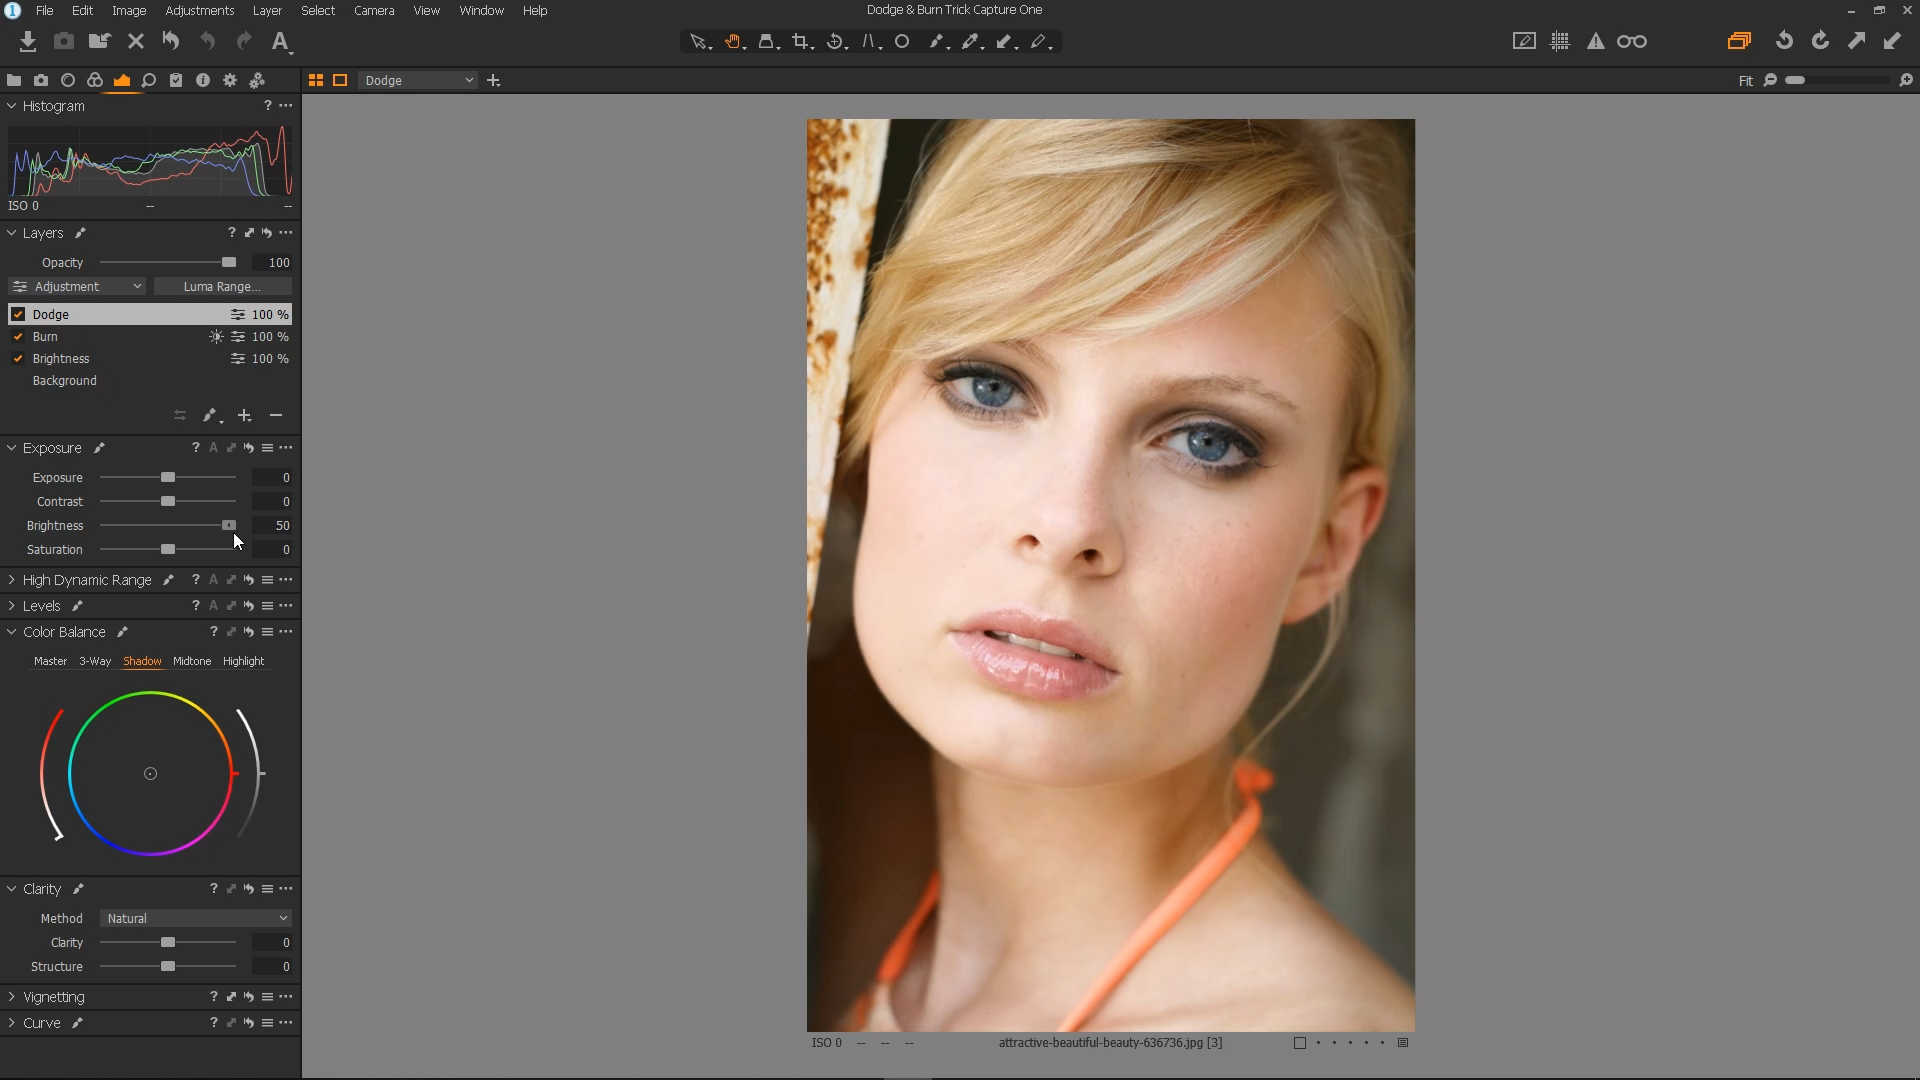
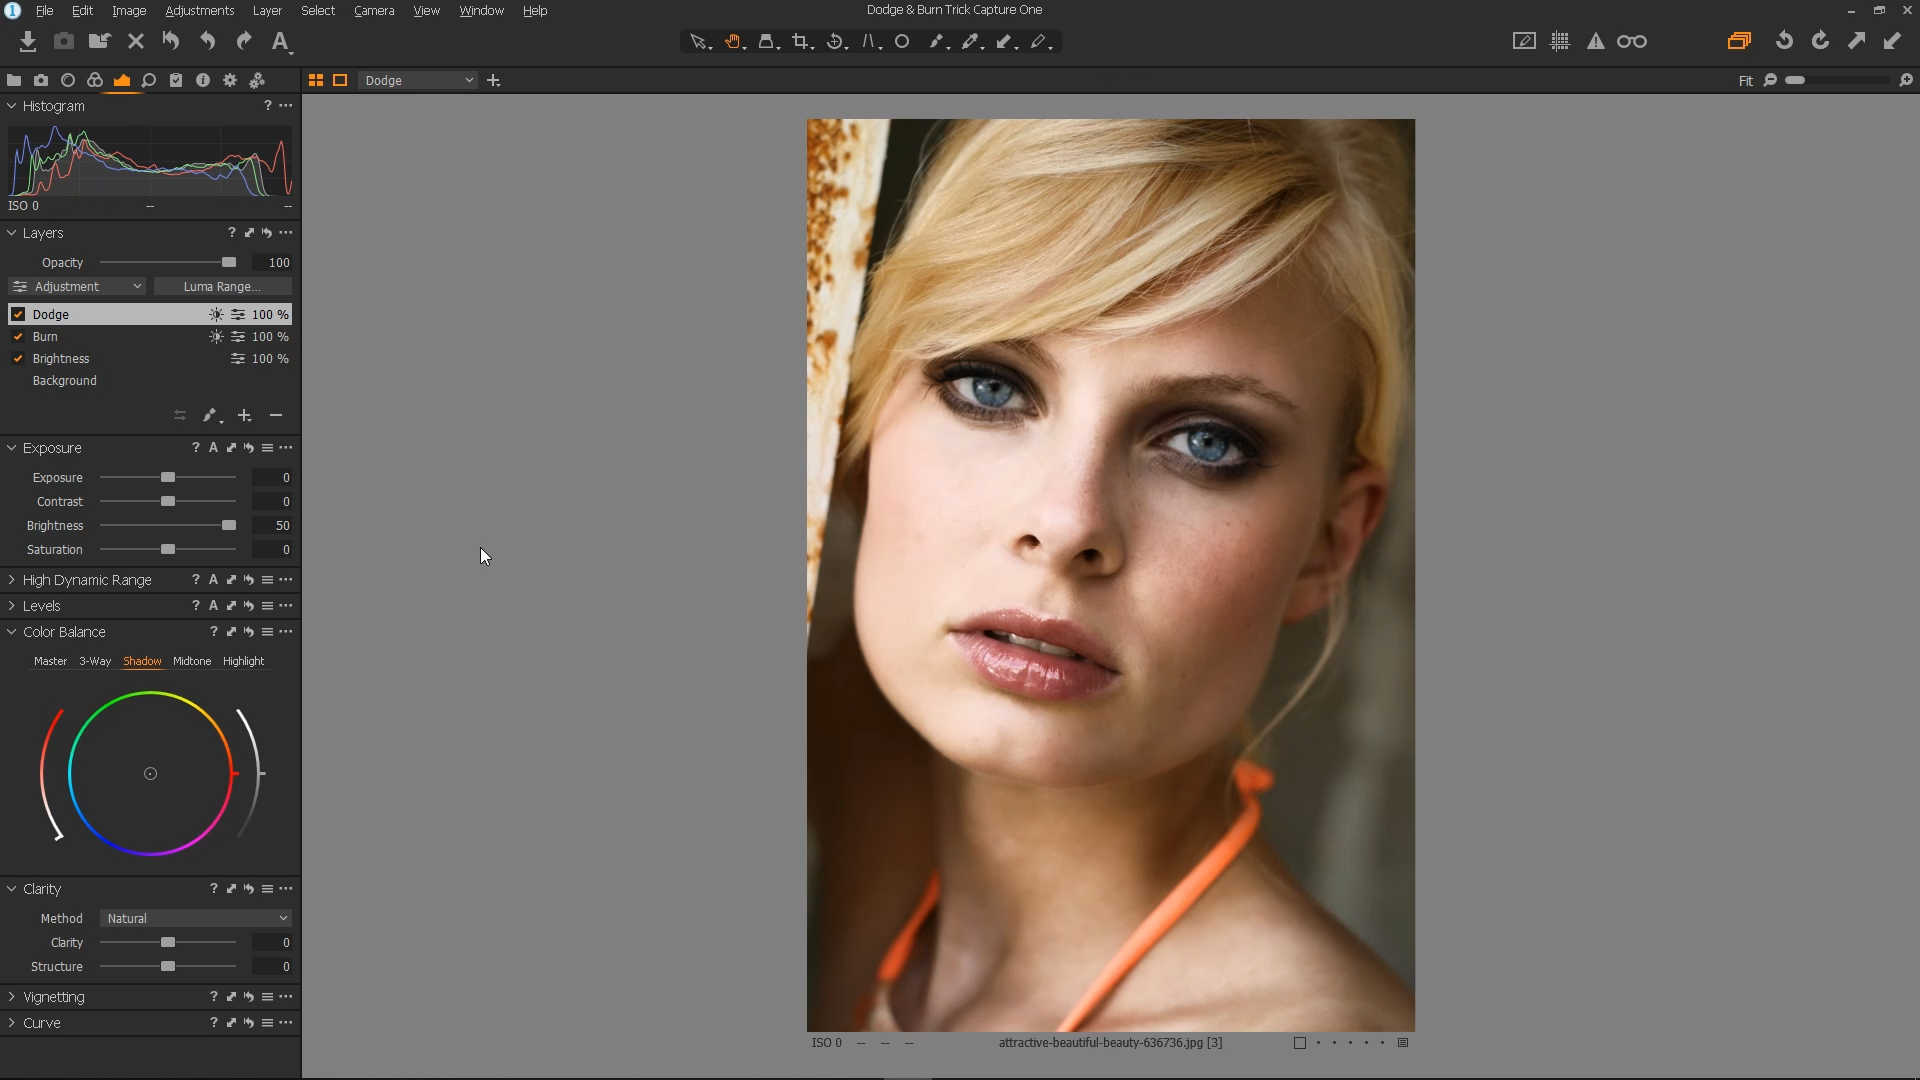
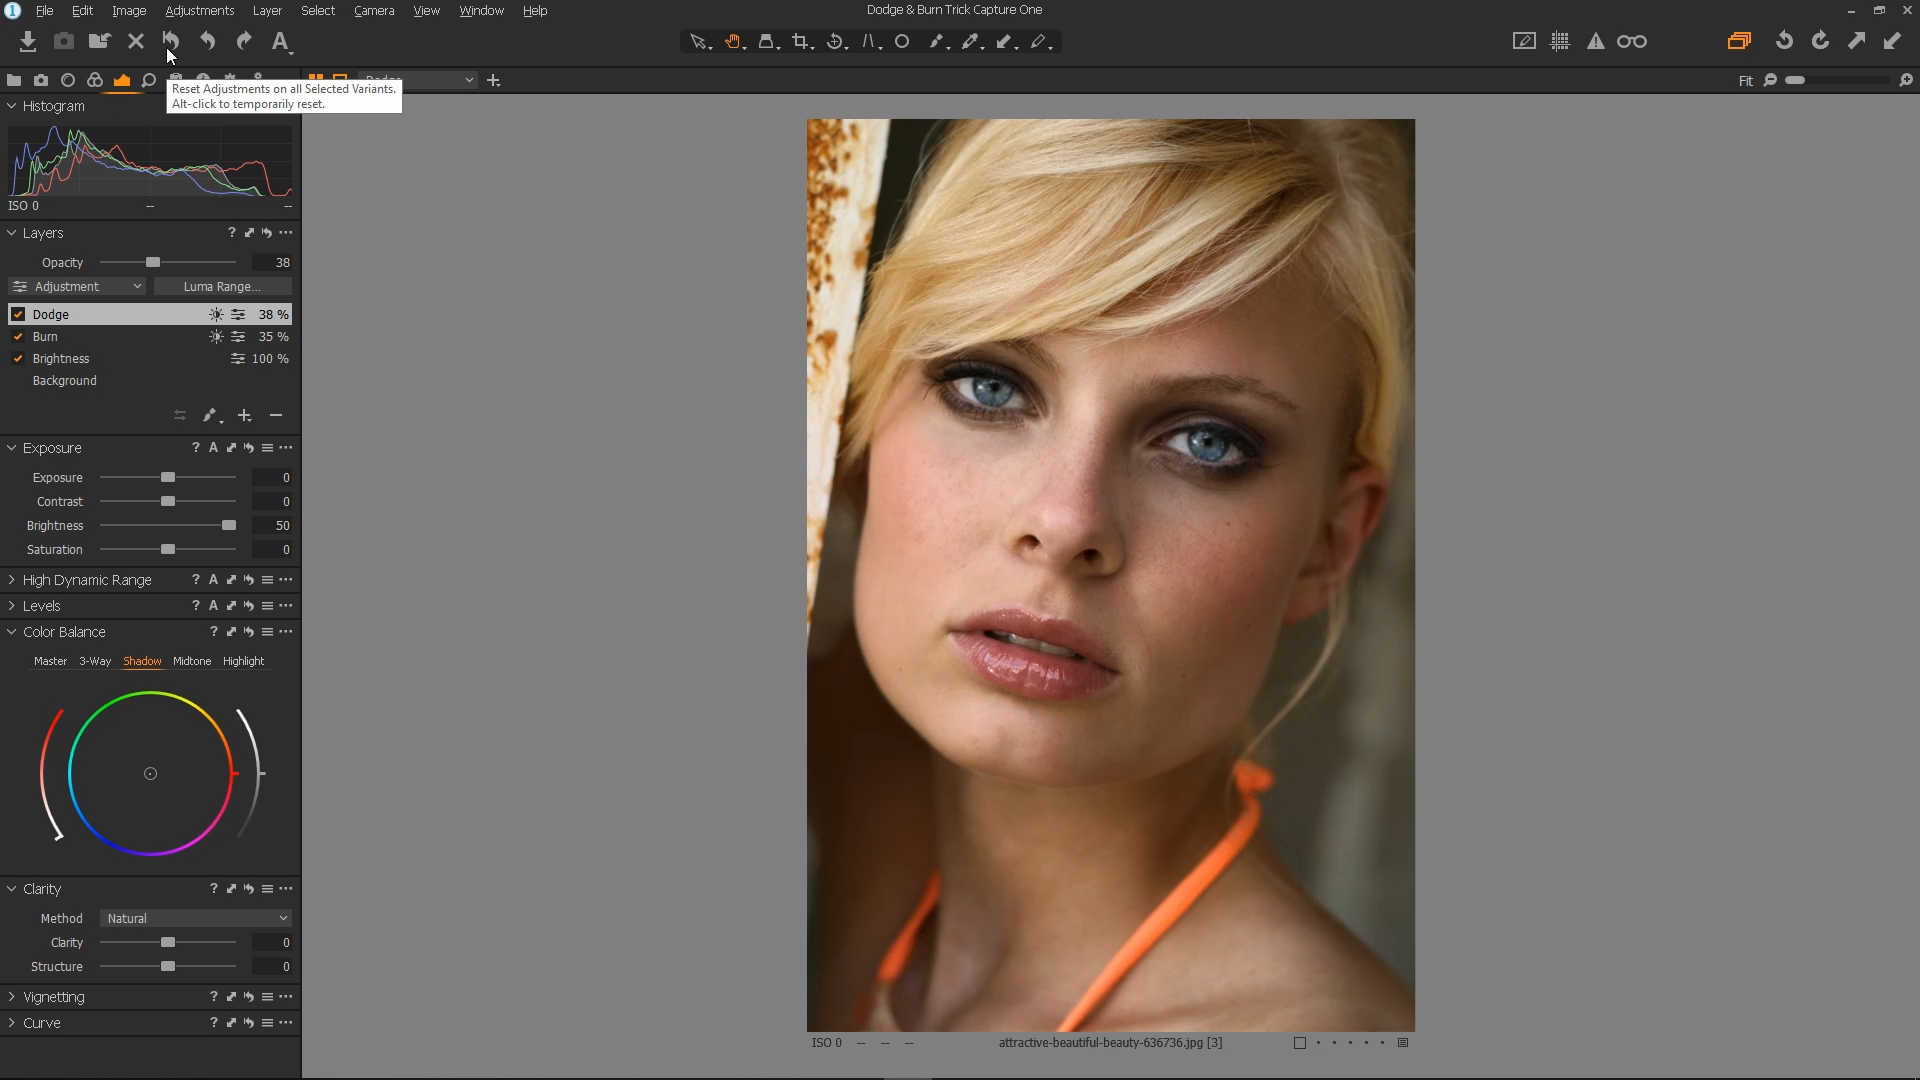
Select the Dodge layer in the layers panel, and using the slider in the Exposure panel, bring the brightness all the way to the top.
Once again, bring up the Luma Range dialog using the Luma Range button in the layer panel.
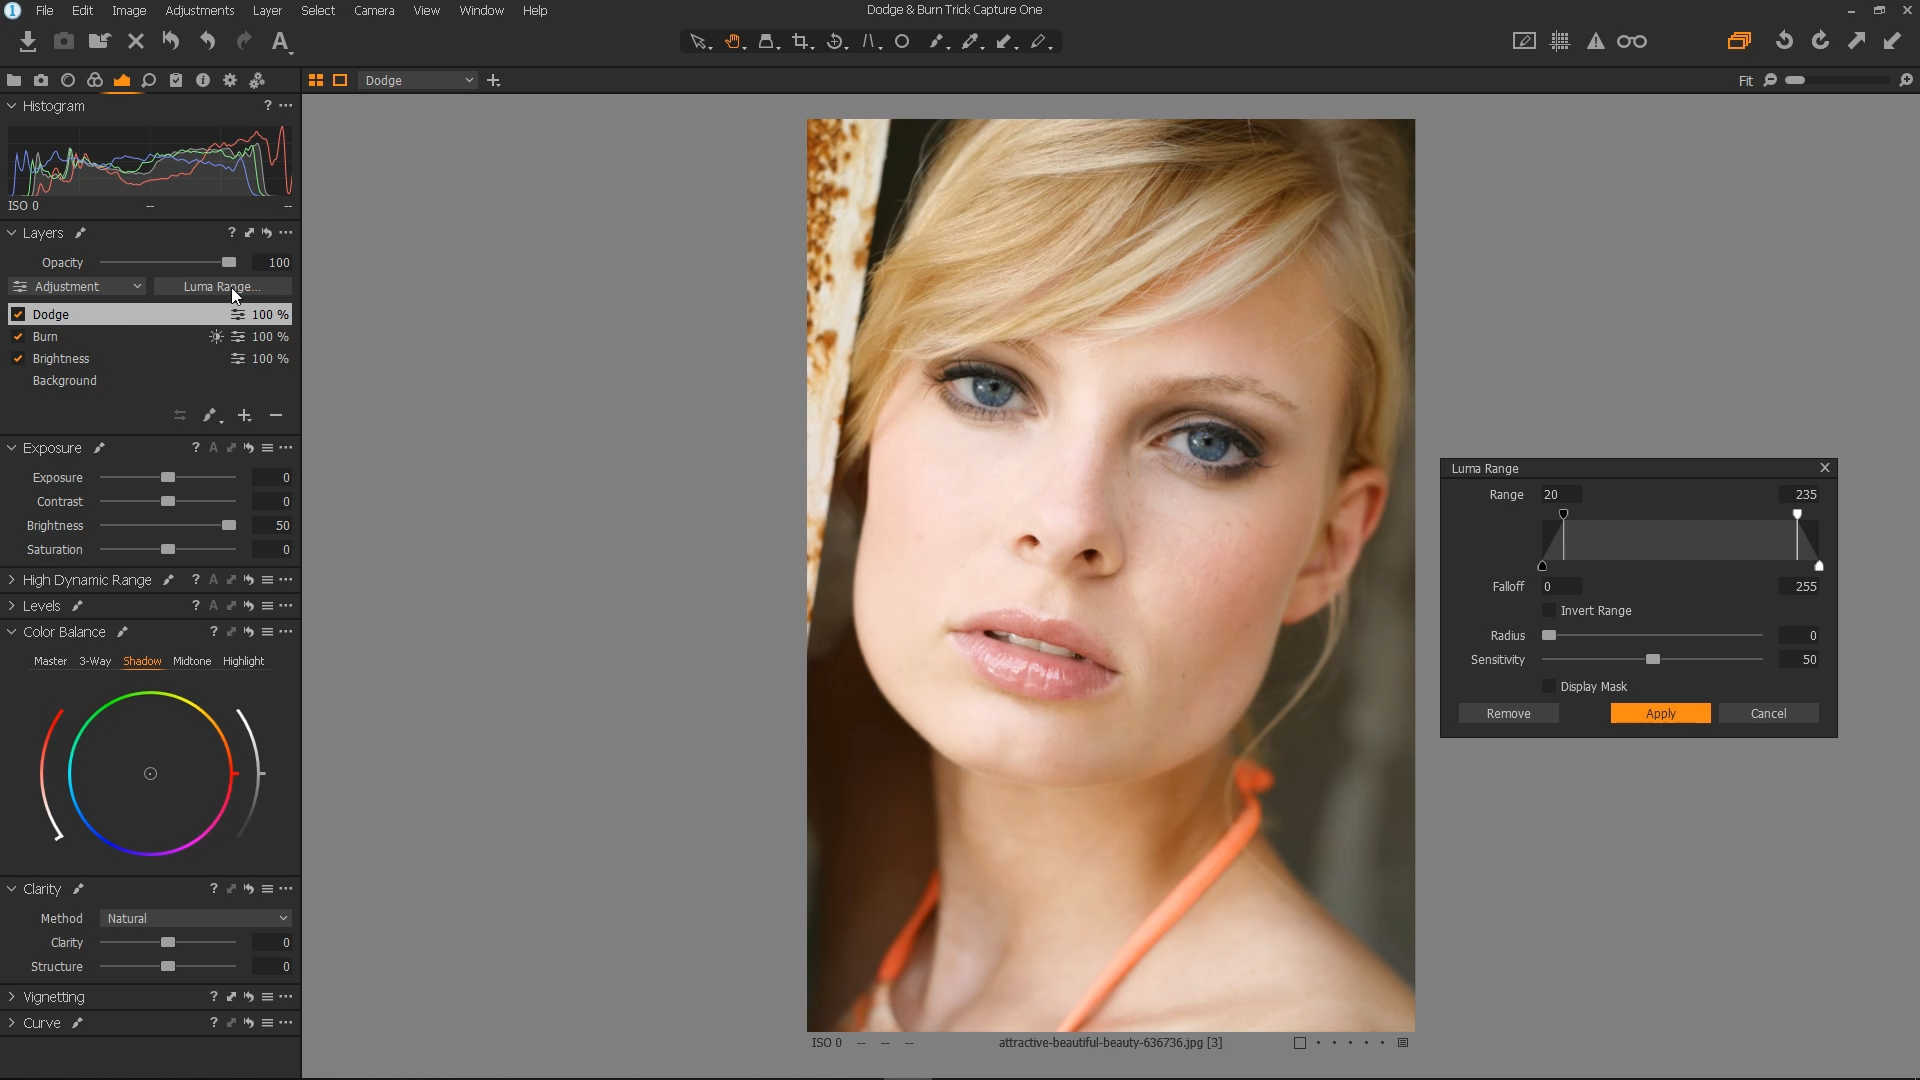
We're now going to do the opposite to what we just did on the Burn layer! First, bring the right marker all the way to the right.
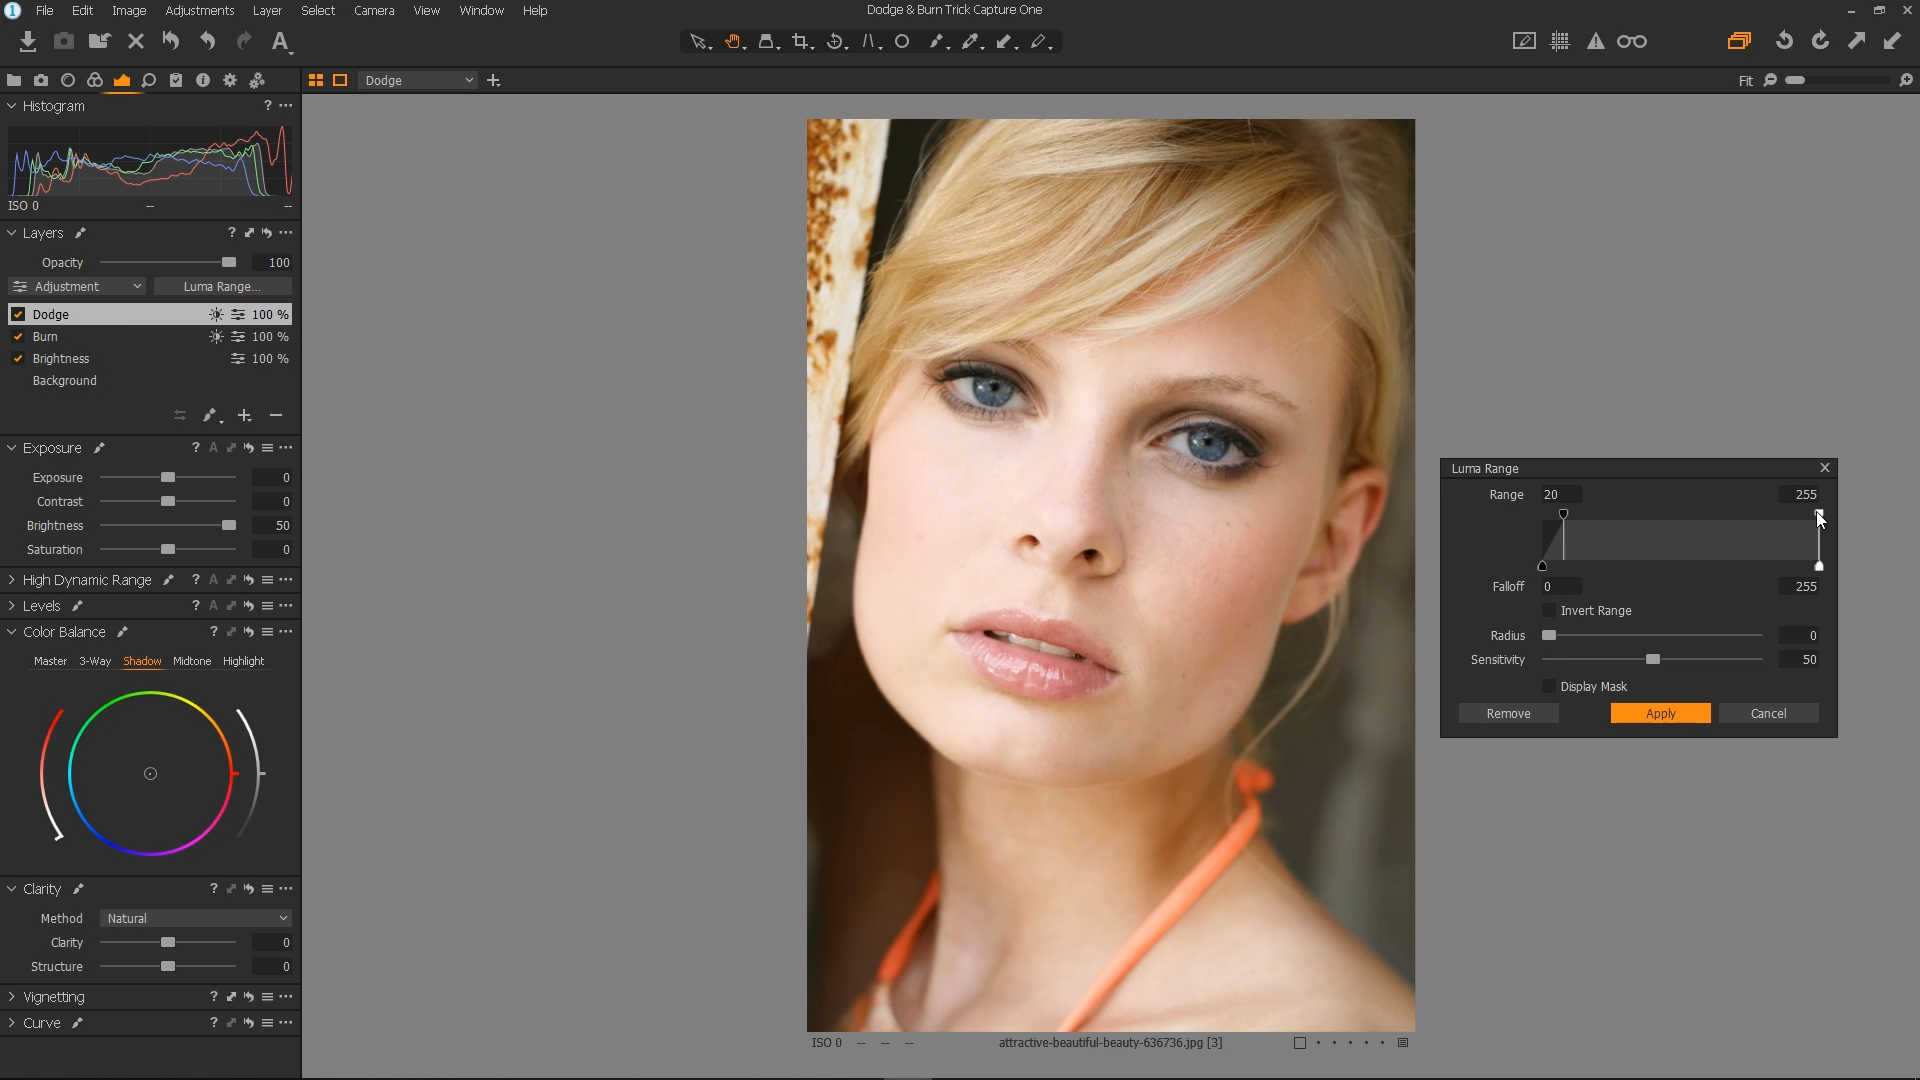
Bring the second marker all the way to the right, and then slowly move it back until you can see the bright areas starting to show.
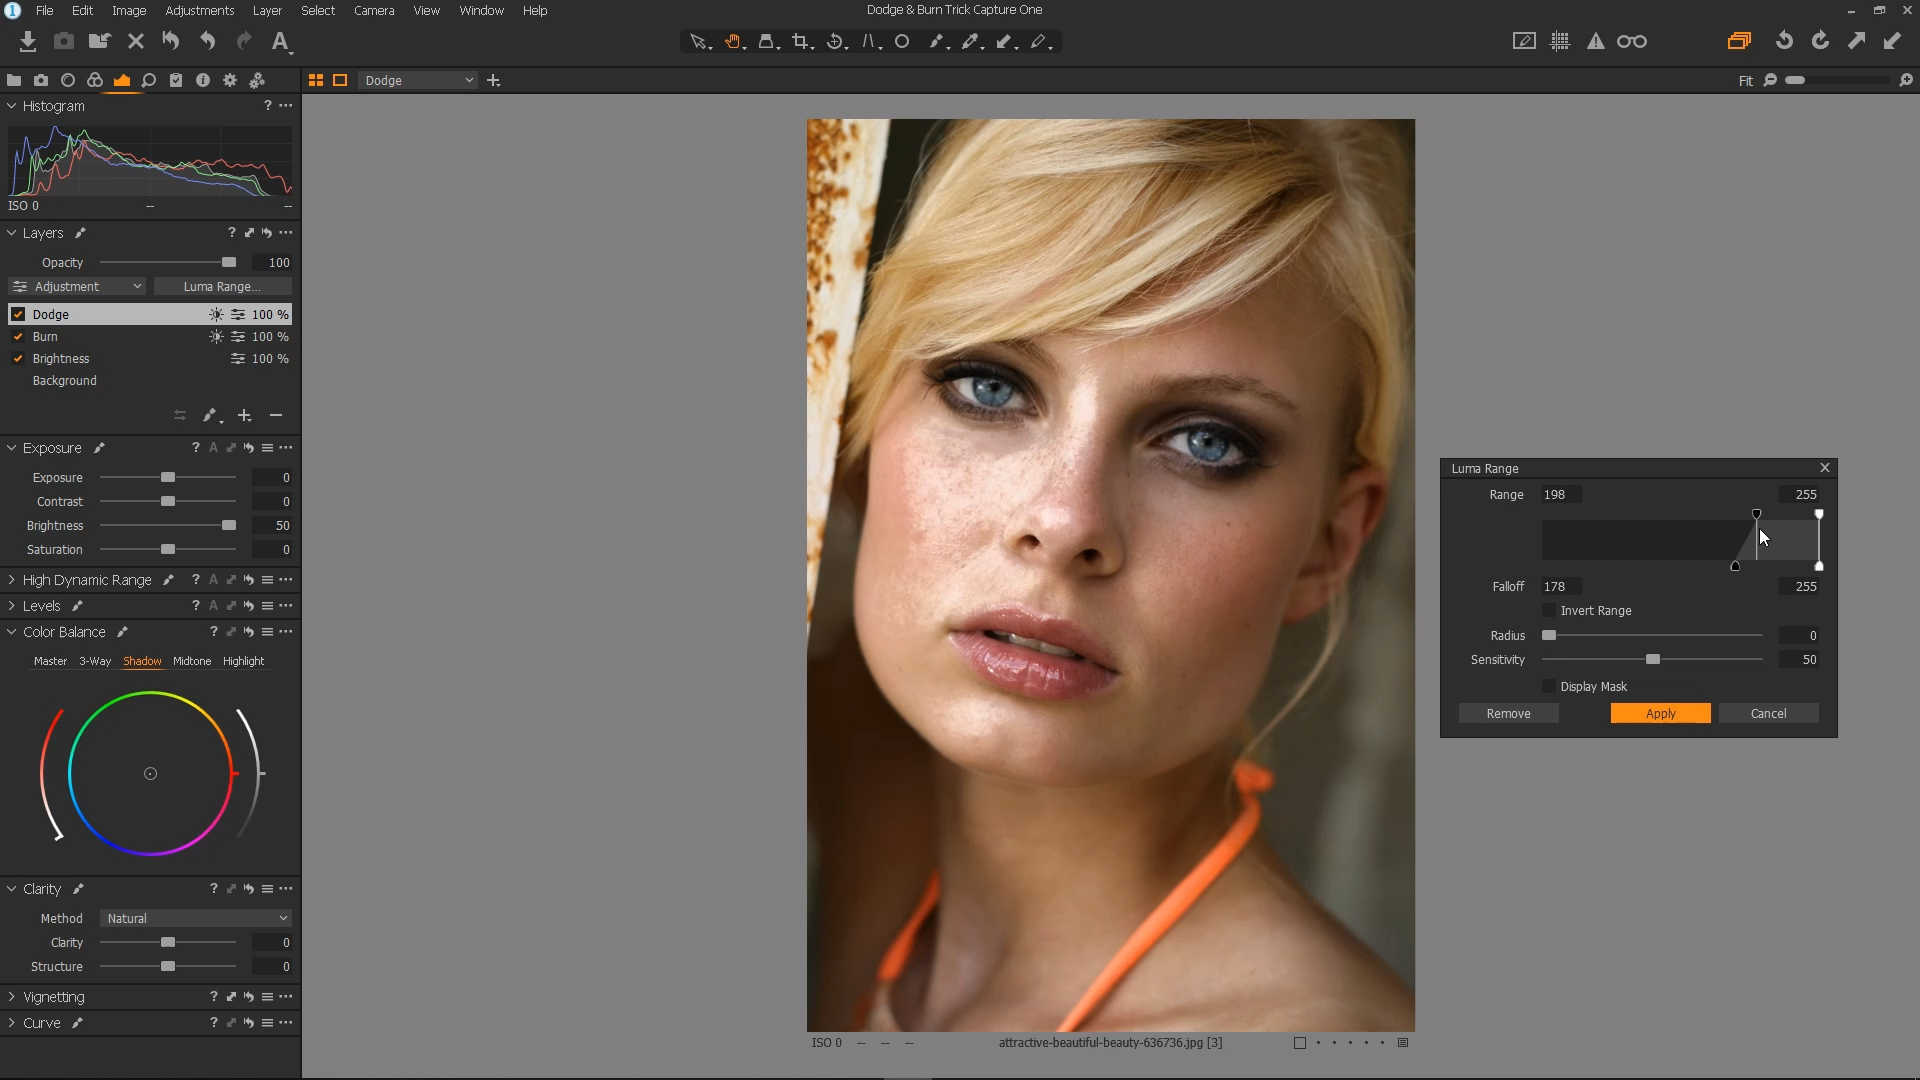
Bring the falloff left to the appropriate amount.
Set the radius to about half way, and click the Apply button.

That's the basic Dodge and Burn effect done. We have dodge in the light areas, and burn in the dark areas. All we need to do now is refine it.
Here's a quick look at the before and after at the current stage.
While we have successfully create a dodge and burn effect, it looks a bit over the top at the moment. But that's where our controls come in.
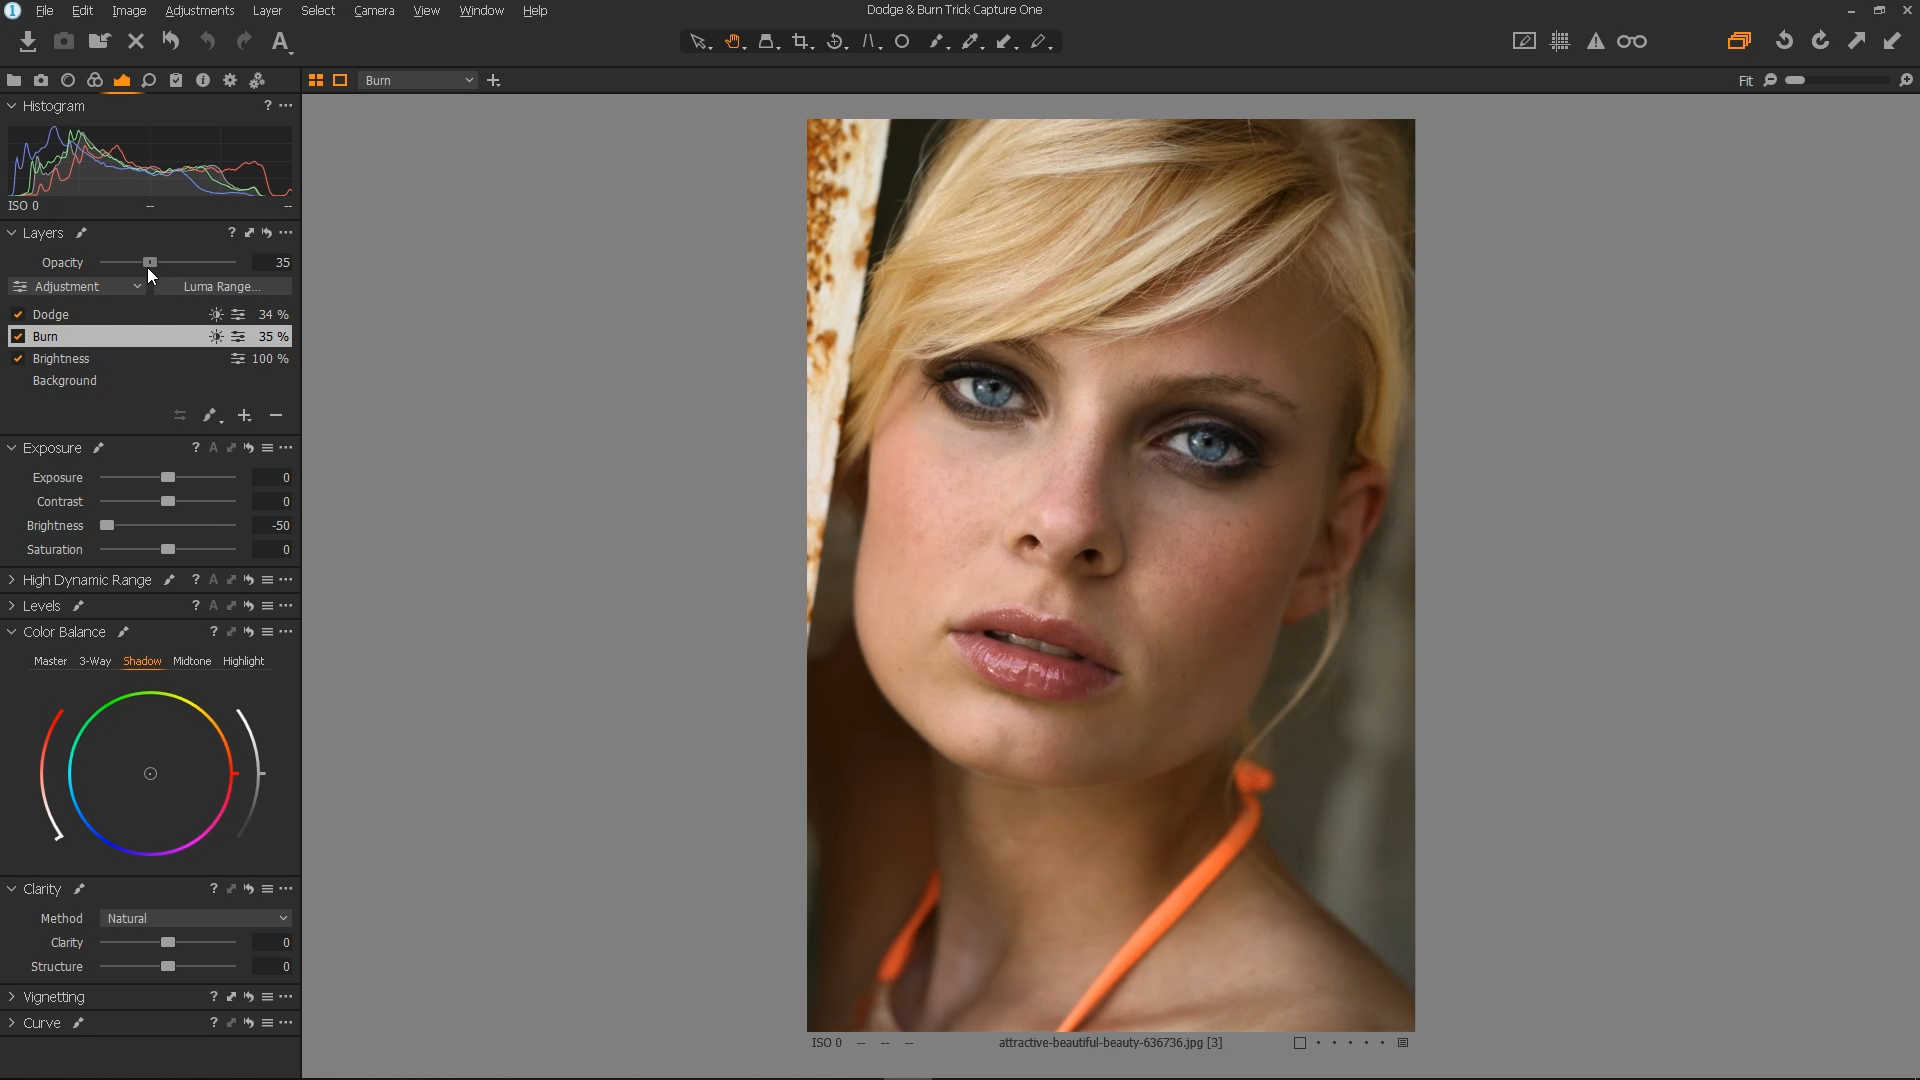
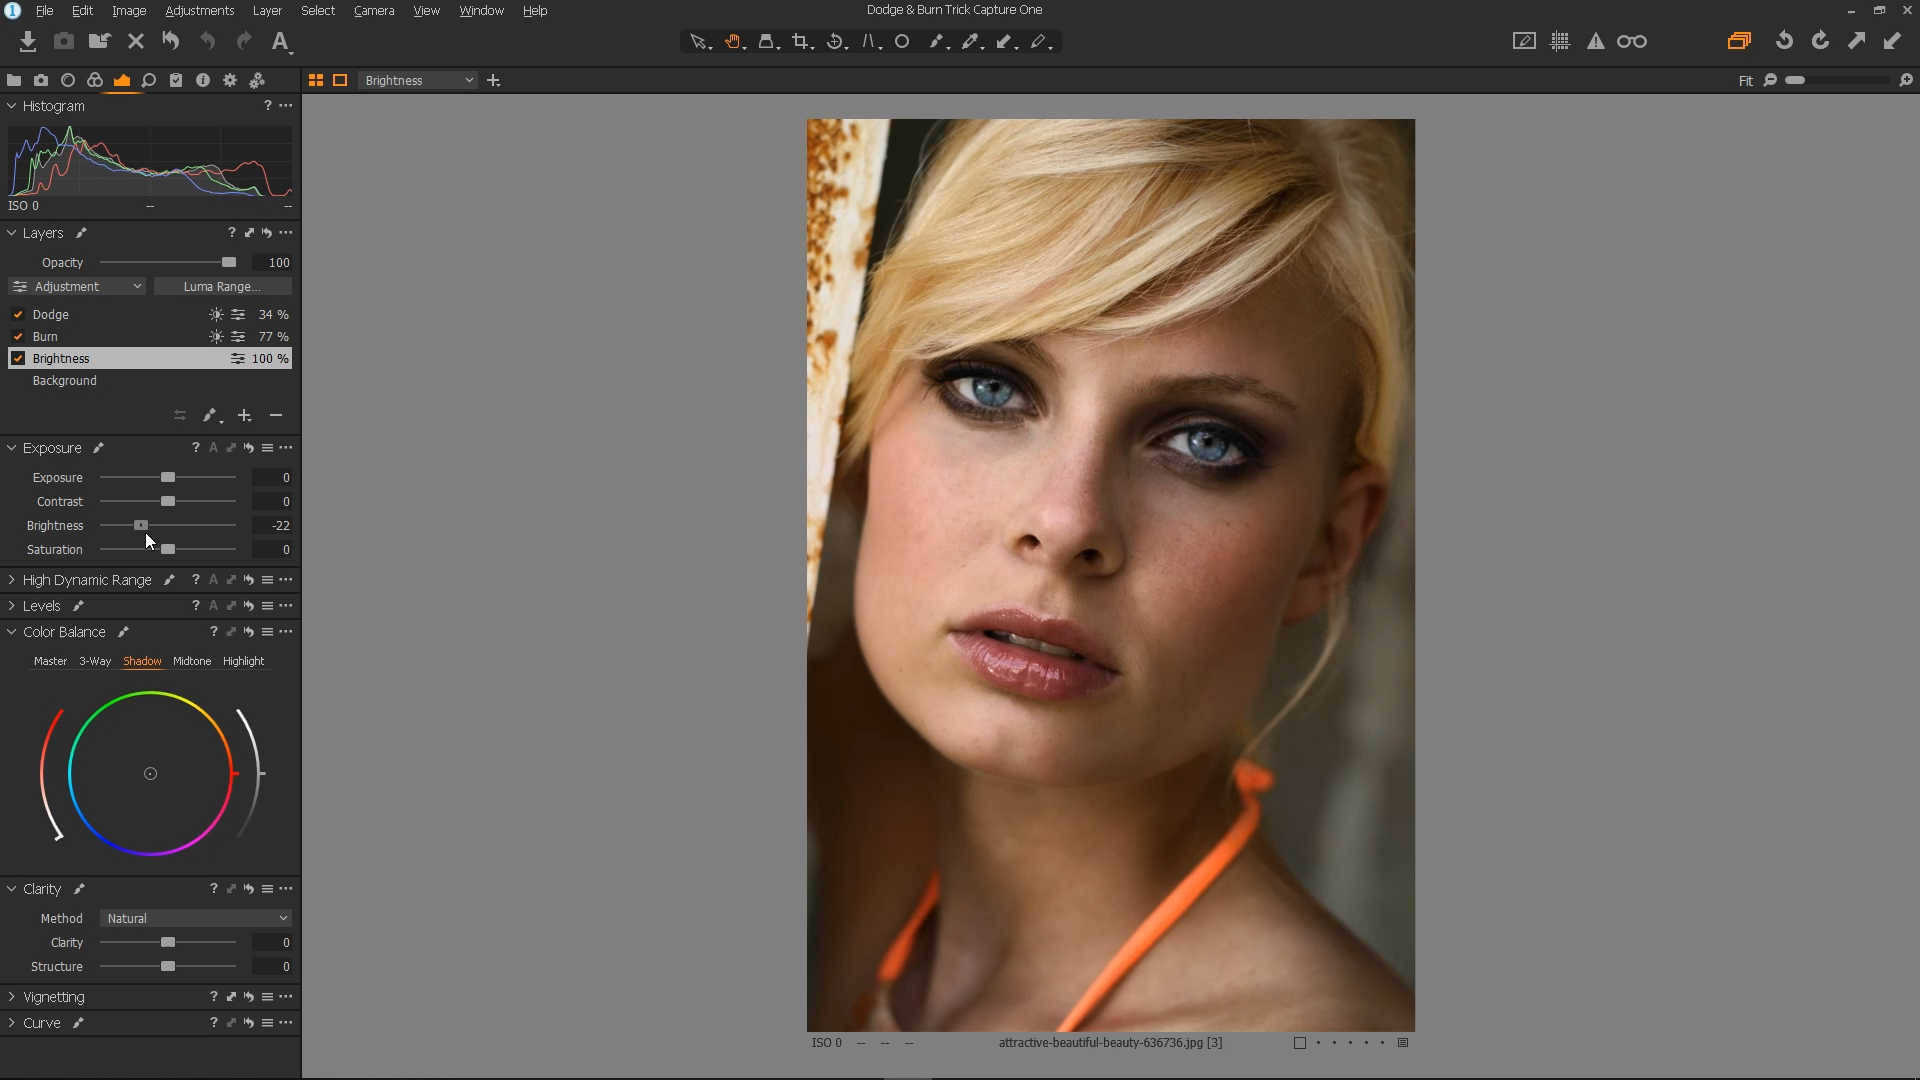
Select the Dodge layer, and using the Opacity slider in the layers panel, bring the opacity down to reduce the effect to your liking. In the example photo, we've gone with an Opacity of 34.

Select the Burn layer, and bring the Opacity to your liking.
Select the Brightness layer, and use the Brightness slider to reduce or increase the overall effect.
This concludes the Dodge and Burn tutorial. Let's take another look at the before and after.

This effect also works well in other situations, such as defining muscles. This is demonstrated further in the YouTube Video version of this tutorial. Be sure to watch the video if you'd like to learn more about the Dodge and Burn technique!