Ten Top Tips for Affinity Photo Volume 3
Intro
Even more invaluable tips for for Affinity Photo! Some are simple and some are more advanced. All are explained step by step in an easy to follow format.
You can learn these tips by watching my YouTube video below, or directly on YouTube.
If you do watch on YouTube, please consider giving the video a Like, and Subscribing for more tutorials!
Below is a list of the tips that are in the video. You can click on them to go straight to the specified tip in the video.
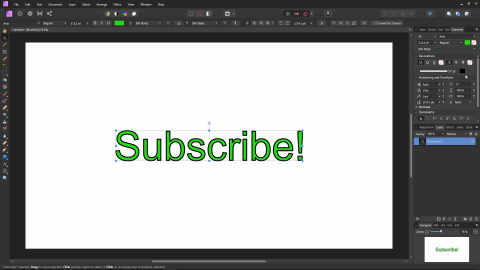
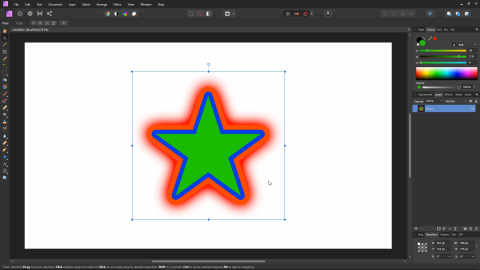
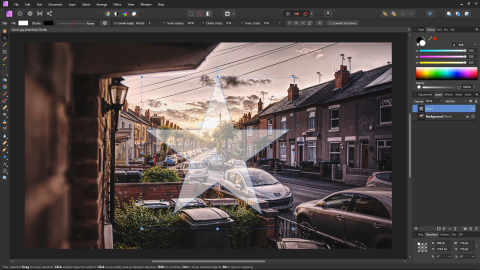
Tip 1 - Outline Text
Try the best and easiest method to outline text!
Tip 2 - Shrinking Tabs
Quickly and expand tabs in the UI, helpful when you need to see more of other UI elements!
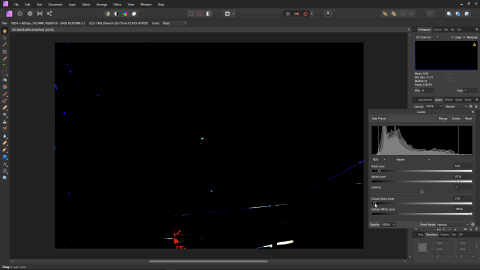
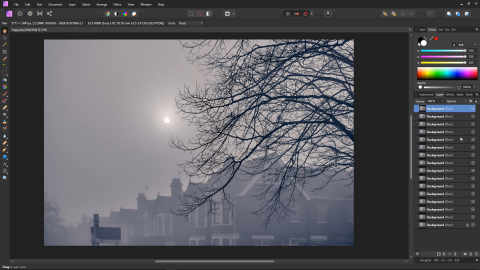
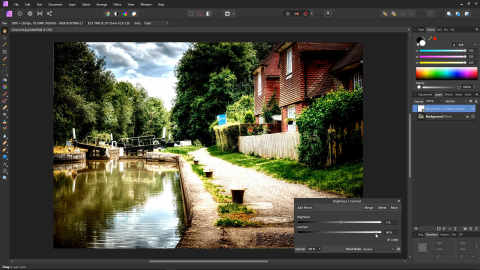
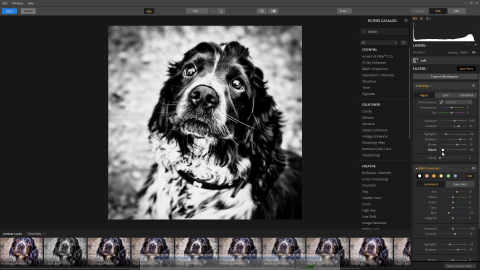
Tip 3 - Levels Tip
Get more information on your photo with this handy Levels control tip
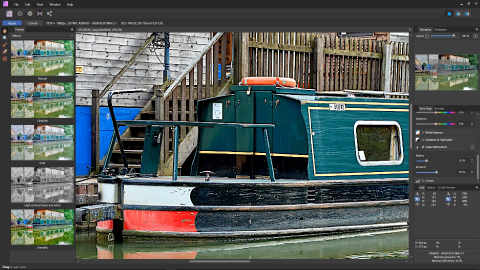
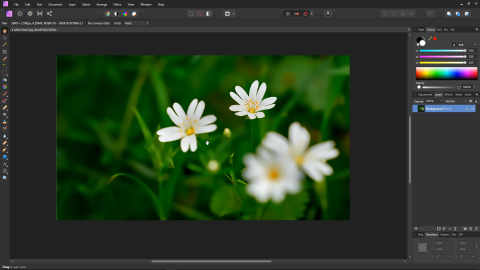
Tip 4 - Output Sharpen
Learn a nice technique for sharpening photos
Tip 5 - Even Borders
Save time with this nifty trick for adding borders or a frame to a photo!
Tip 6 - Extra Brightness and Contrast
Expand the range of the Brightness + Contrast controller
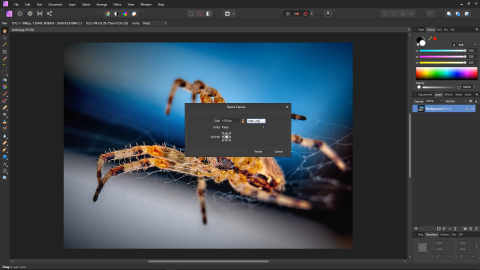
Tip 7 - Bilateral Blur Gotcha
Find out why the Bilateral Blur and Median Blur Filters are greyed out, and how to enable them
Tip 8 - Multiple Layer Effects
Apply multiple layer effects to the same object
Tip 9 - Opacity Shortcuts
Quickly set opacity with these handy keyboard shortcuts
Tip 10 - Luminar Plugin
Add Luminar 3 to Affinity Photo as a plugin, and use it to make photo adjustments