Cut Out Complex Objects with Affinity Photo
Part 2
Let's give the curve we just created a name. Click on the curve layer in the layers panel and type "Main Body Curve".

Make a copy of the layer, by right-clicking on it and selecting Duplicate.

Move the copied layer to the bottom by dragging it with the left mouse button. The purpose of this duplicate is to serve as a backup. If we make a mistake, we won't have to go through the process of creating the entire curve, point by point again!

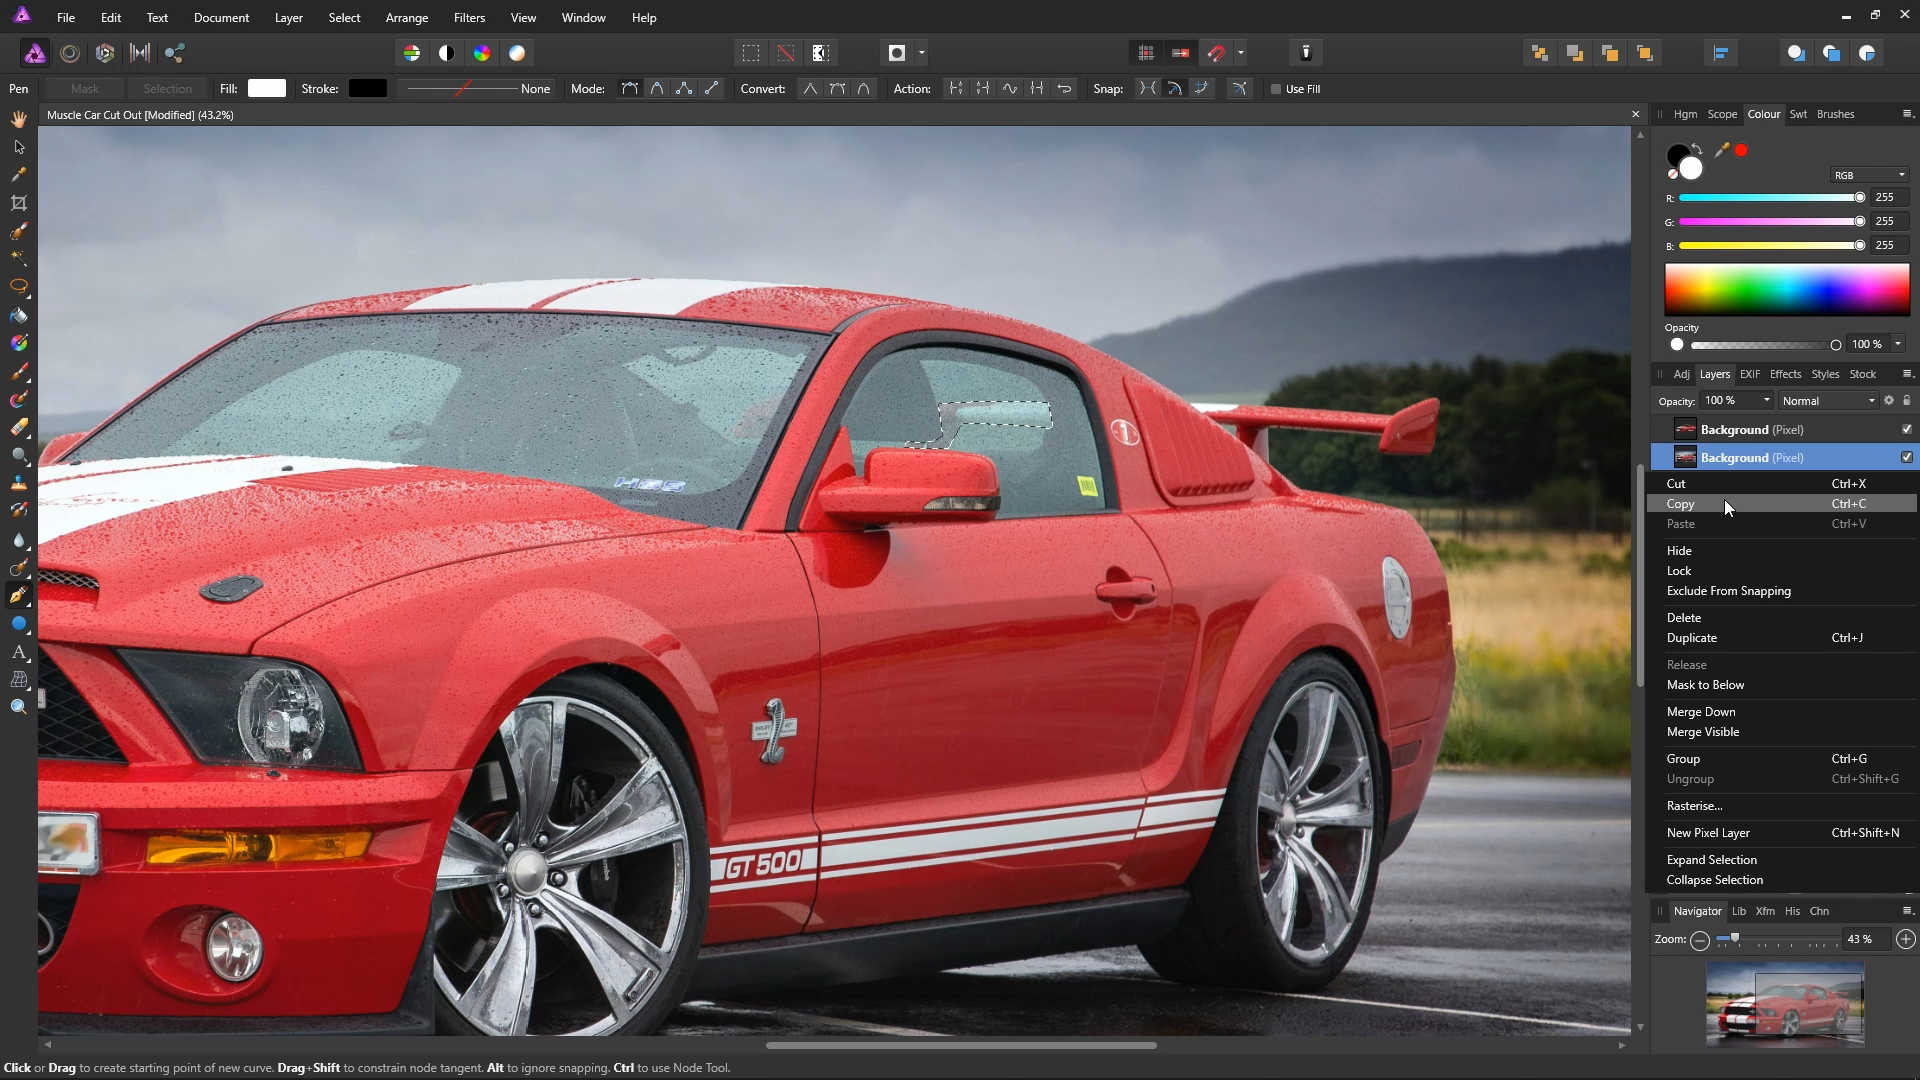
Select the original Main Body Curve layer (not the duplicate).

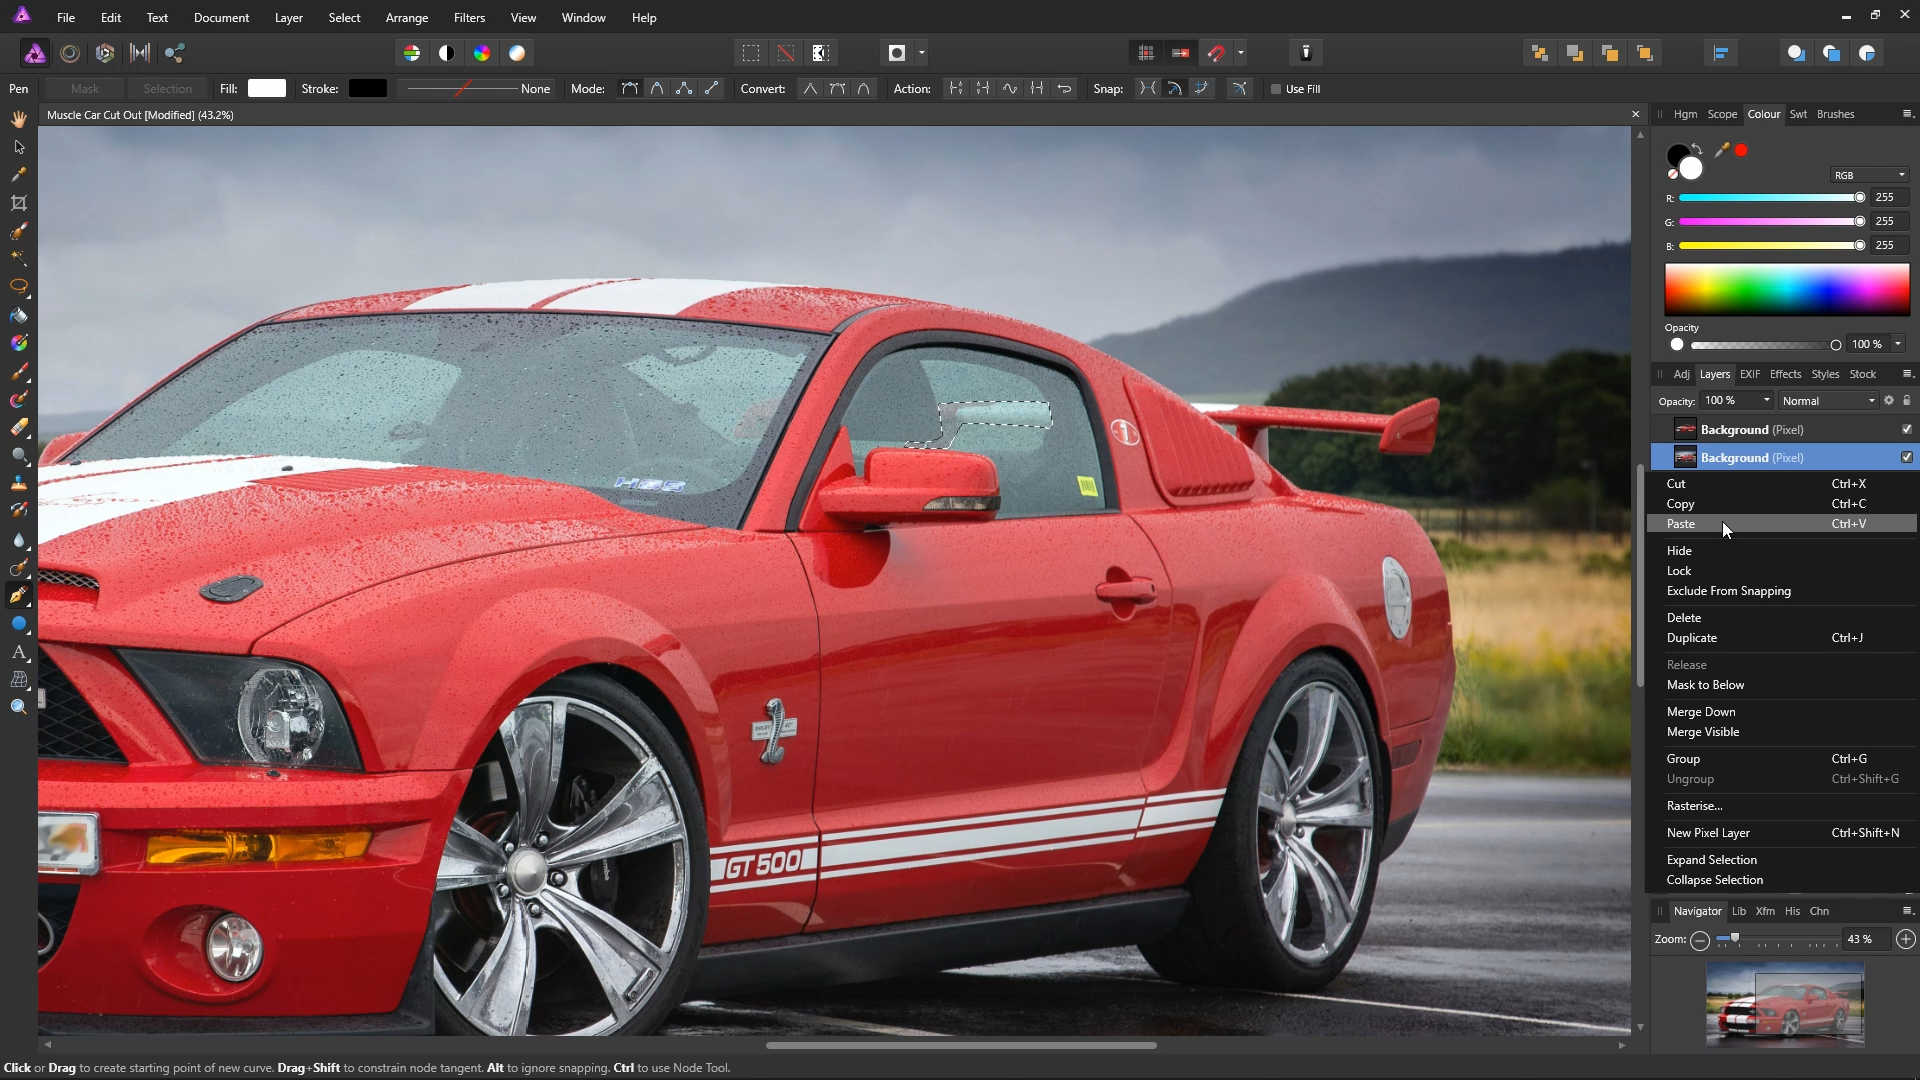
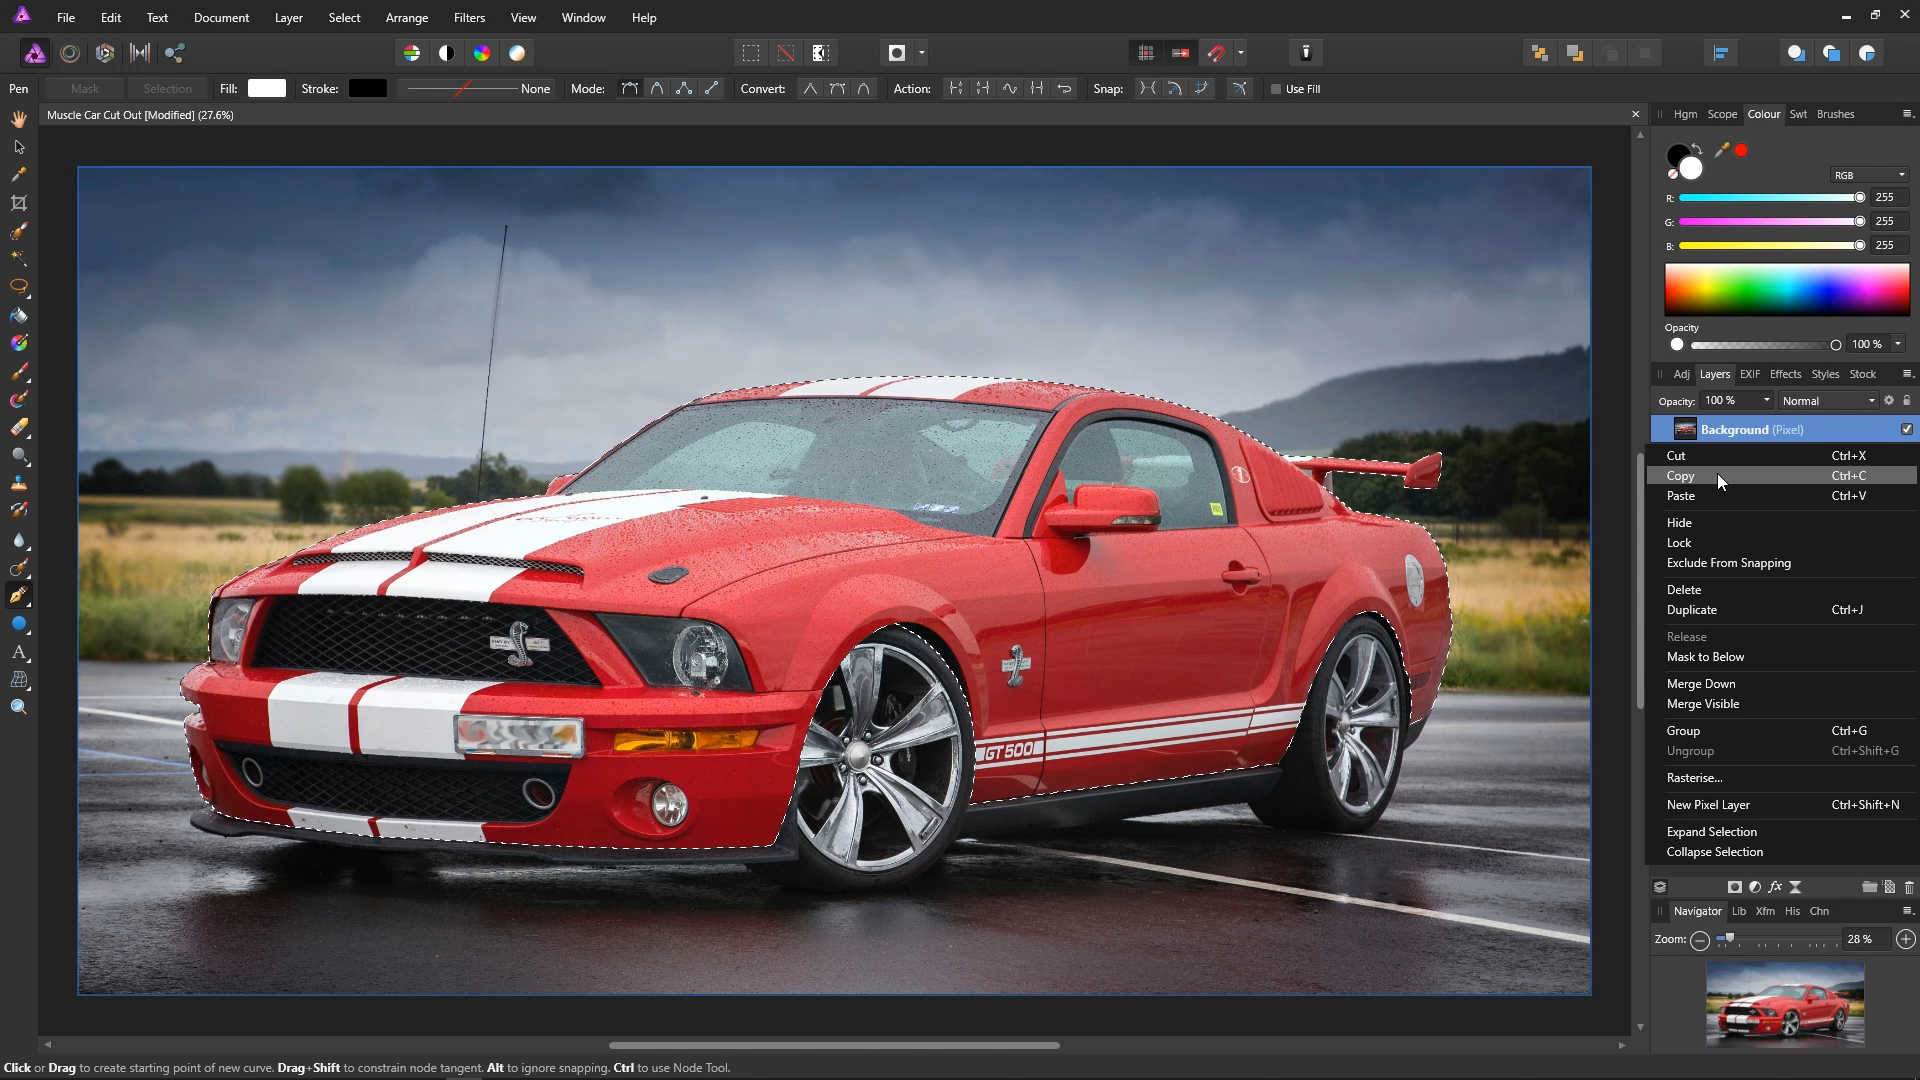
Click the Selection button. The curve will now turn into a selection. And thanks to the previous step, we still have the original curve stored as a layer.
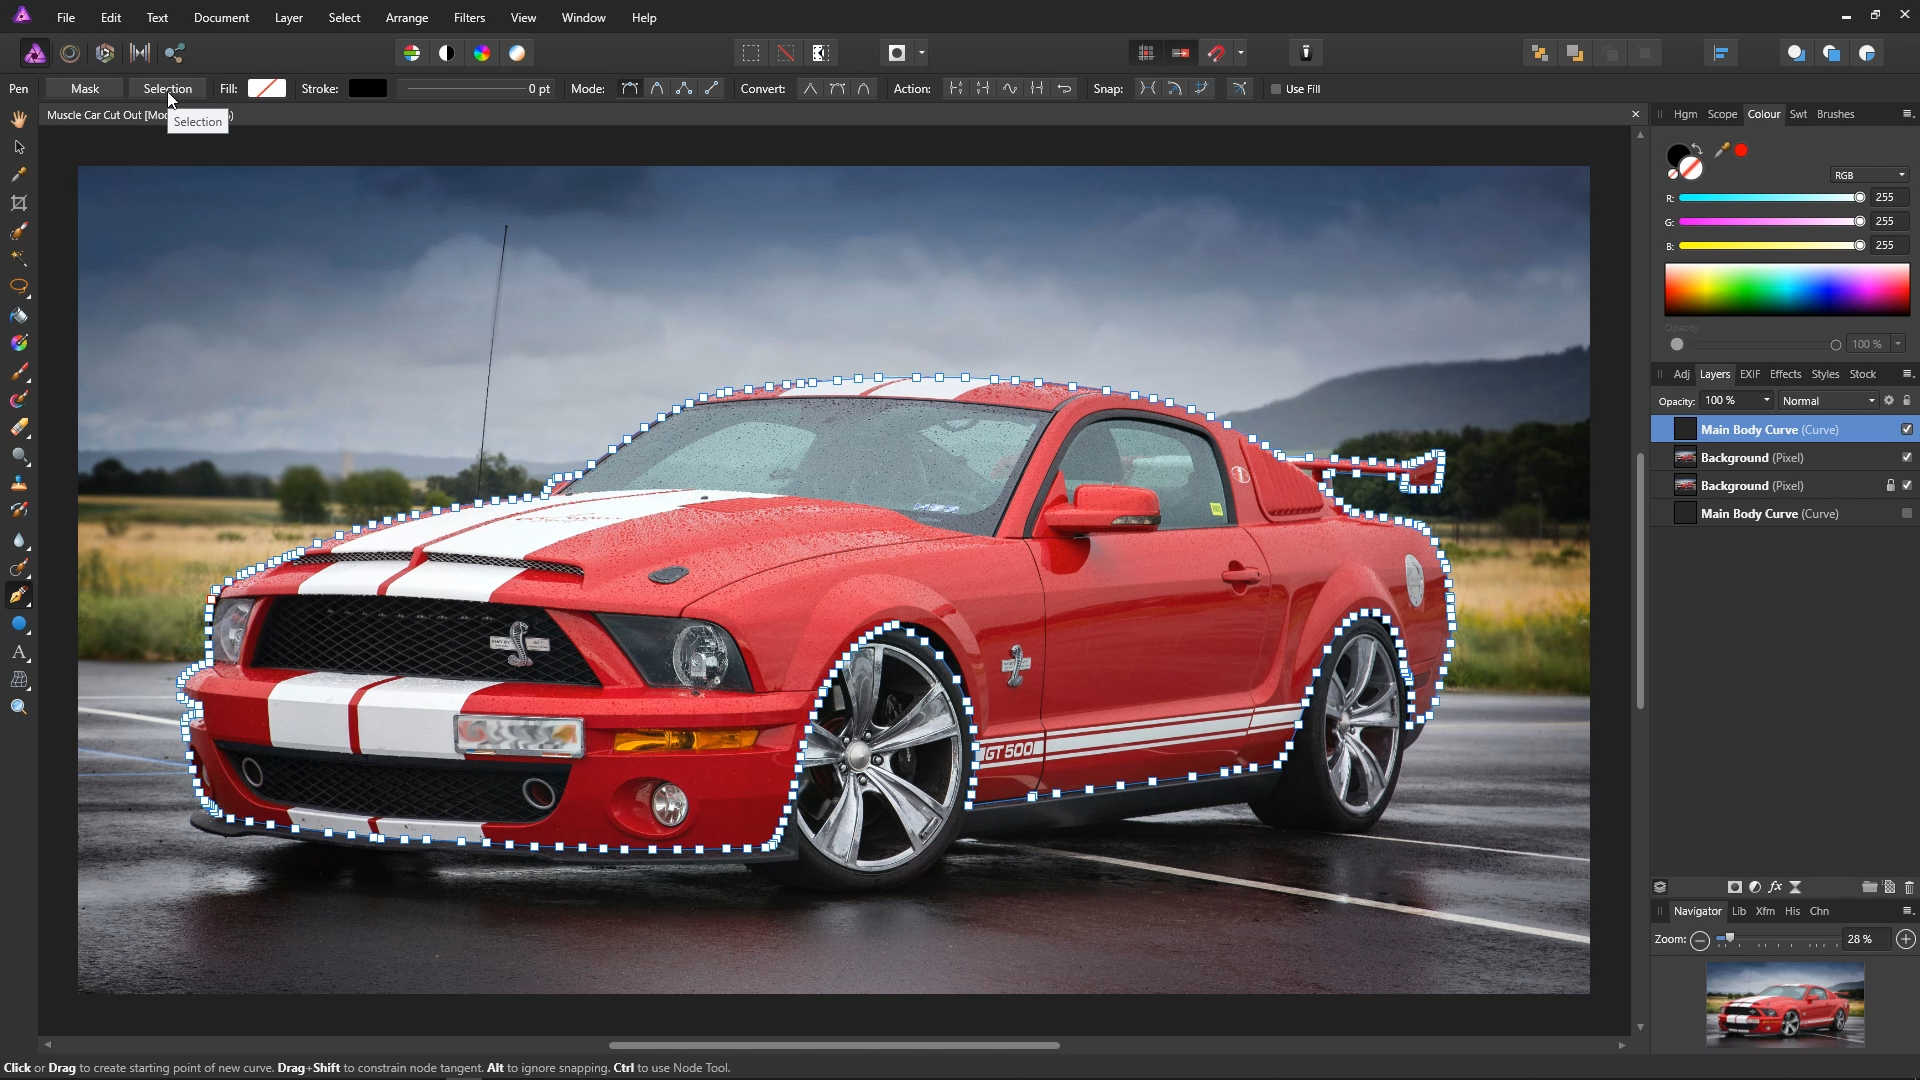

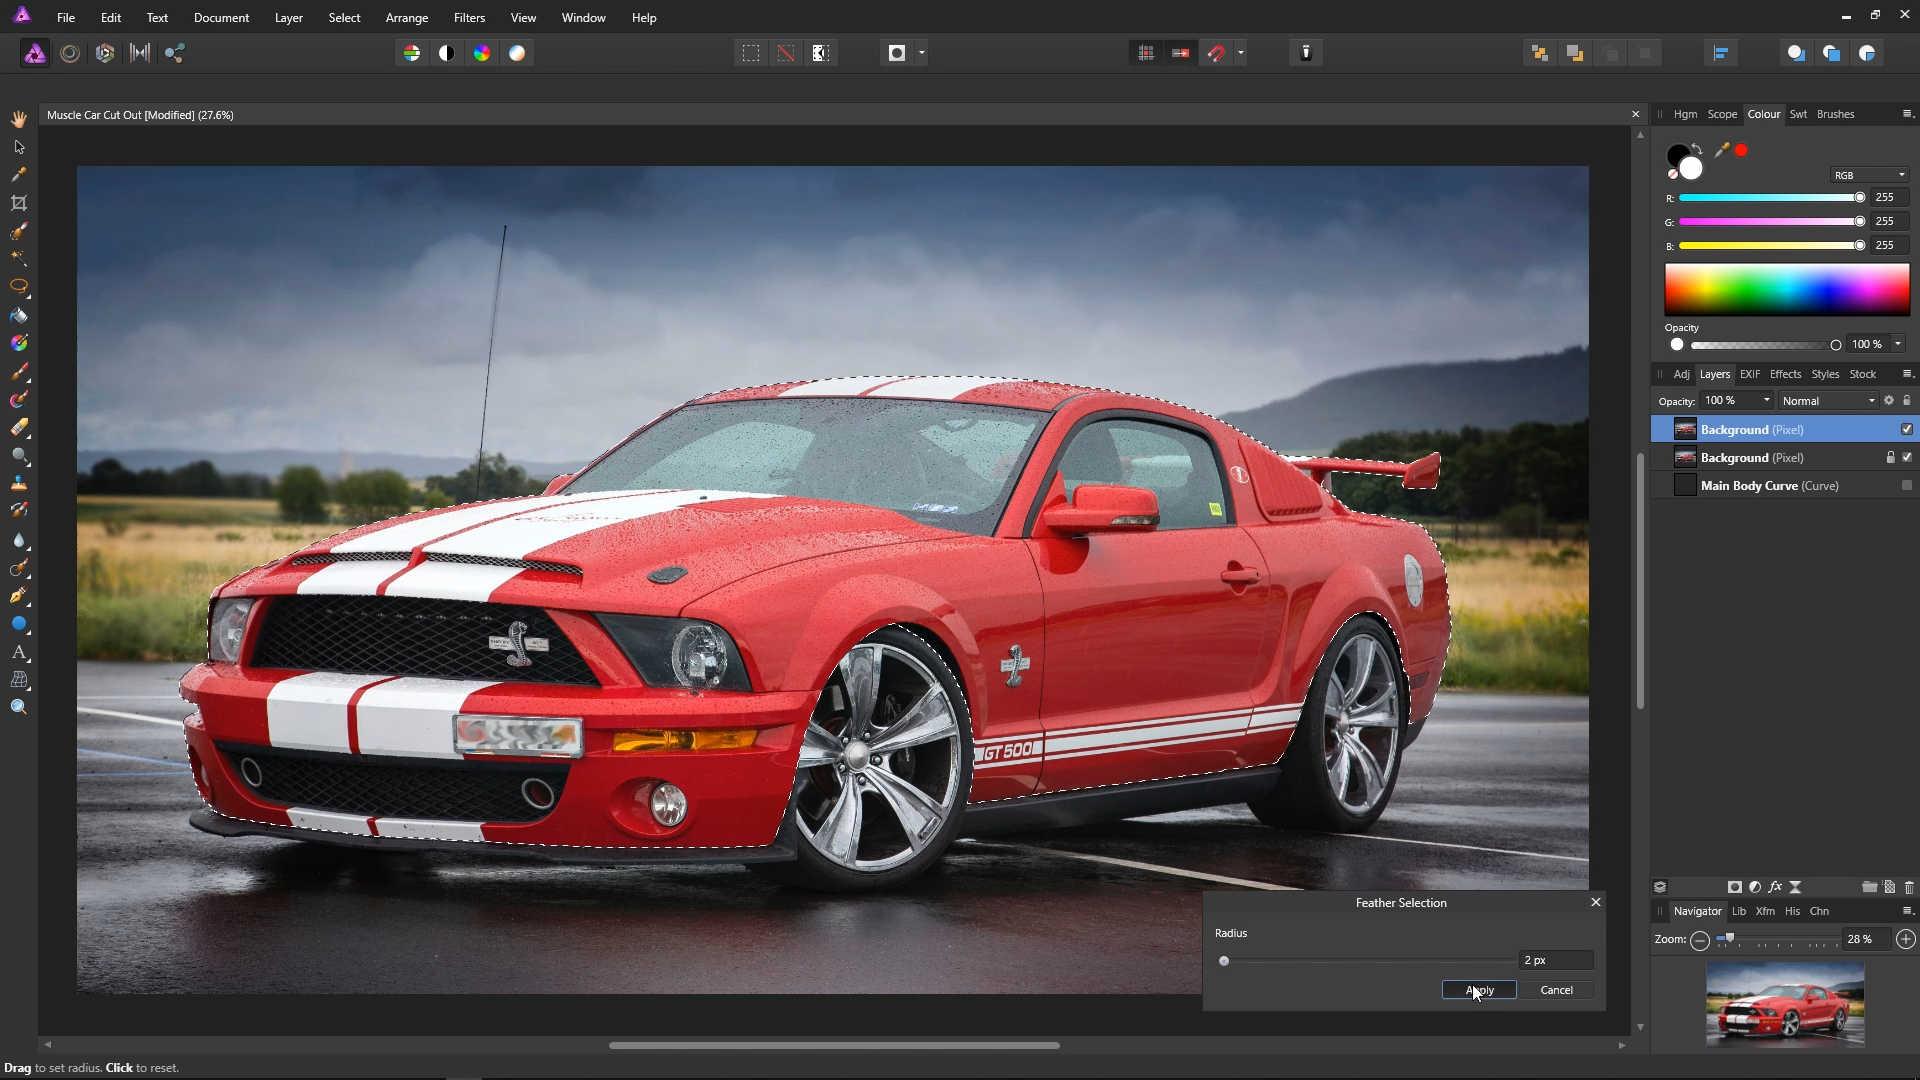
Now we may want to soften the edges of the selection, so they don't appear as harsh if we copy and paste the selection into another image. On the main menu, choose Select, and then Feather.
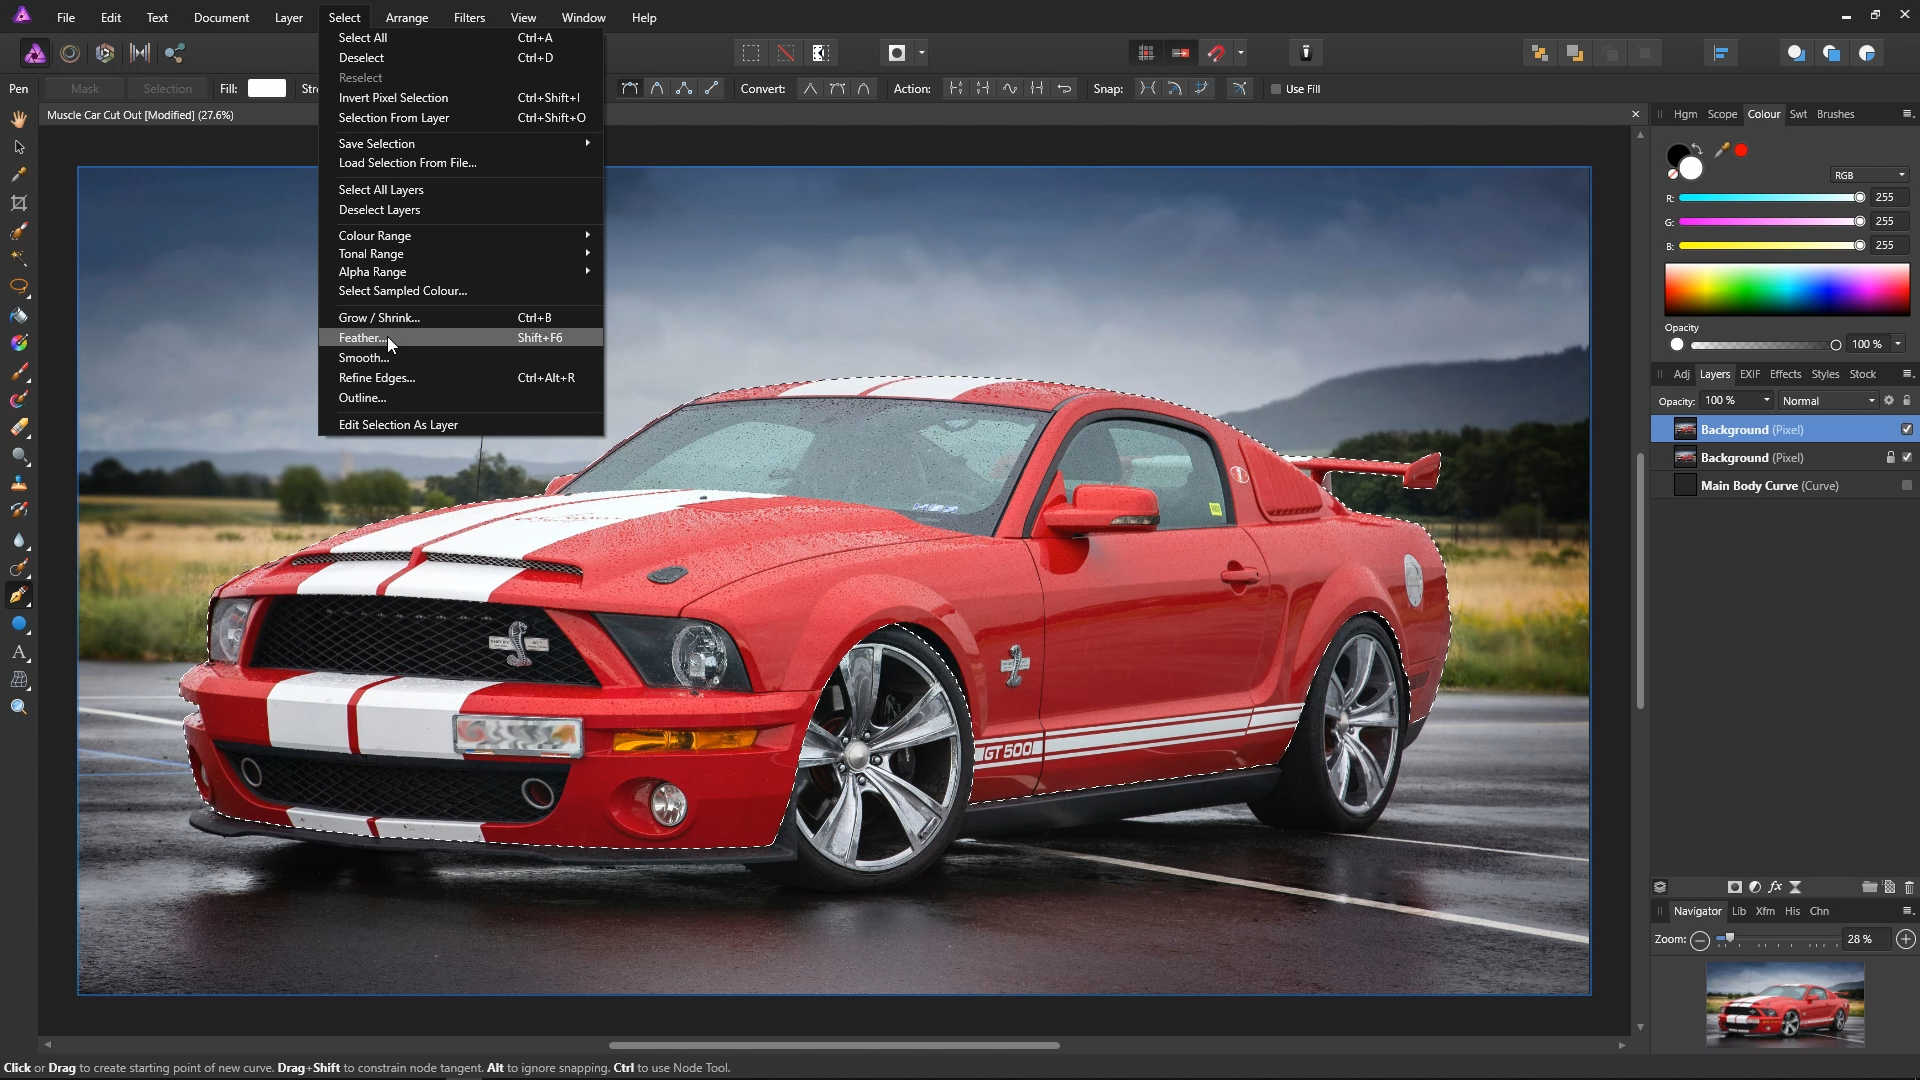
In the dialogue that appears, enter a value between 2 - 8. 2 seems to work best for the image in this example. Hit Apply.
Because we created a selection from the curve, the curve layer is now gone, and Affinity Photo has automatically selected the next layer down.
Right click on this layer (it should now be the top layer), and select Copy.
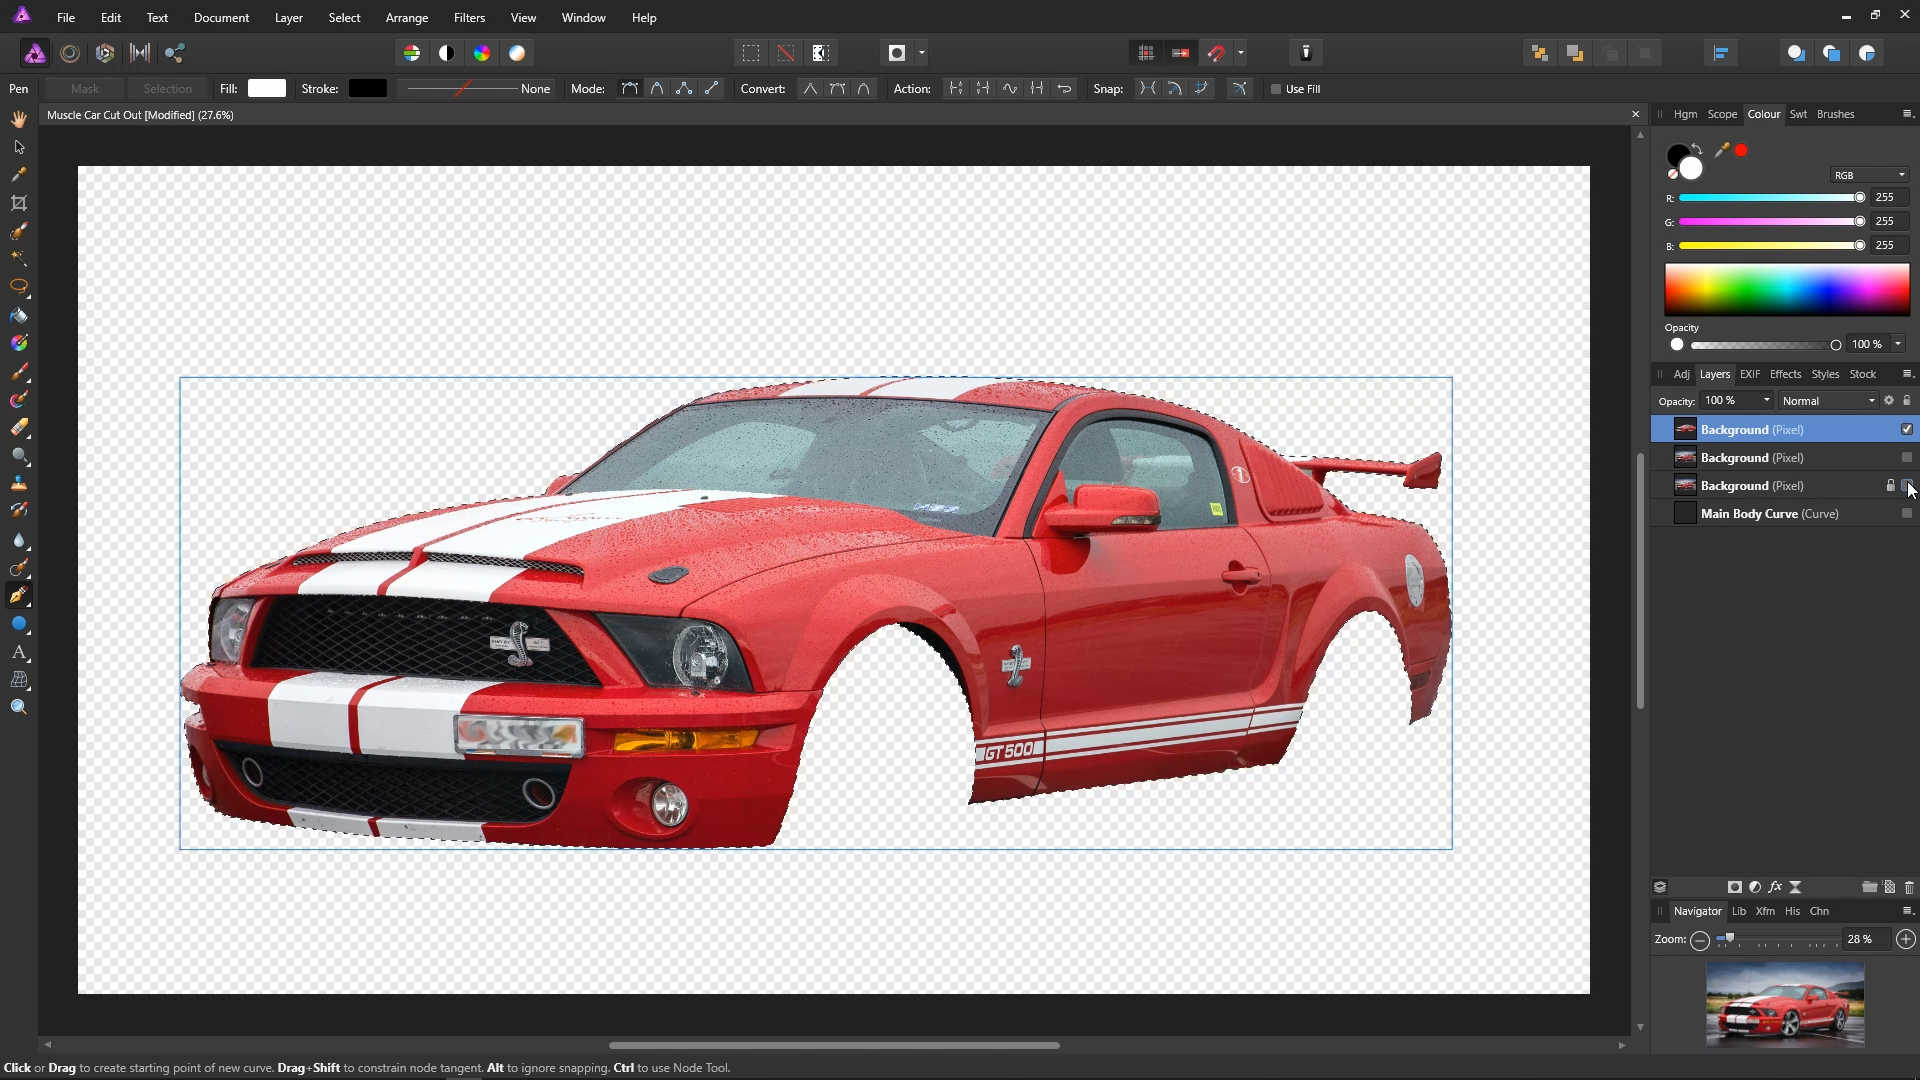
Right click ont he layer again, and select Paste.

We now have a new layer, with the bodywork cut out, ready for us to do our editing.
To take a look at the bodywork on its own, simply turn off the other layers by unticking the boxes on the right hand side of each layer on the layers panel.
We no longer need the selection. So click the Deselect Icon to get rid of it.

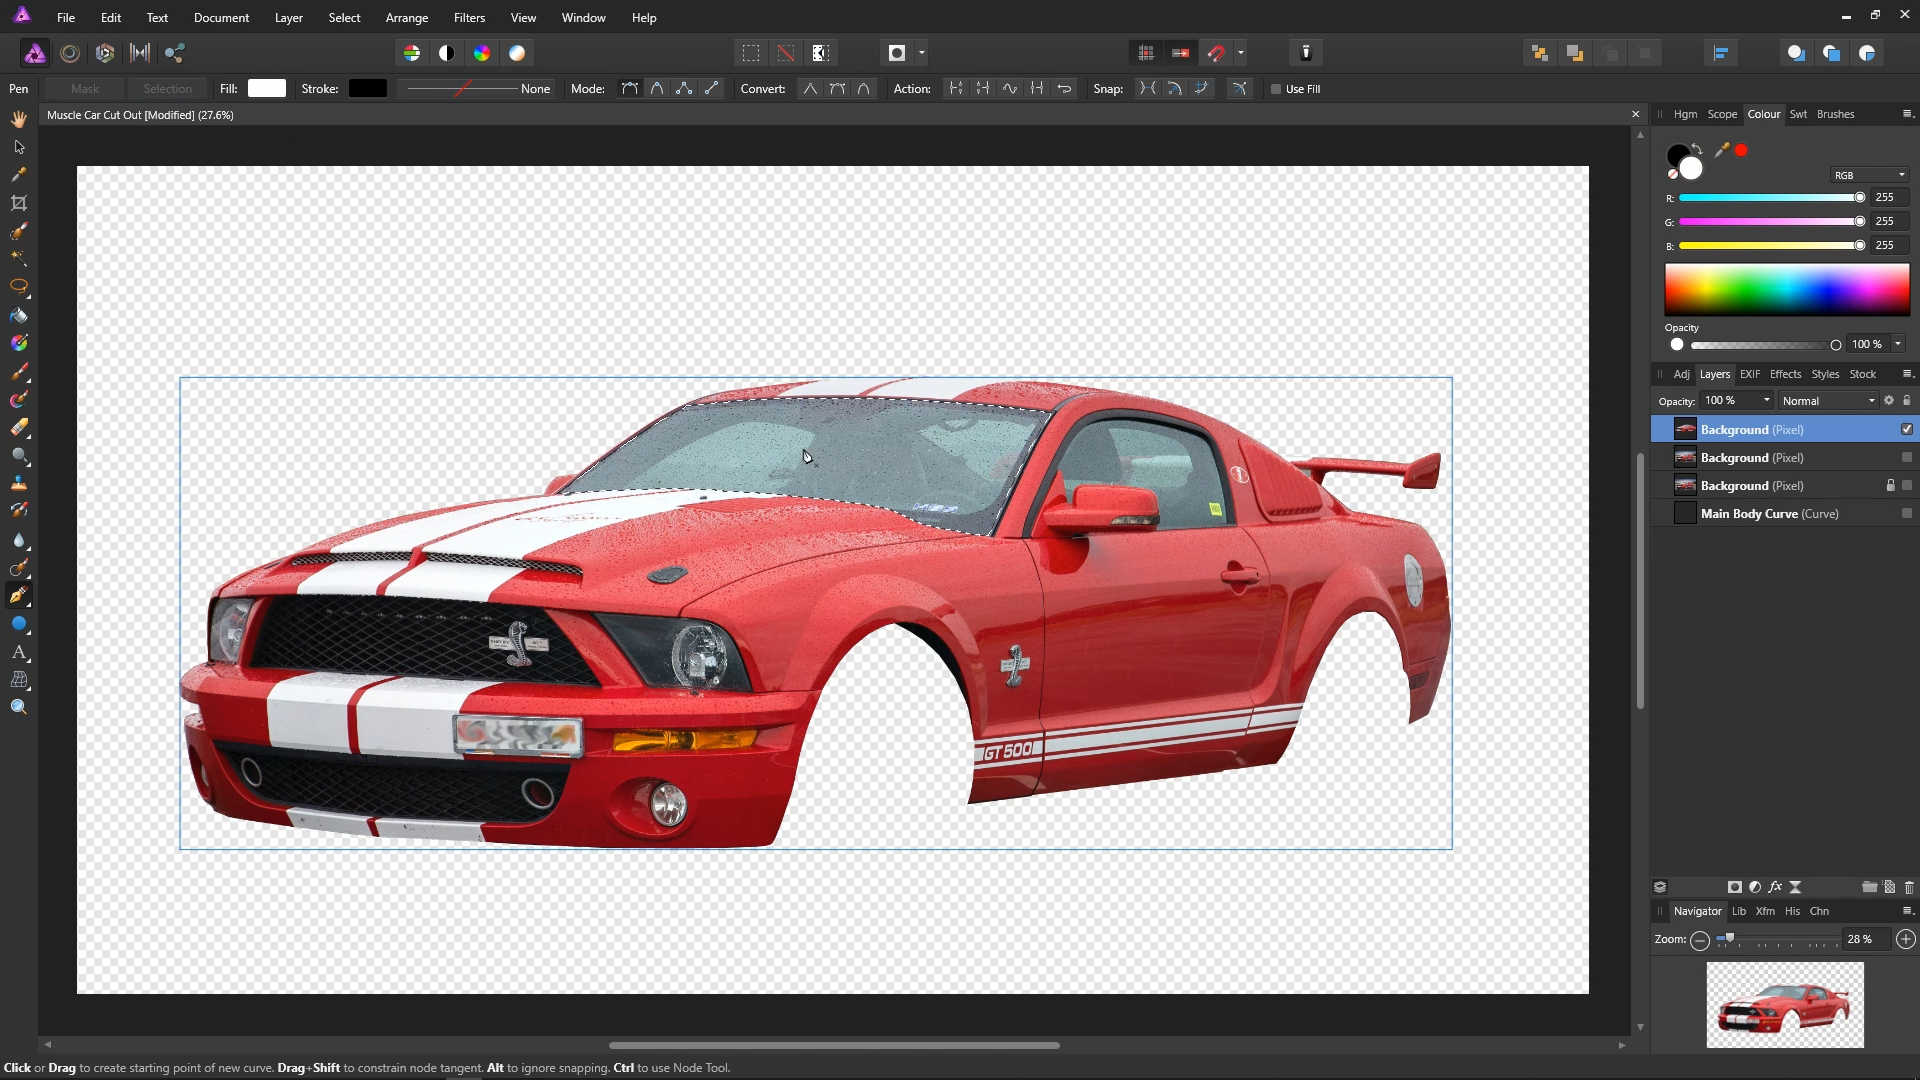
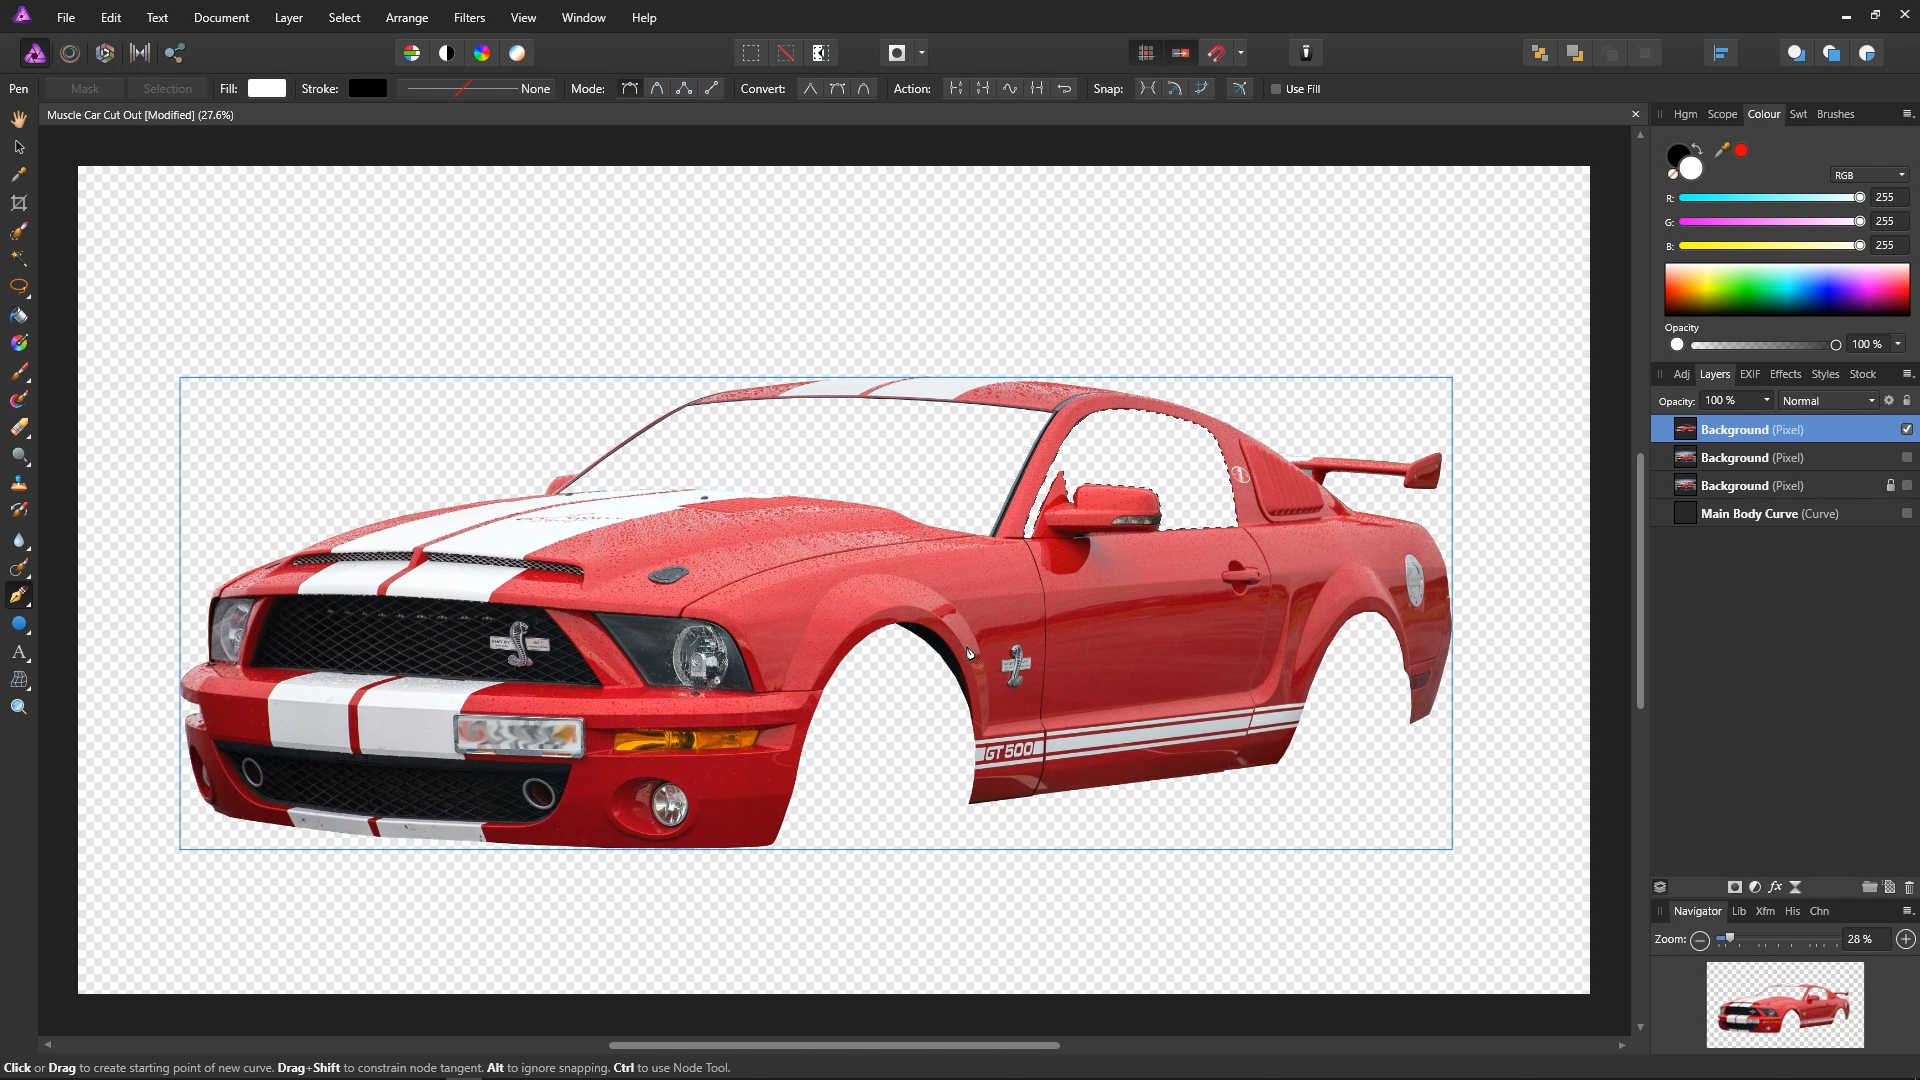
The next stage is to cut out all the various parts that we don't want from the image we now have. We will leave in any white areas, as they won't be affected by the re-colouring.
Before continuing, make sure that the layer with the cut out image is selected. Make sure the Pen Tool is selected.

Earlier in the tutorial, we built a curve, point by point. We are now going to do the same thing again, you may wish to refer to the previous steps if you need a reminder on how to create, edit or delete a point in the curve. Once, done, we end up with something like this:

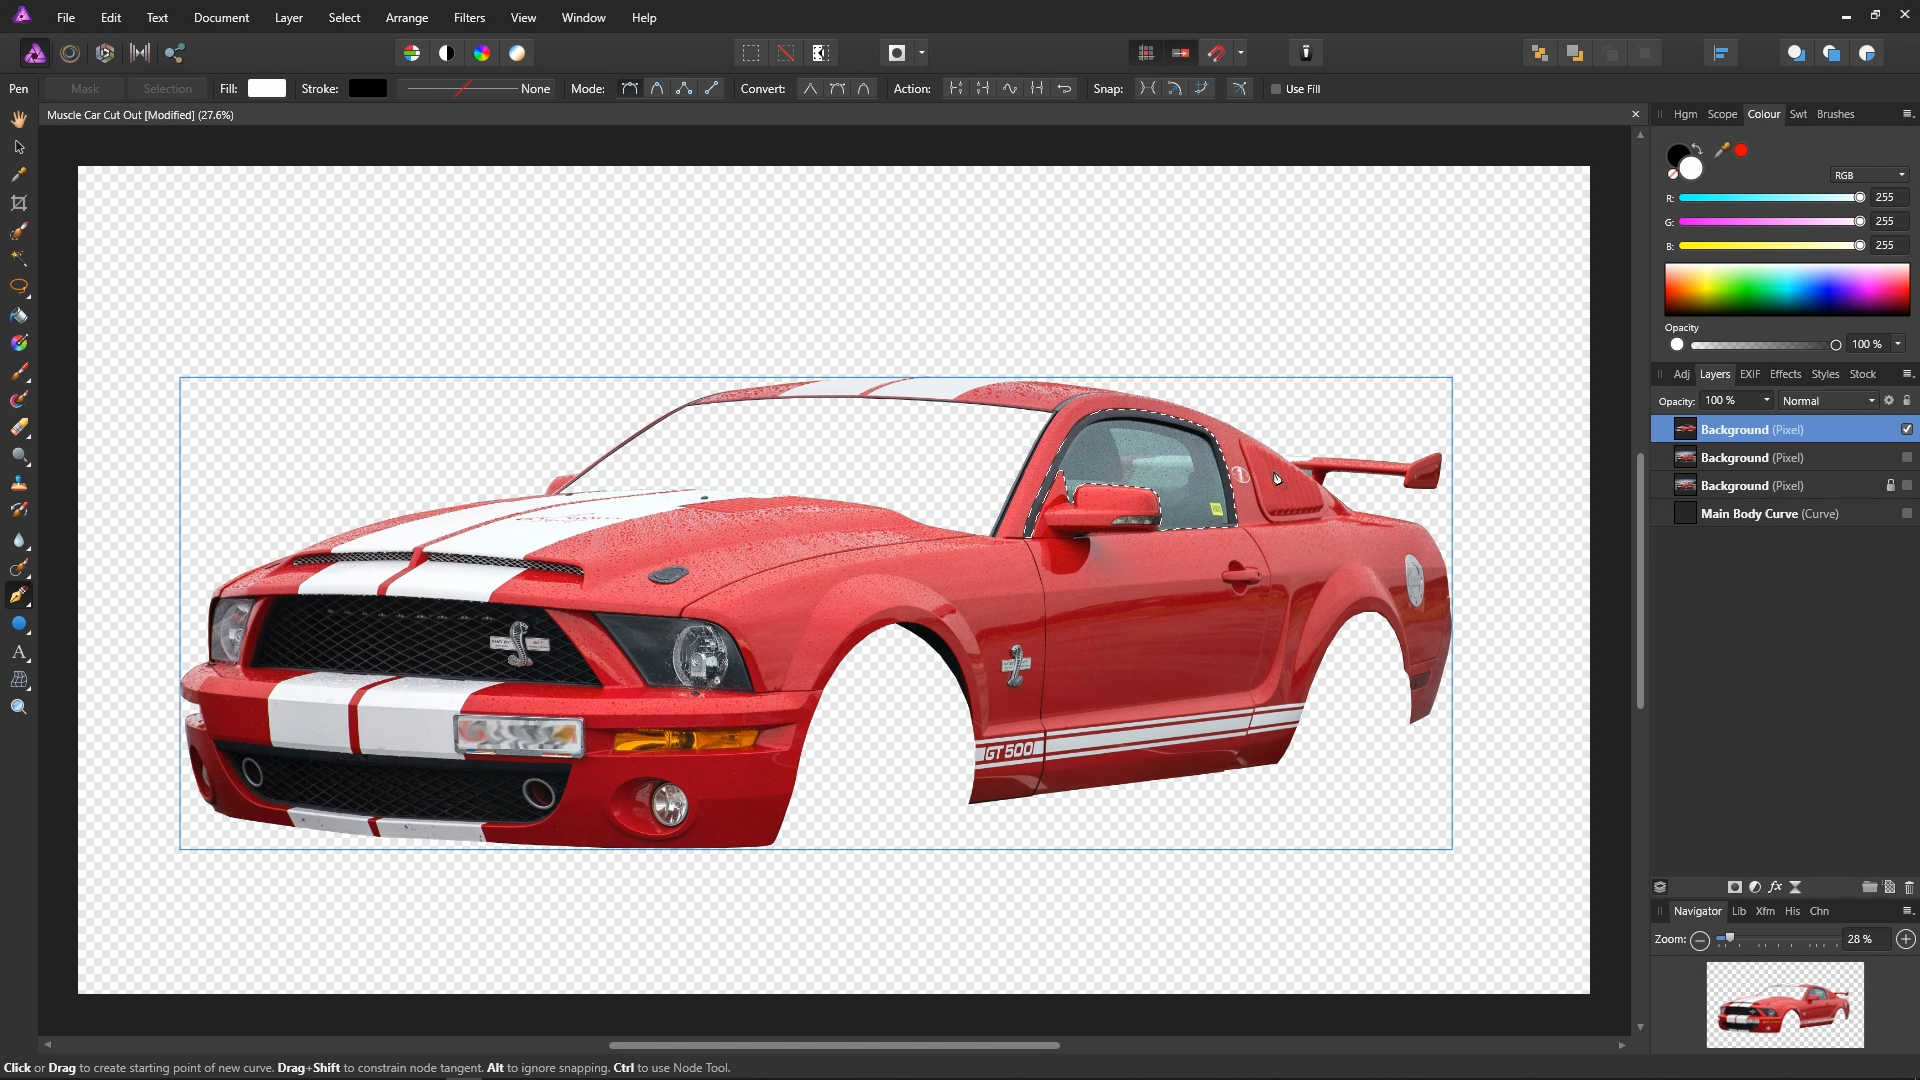
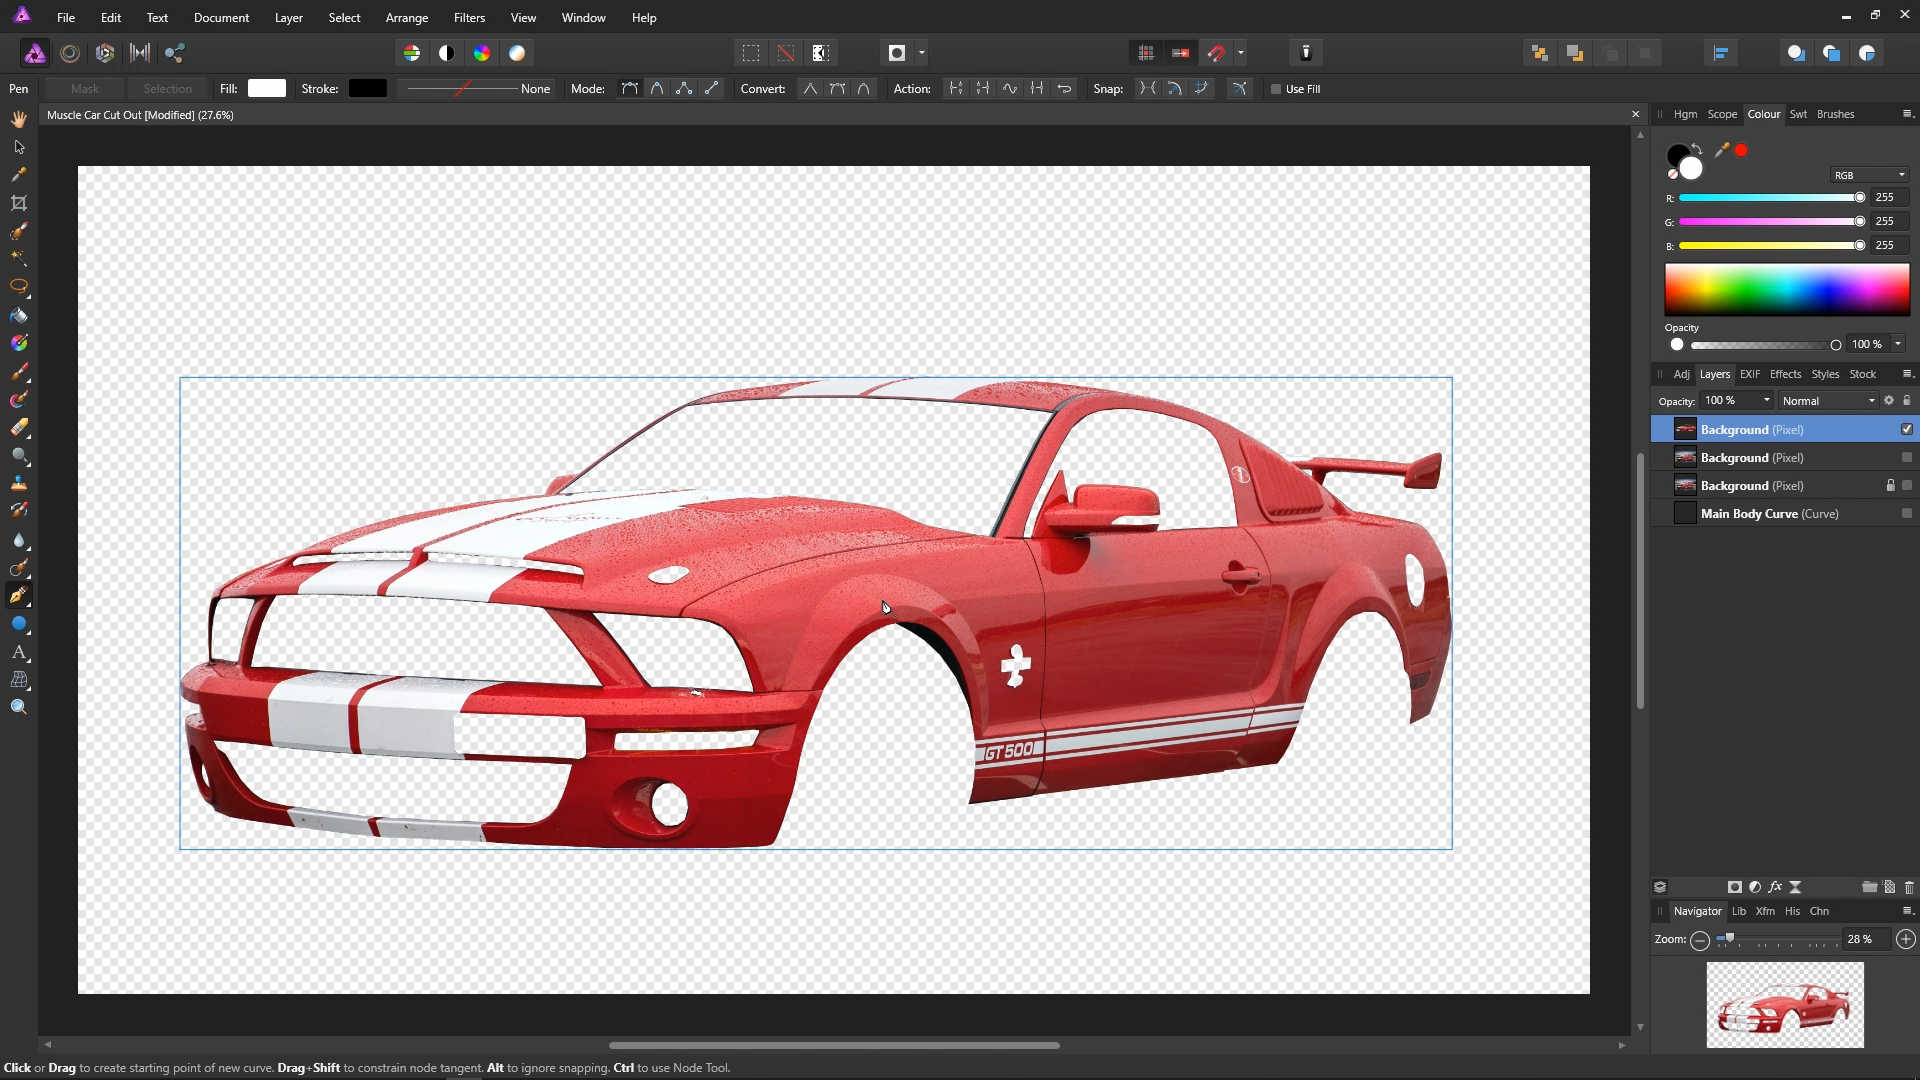
Once again, we will convert this curve into a selection by clicking the Selection button. Affinity Photo will remove the automatically generated curve layer, and it will select the next layer down (our cut out image).

Simply hit the Delete key, and the selection will be removed from the image!

Click the Deselect icon to get rid of the selection.

We will repeat this process for any other areas we want to cut out. Make sure the layer with the cut out image is selected. Make sure the Pen Tool is selected.

Create the curve.

Convert it to a Selection.
Press the Delete key to remove the selection from the image.
Click the Deselect icon to get rid of the selection itself.

You've probably gotten the idea now! So let's see what the example image looks like once we have repeated this process, and cut out all of the areas we don't want.
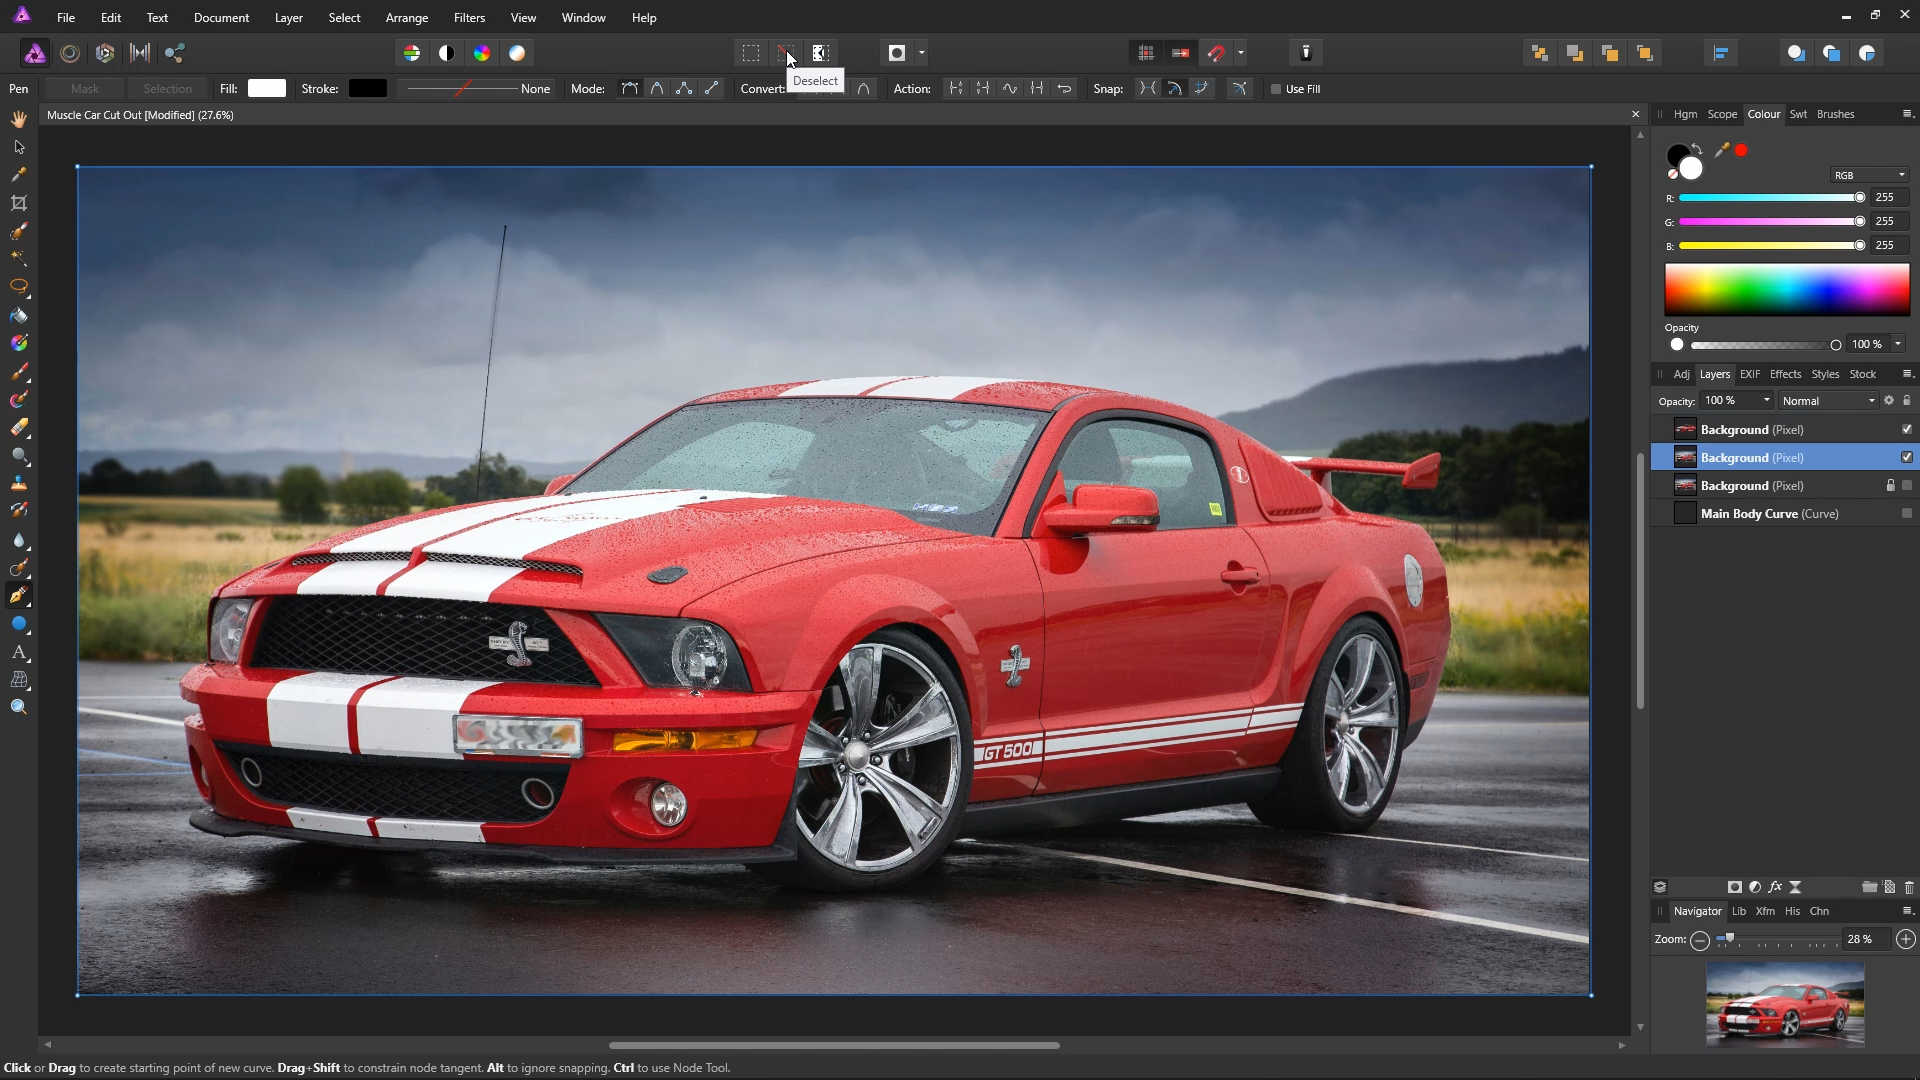
That's all the areas cut out. Let's have a look at the background layer. Turn on the background layer (currently the second layer from the top) by ticking its box on the Layers panel.

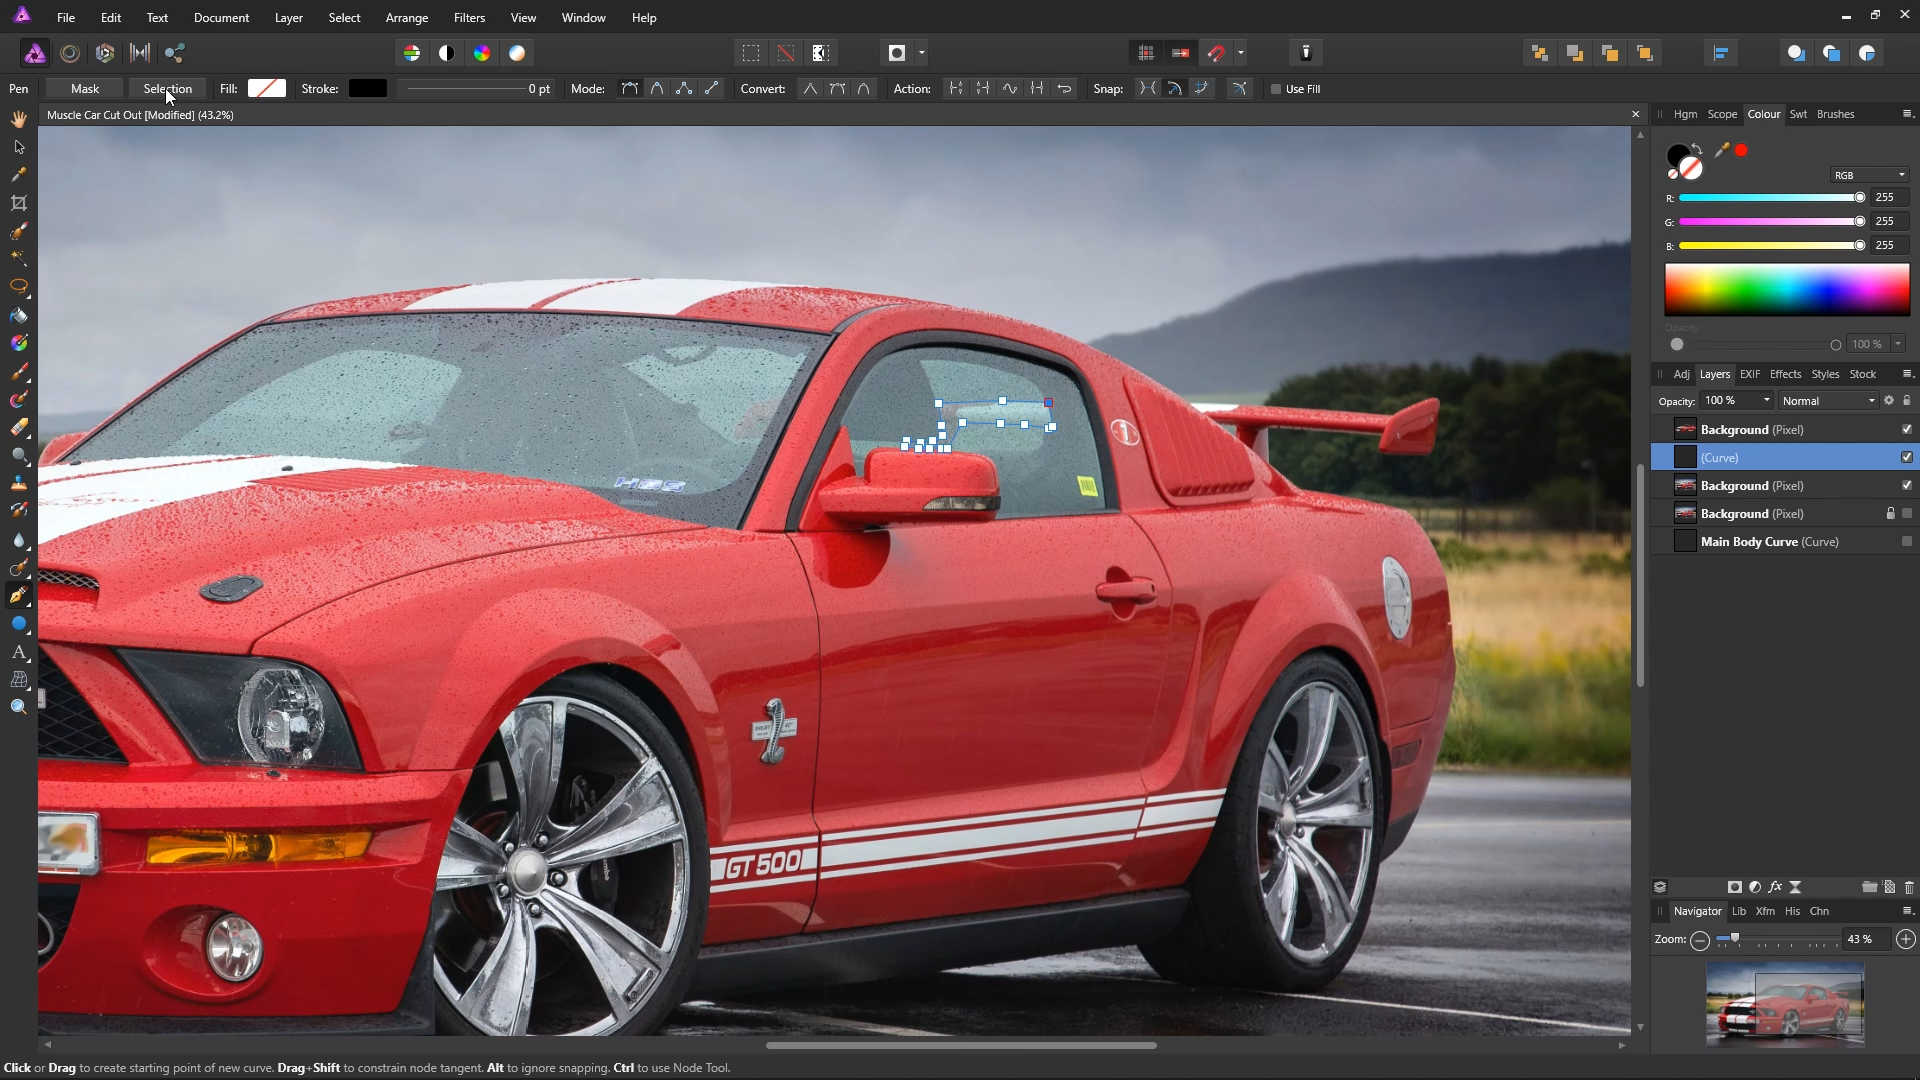
You may find that you've missed a section that you would like to include in the cut-out. For example we have missed half of the fin in the window on the right hand side of the image. The following steps show to add back in a piece you may have missed from the cut-out.
Make sure the background layer is selected, and make sure there are no selections by clicking the Deselect Icon.
Create a curve around the area you want to bring back. You might want to zoom in using Ctrl and the mouse wheel.

Create a selection from the curve by clicking the Selection button.
Right-click on the Background layer and select Copy.
Right-click on the Background layer again, and select Paste.