Recolour & Enhance Eyes with Affinity Photo
Intro
In this tutorial, we will recolour and enhance eyes using Affinity Photo!
While following the tutorial, you can click on the images to view a larger version in a new window or tab.
You can also learn this technique by watching our YouTube video below, or directly on YouTube.
If you do watch on YouTube, please consider giving the video a Like, and Subscribing for more tutorials!
Tutorial
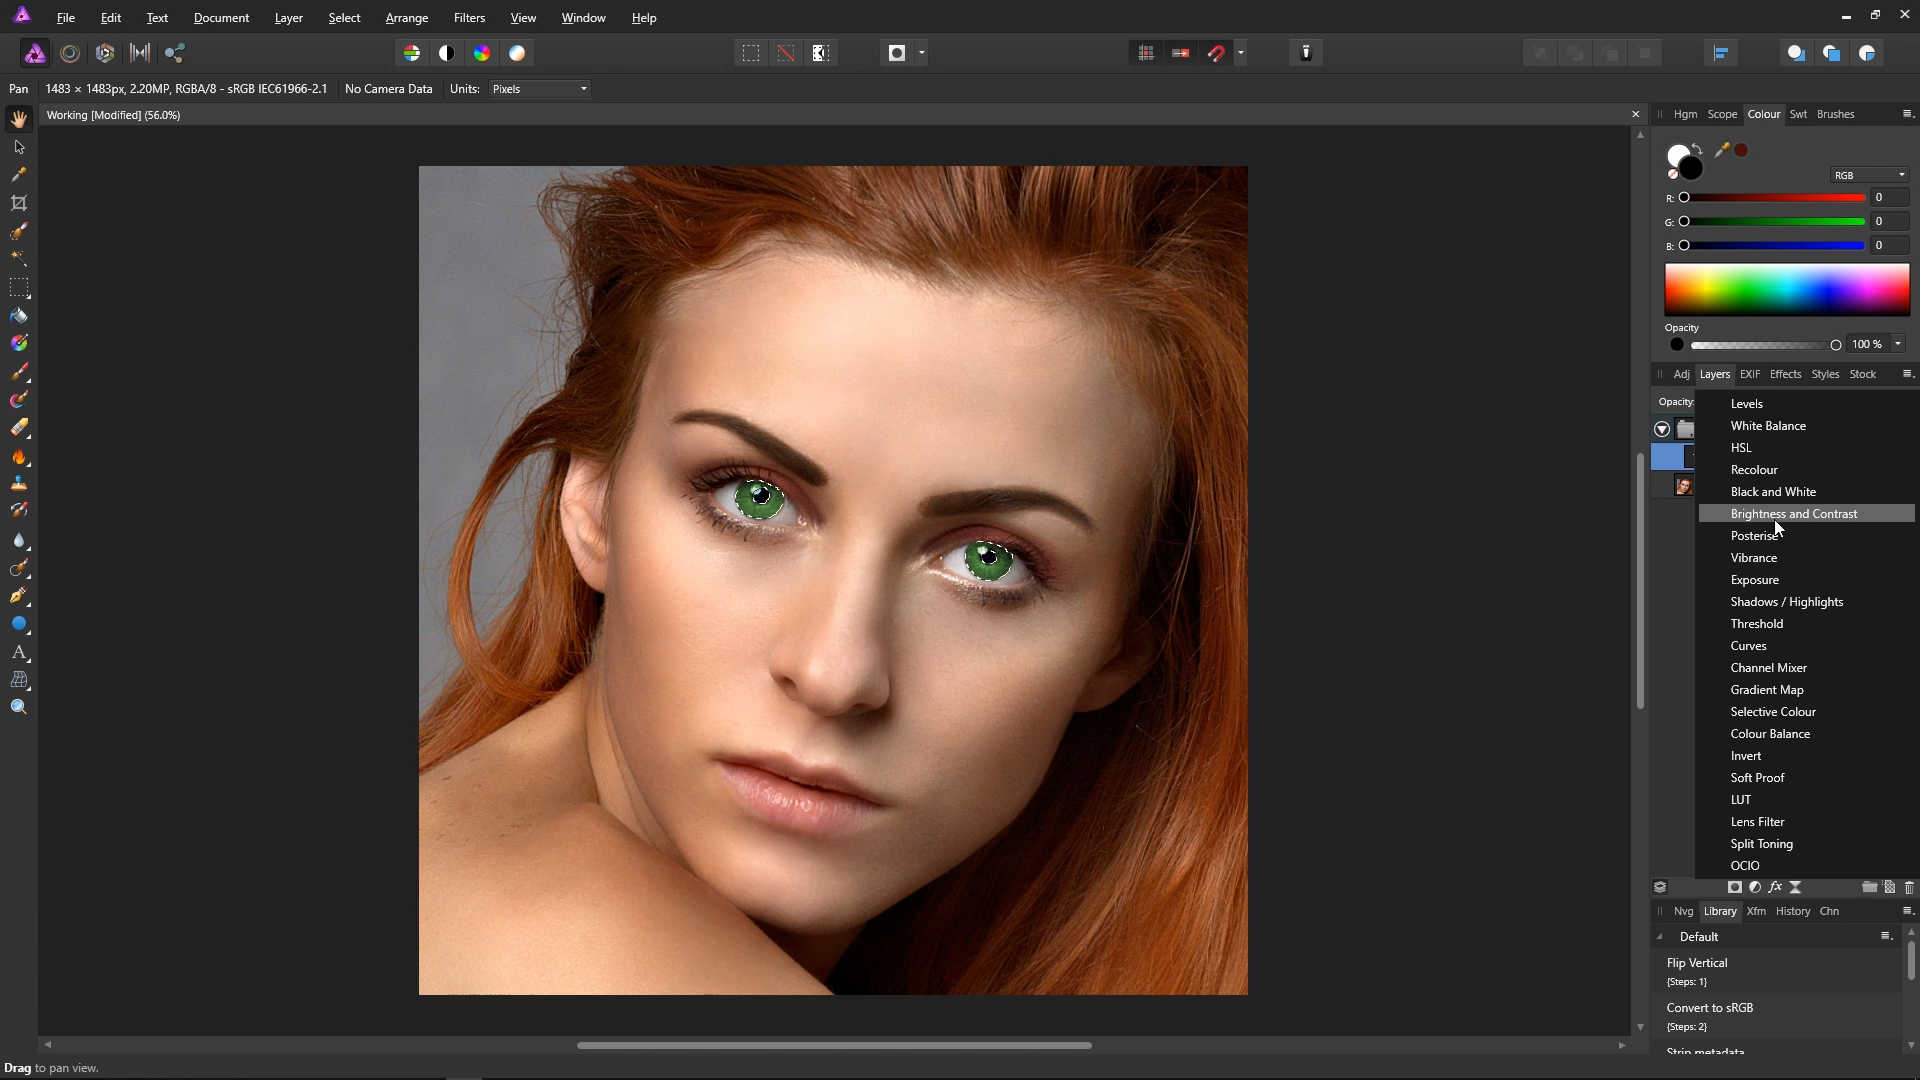
First, open a photo.
To make a start on we will add some colour into the eyes. We are now going to make a recolour adjustment layer.
Select the background layer in the layers list.

Click the Adjustments icon, and select Recolour.
![]()

At first, the recolour adjustment will affect the whole image.

Press Ctrl + I to invert the mask, making it empty.

Now we can add our own mask by using the Paint Brush. Select the Paint Brush tool.

In the Context Toolbar (at the top), make sure:
- Opacity is set to 100%
- Flow is set to 100%
- Hardness is set to 0%

Make sure white is selected in the colour picker. If it is not, you can double click the first circle to open up the colour picker.

We are now going to start painting in the mask over the eye's iris. You may want to zoom in first. You can zoom in and out of the photo by holding down the Ctrl key and using the mouse wheel.
You can also adjust the paint brush size. You can do this by holding the Alt key, both mouse buttons and moving the mouse left and right. Or by using the [ and ] keys.
Now, simply paint over the iris. Hold down the left mouse button to paint.

You will most likely want to recolour both eyes. You can move around the image (pan) by holding down the spacebar key and dragging the image around with the mouse.

Paint over the iris in the second eye.

We've now painted in masks for both eyes. We won't have to do this again, as we can re-use the masks on other adjustment layers.
To adjust the eye colour, drag the Hue slider on the Recolour dialog to the colour of your choice. In this example, we have made the eyes green - a value of 107.2.

Adjust the saturation slider to the amount of your choice. In the example photo, we've gone with 35%.

Close the recolour dialog with the X in its top-right corner.
Select the View Tool (hand icon).

Let's rename the adjustment layer so we know what it is. Click on the layer's name in the layers panel, and type "Eye Colour".

We are now going to put the Eye Colour layer into a group. Right-click on the Eye Colour layer in the layers panel and select Group.

Having the Eye colour layer in its own group enables us to change the mix on the eye by simply changing the layer's opacity.
You can open and close the group layer by clicking the white triangle that is next to it.

Rename the group "Eye Recolour", so that we know this group will contain all the adjustments related to recolouring the eyes.

We are now going to add some definition by creating a layer that affects only the highlights, we will then move onto the shadows. But for now, let's create a highlights layer.
Hold down the Ctrl key and click the square icon next to the Eye Colour layer. This will create a selection from the mask we painted earlier.
![]()
Click the Adjustments icon, and select Brightness and Contrast.

You may want to zoom in at this point by holding down the Ctrl key and using the mouse wheel.

Click the deselect icon to remove our selection.
![]()
Bring the brightness slider up. In the example photo, we've gone with 72%.

We don't want the brightness adjustment to affect the whole eye - only the highlights. Bring up the Blend Options dialog by clicking the little cog at the bottom right of the Brightness / Constrast dialog.

On the left panel, drag the left point to the bottom right of the panel. You will see that the brightness adjustment is now gone! Since it's not affecting any of the eye.

This isn't quite what we want however, so get the same point and drag it to the bottom middle.

Bring the second point in a little, this will cause the brightness adjustment to affect only the highlights.

Close the Blend Options dialog. Now that we have done this, we can use the Brightness slider on the Brightness / Contrast dialog to alter just the highlight areas of the iris. At this point we adjusted the Brightness slider to 86% in th example photo.

Close the Brightness / Contrast dialog. If you'd like to set the impact of the adjustment, you can select the layer on the layers panel, and use the opacity slider. In the example photo, we've gone with 61% opacity.
