Recolour & Enhance Eyes with Affinity Photo
Part 2
Rename the layer "Highlights".

That's the highlights done. Let's move on to the shadows.
Make sure the Highlights layer is selected in the layers panel. Then hold down Ctrl and click the square icon to the left of the layer to bring back our selection.

Click the Adjustments icon, and once again, select Brightness / Contrast.
![]()
Click the Deselect icon.
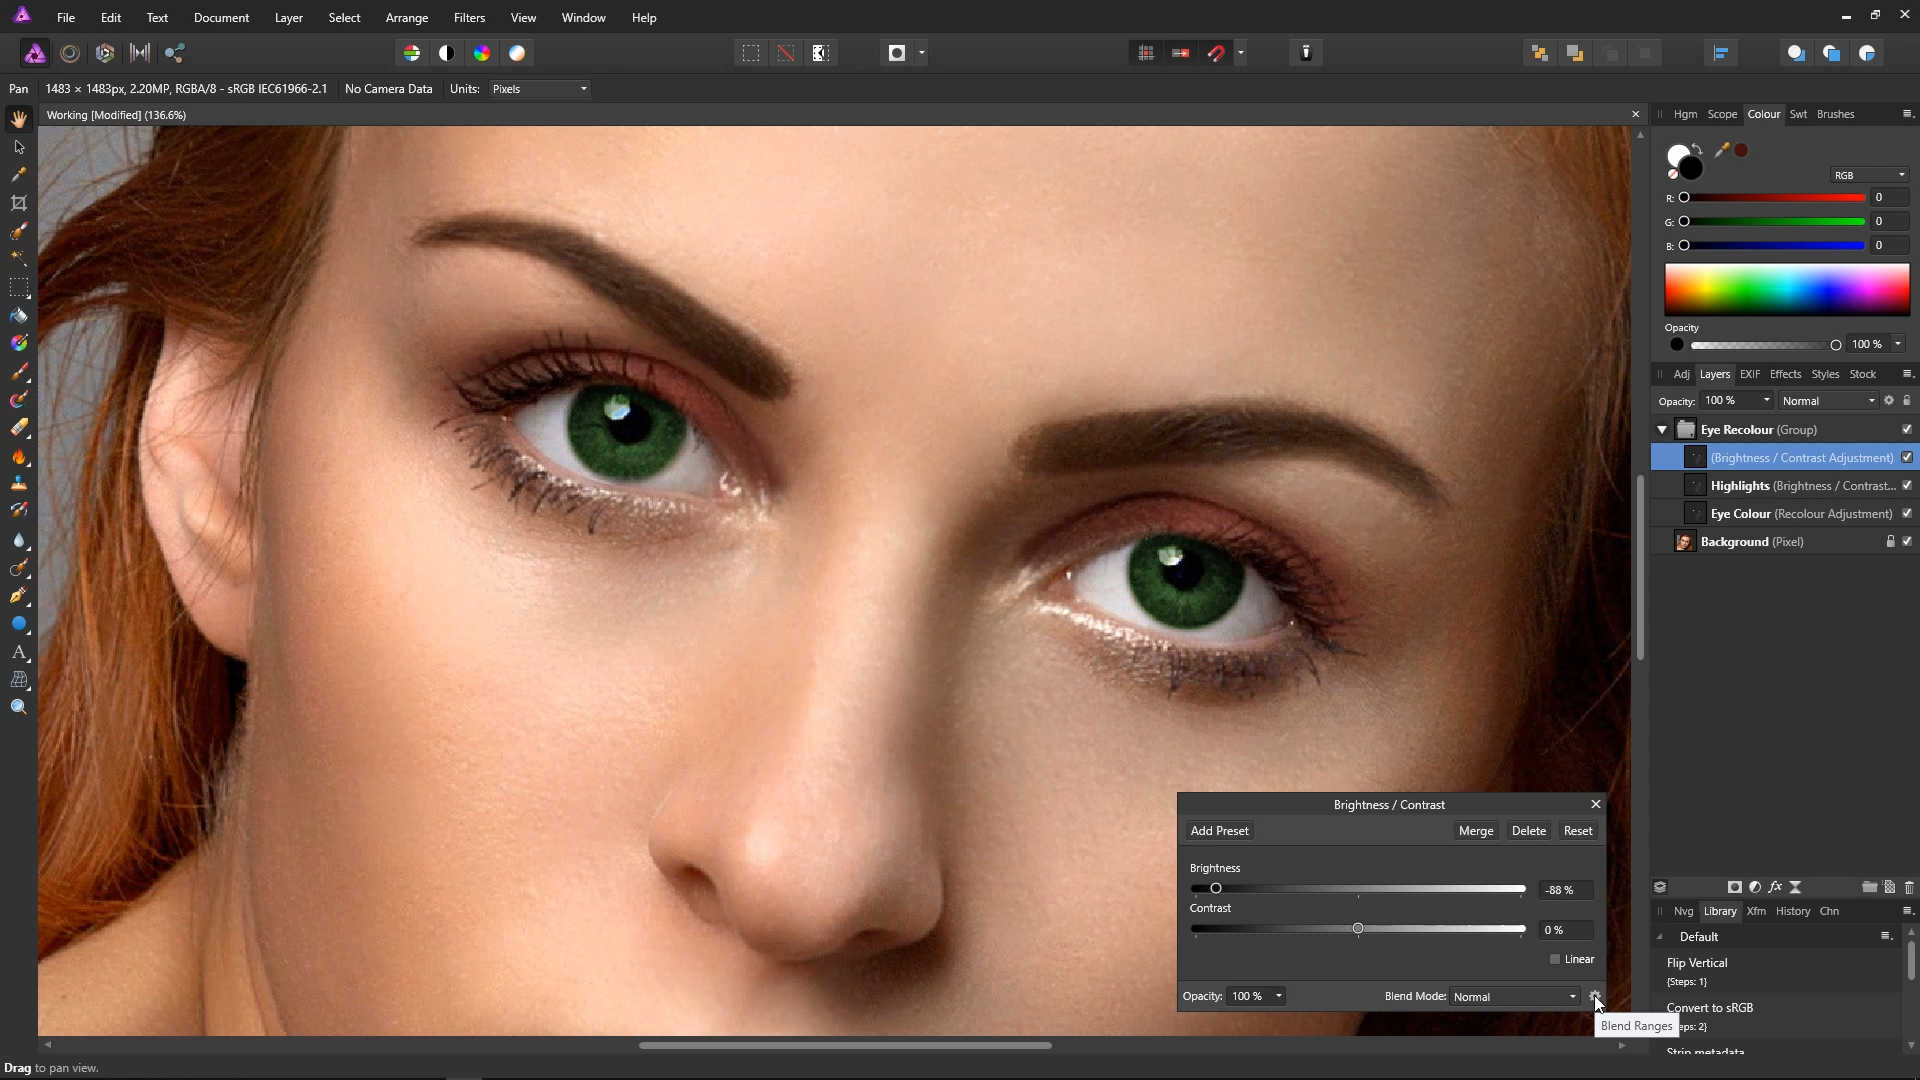
On the Brightness / Contrast dialog, bring the brightness down using the slider. In the example photo, we have gone with minus 88%.
Once again this is affecting the entire eye, which we don't want. Open up the Blend Ranges dialog using the little cog on the bottom right of the Brightness / Contrast dialog.
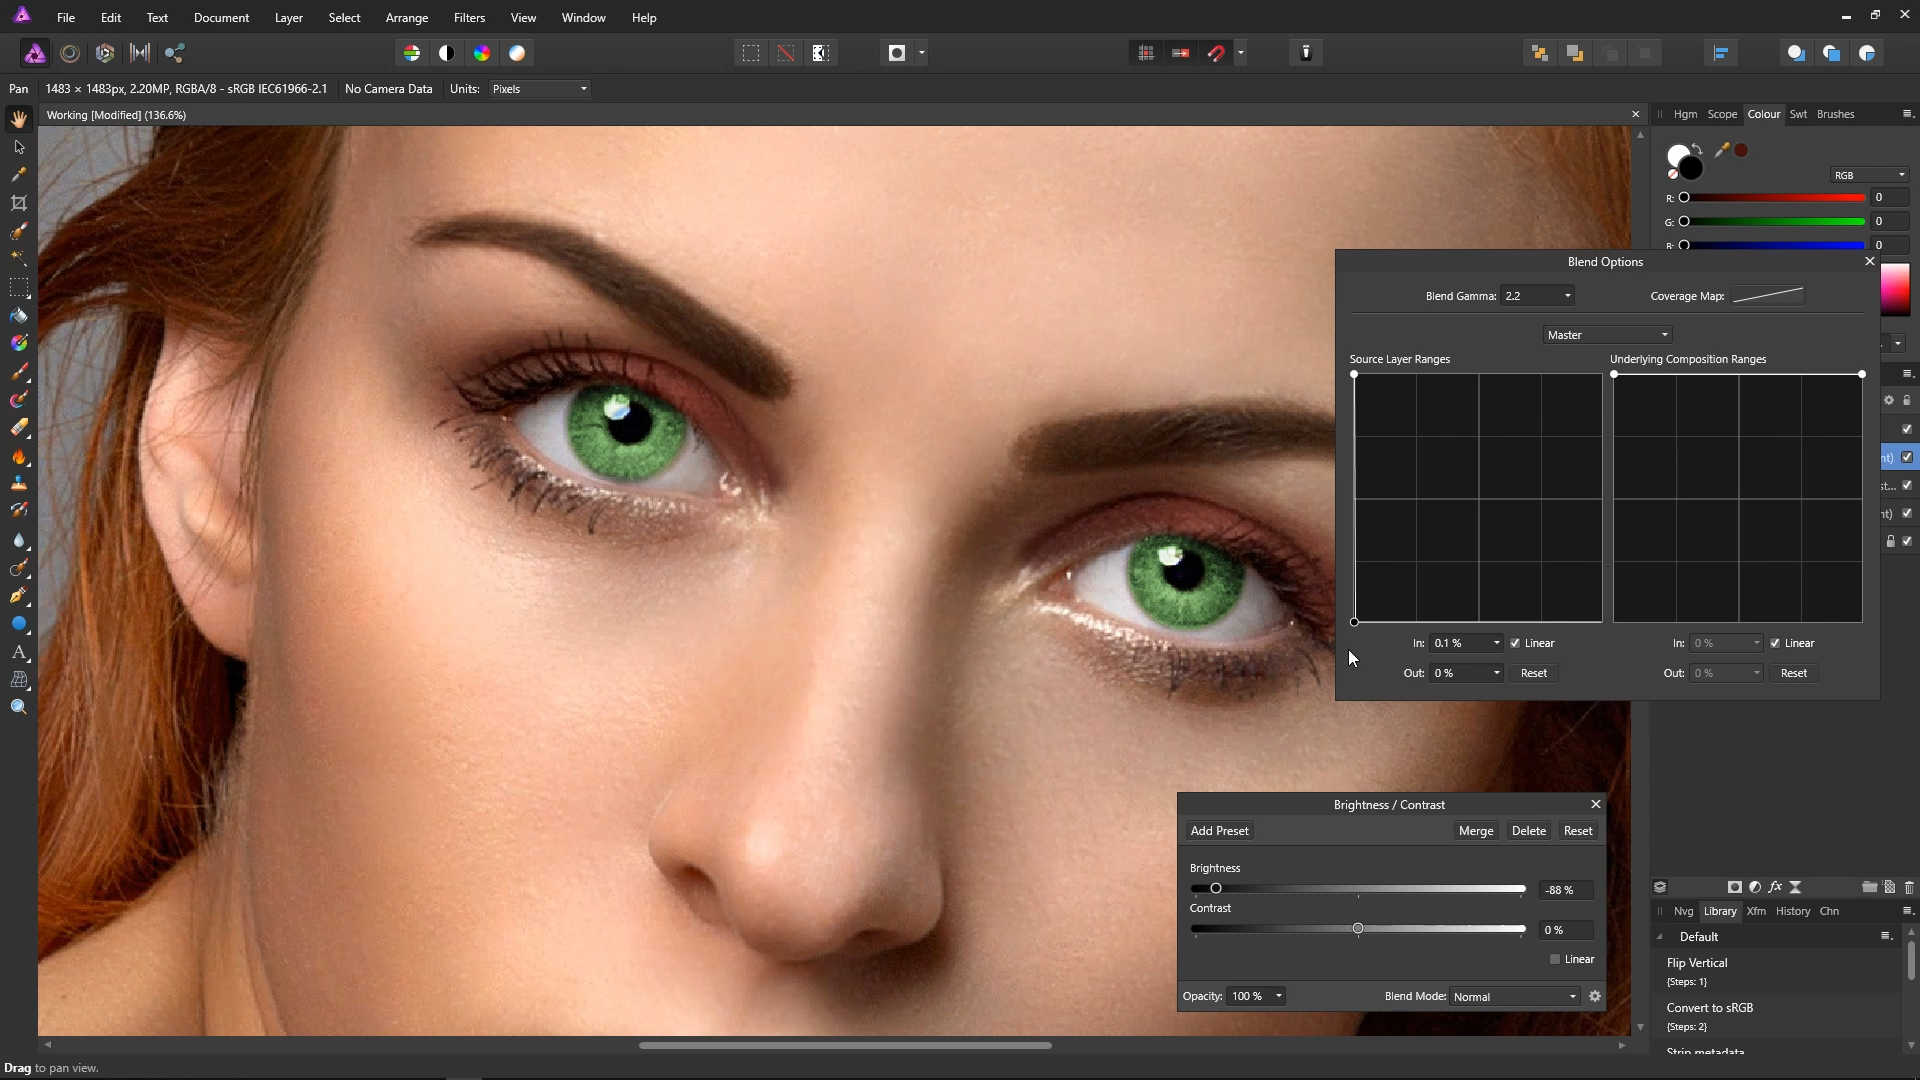
On the left panel on the Brightness / Contrast dialog, bring the right-hand point down to the bottom left.
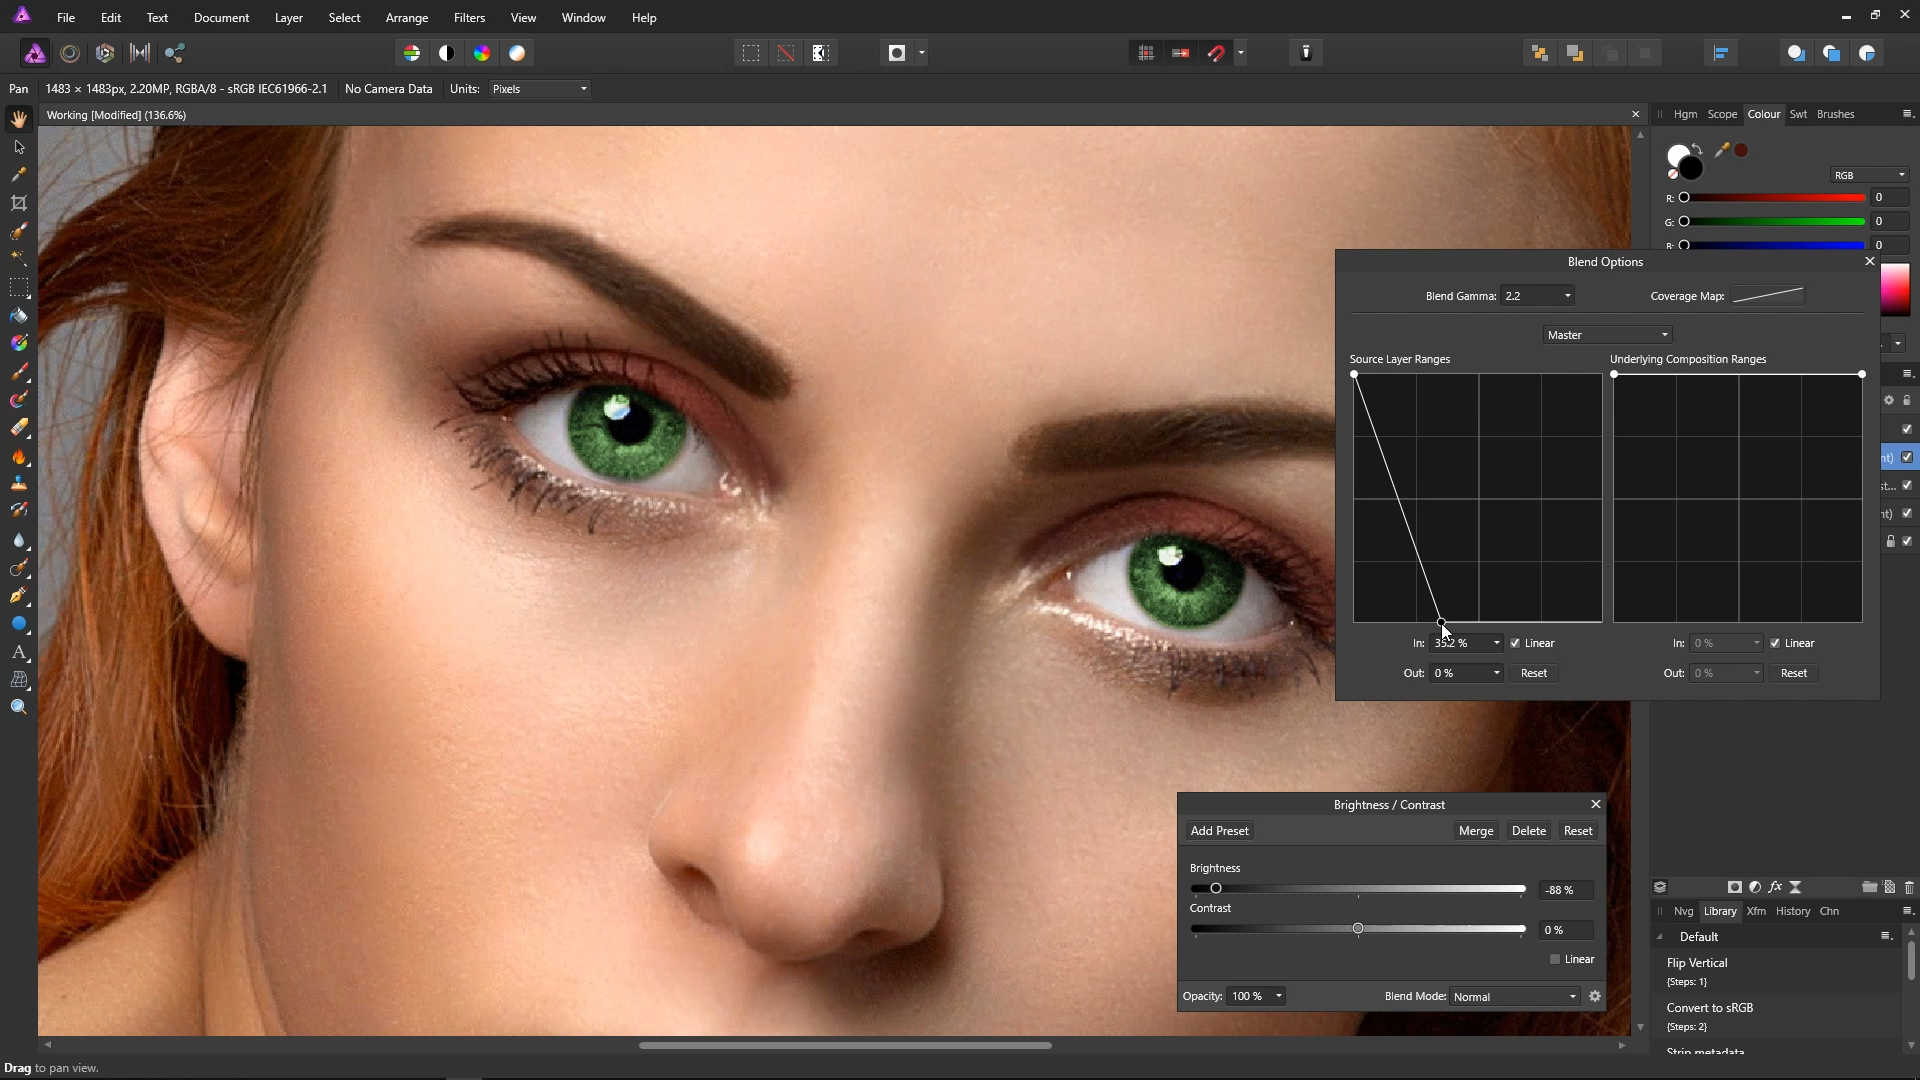
Now drag the point along the bottom until you have the required range being darkened. In the example photo, we've gone about 33% across.
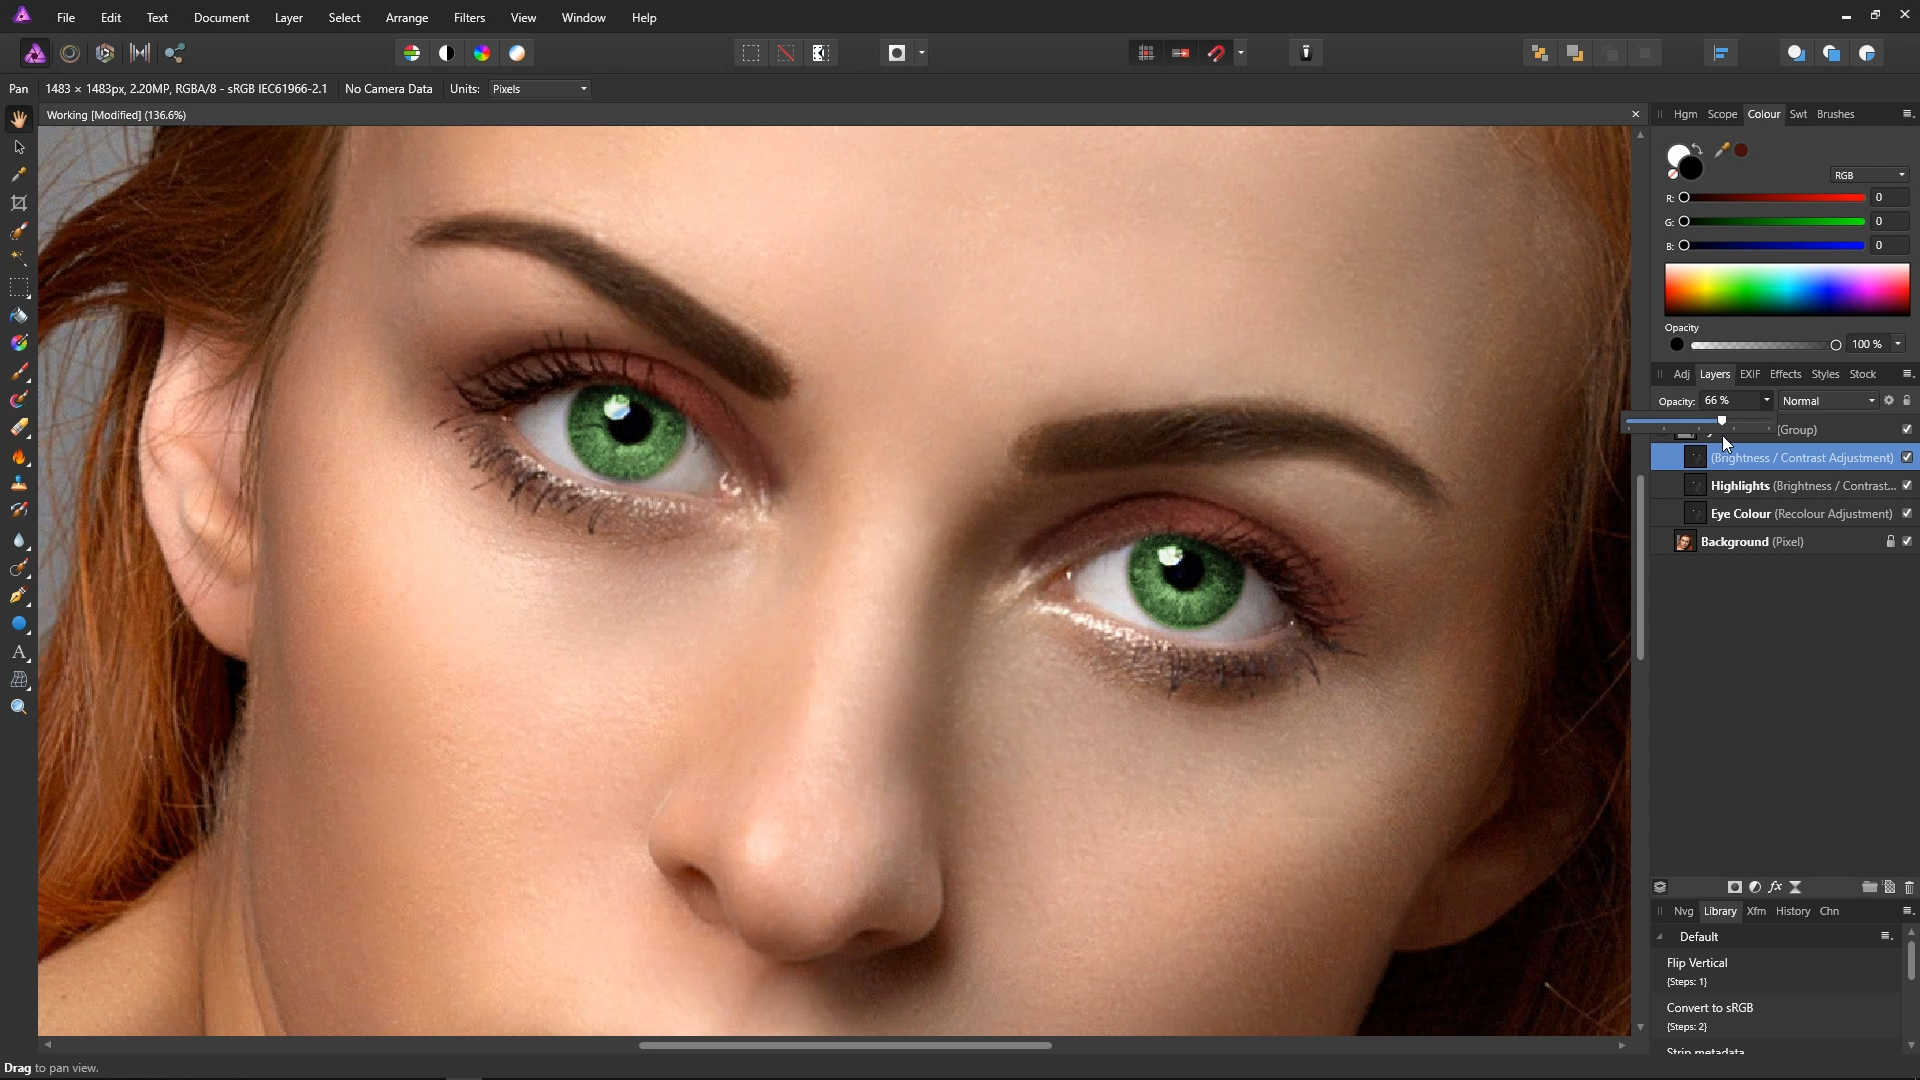
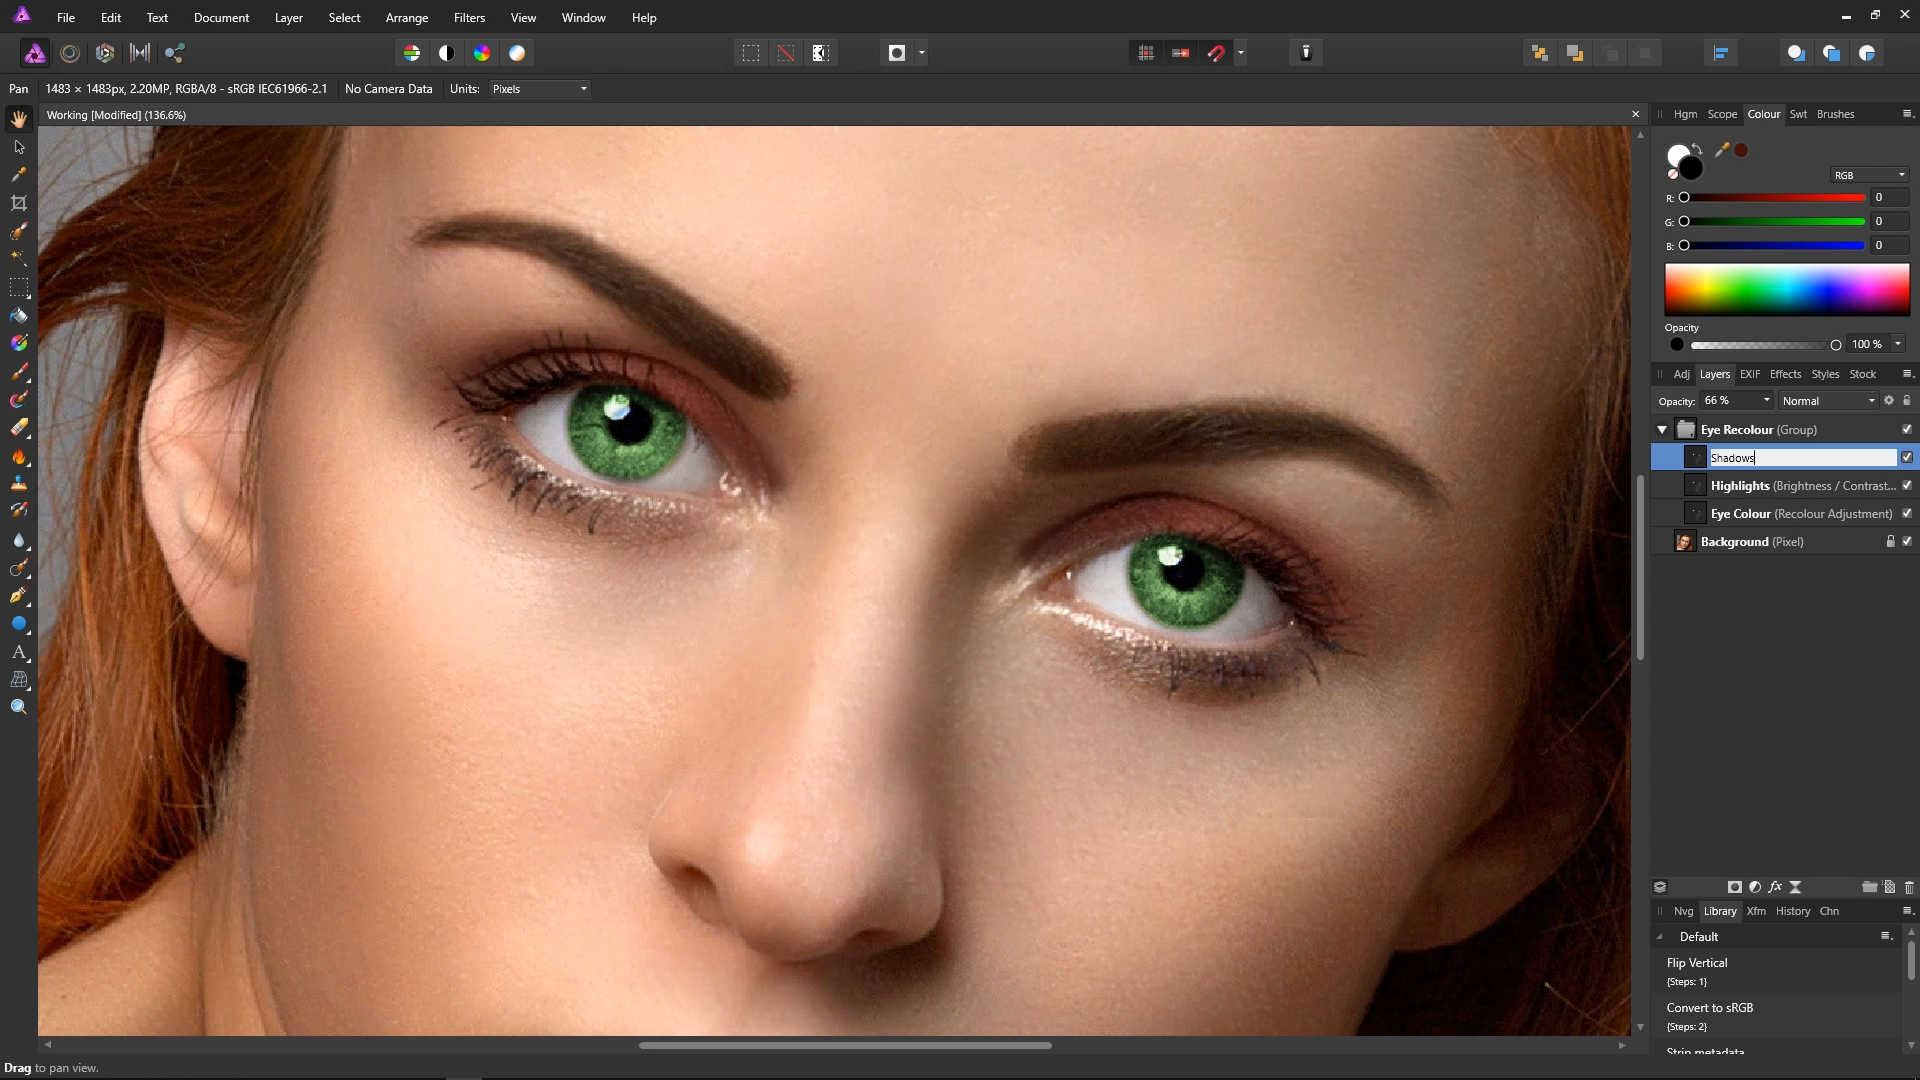
Close the Blend Range dialog, and then close the Brightness / Contrast dialog. Make sure the layer we just adjusted is selected. Now we can use the Opacity slider in the layers panel to set the impact of this adjustment. In the example photo, we've gone with 66%.
Rename the layer "Shadows".
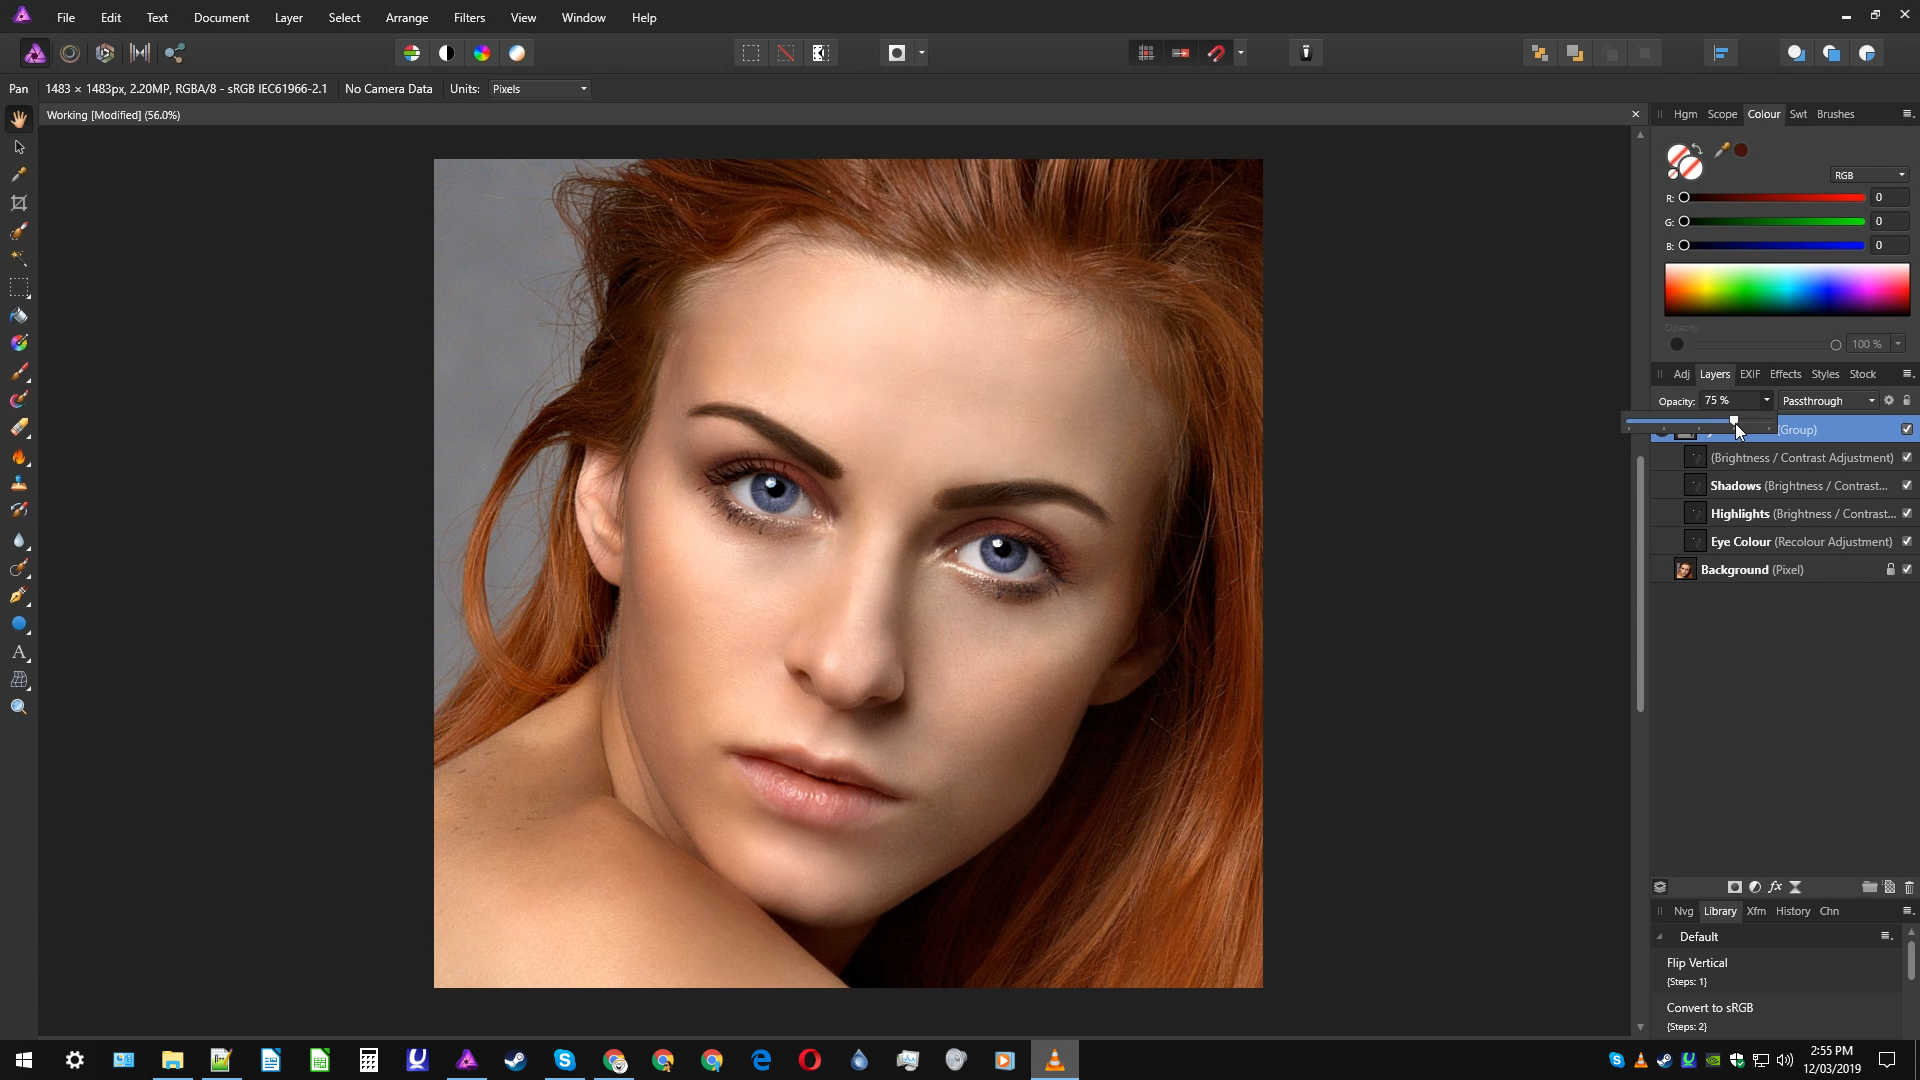
Let's take a look at what we've done so far. Untick the checkbox next to the Eye Recolour group layer, and our work so far will be hidden, revealing the original photograph.
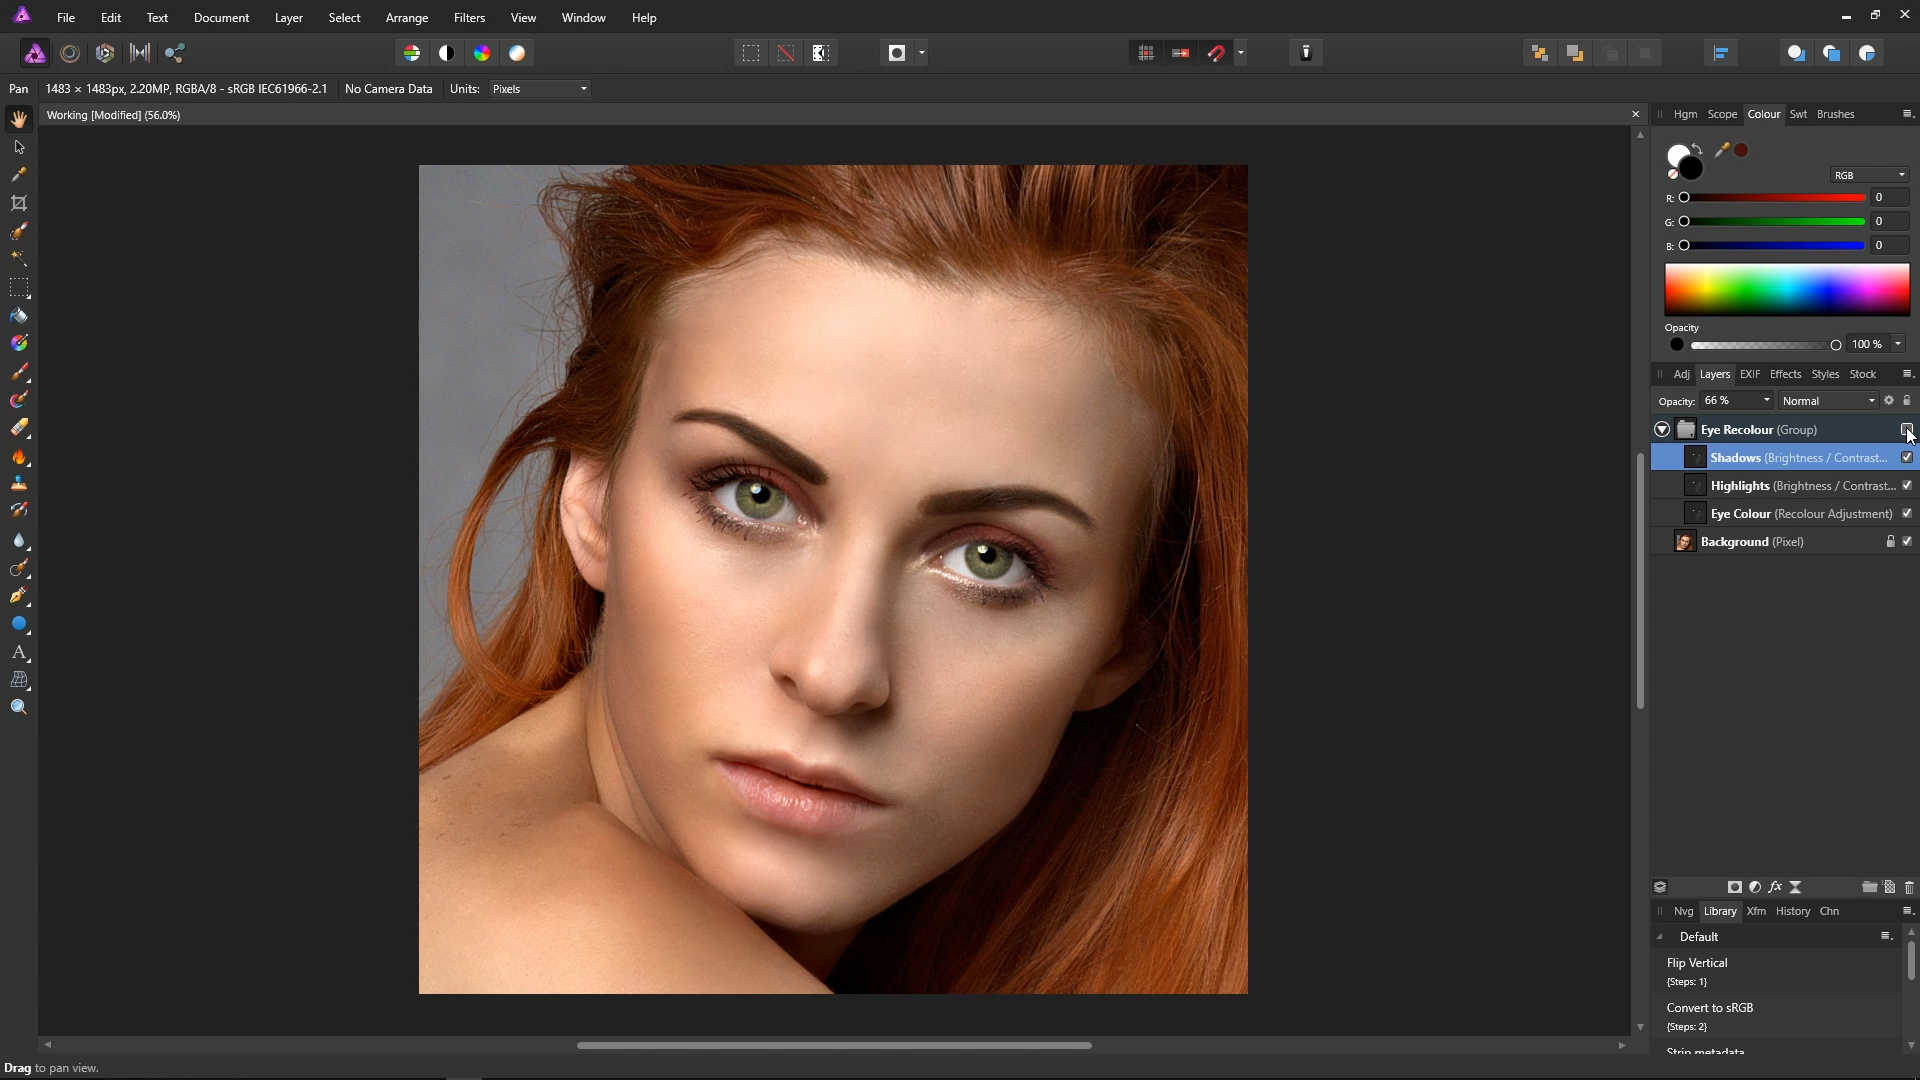
Re-tick the checkbox, and our work so far will return.

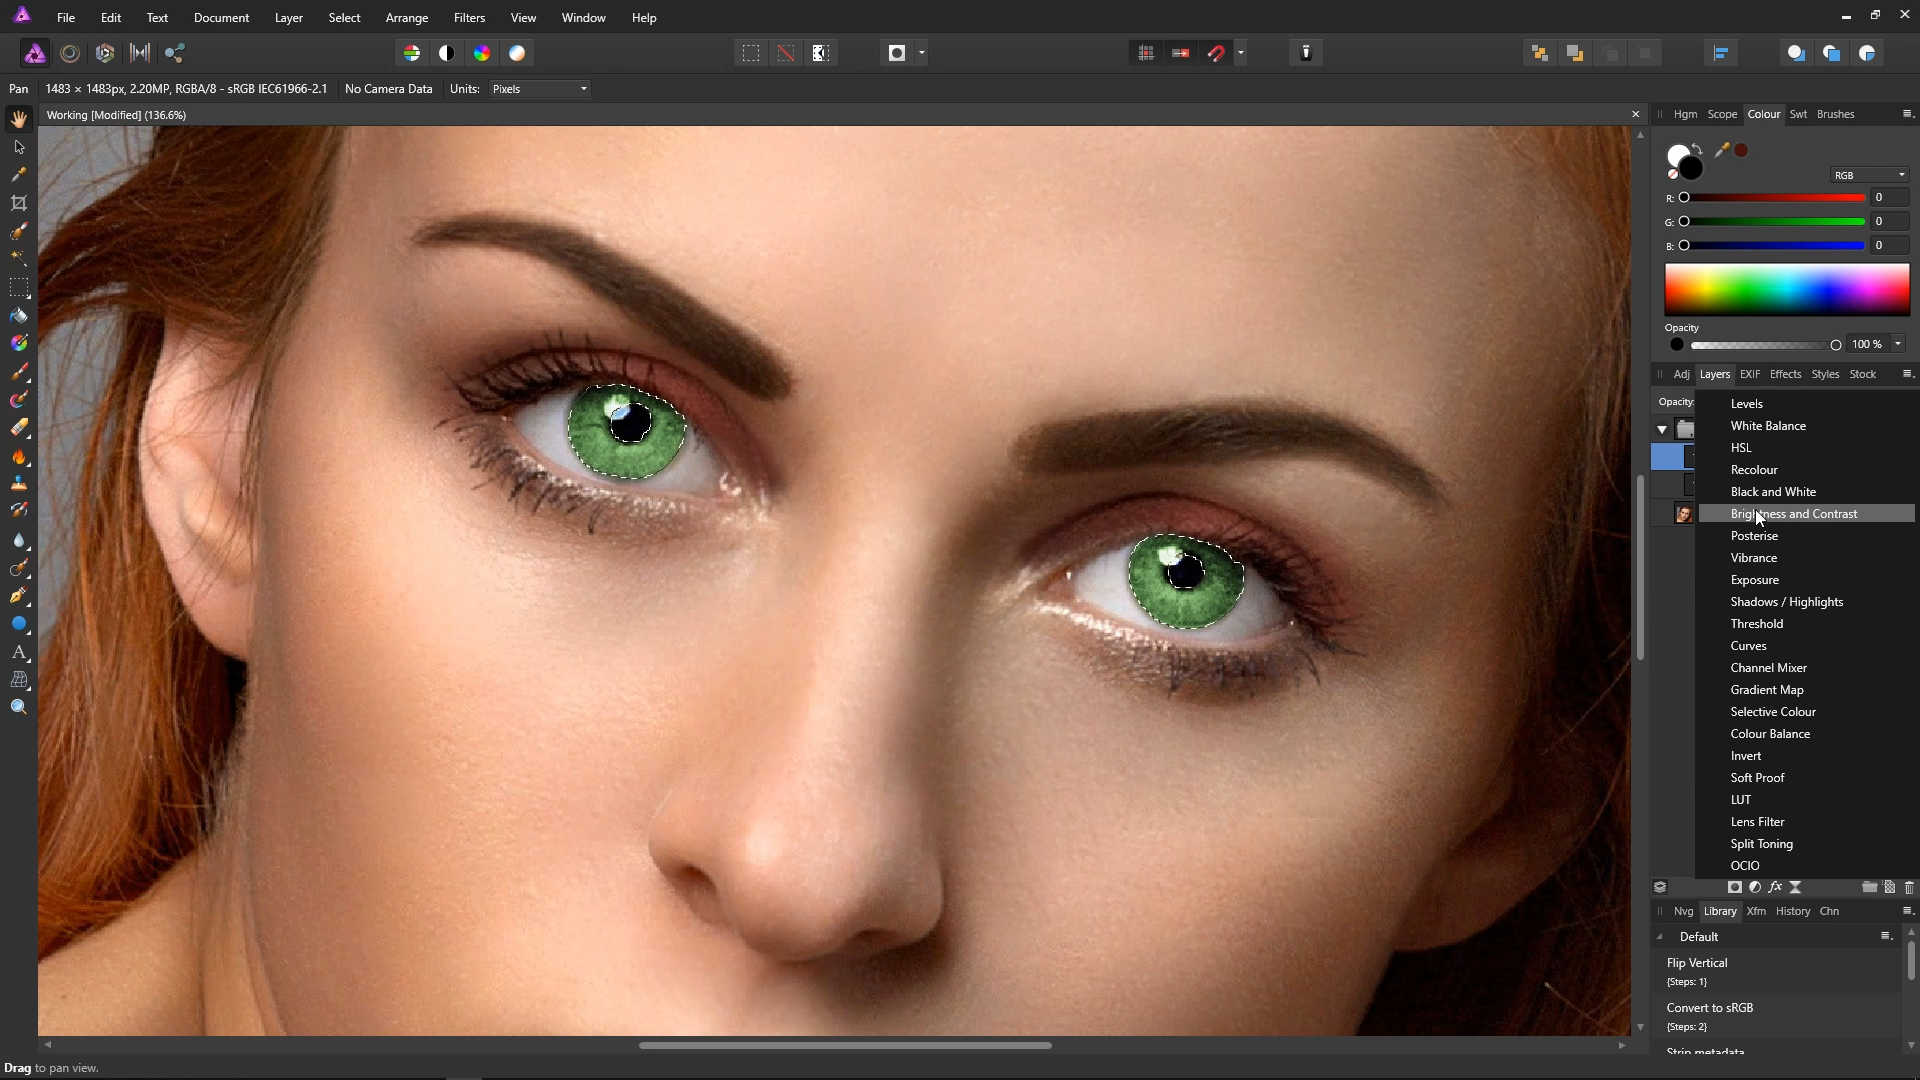
We are now going to make an adjustment which gives us control over the overall tone of the eyes, as we really want to be able to control the overall brightness and contrast of the eyes.
Once again, hold down Ctrl and click the square icon on one of the adjustment layers. As before, this will create a selection from the mask we painted earlier.
![]()
Click the Adjustments icon, and select Brightness and Contrast.
![]()

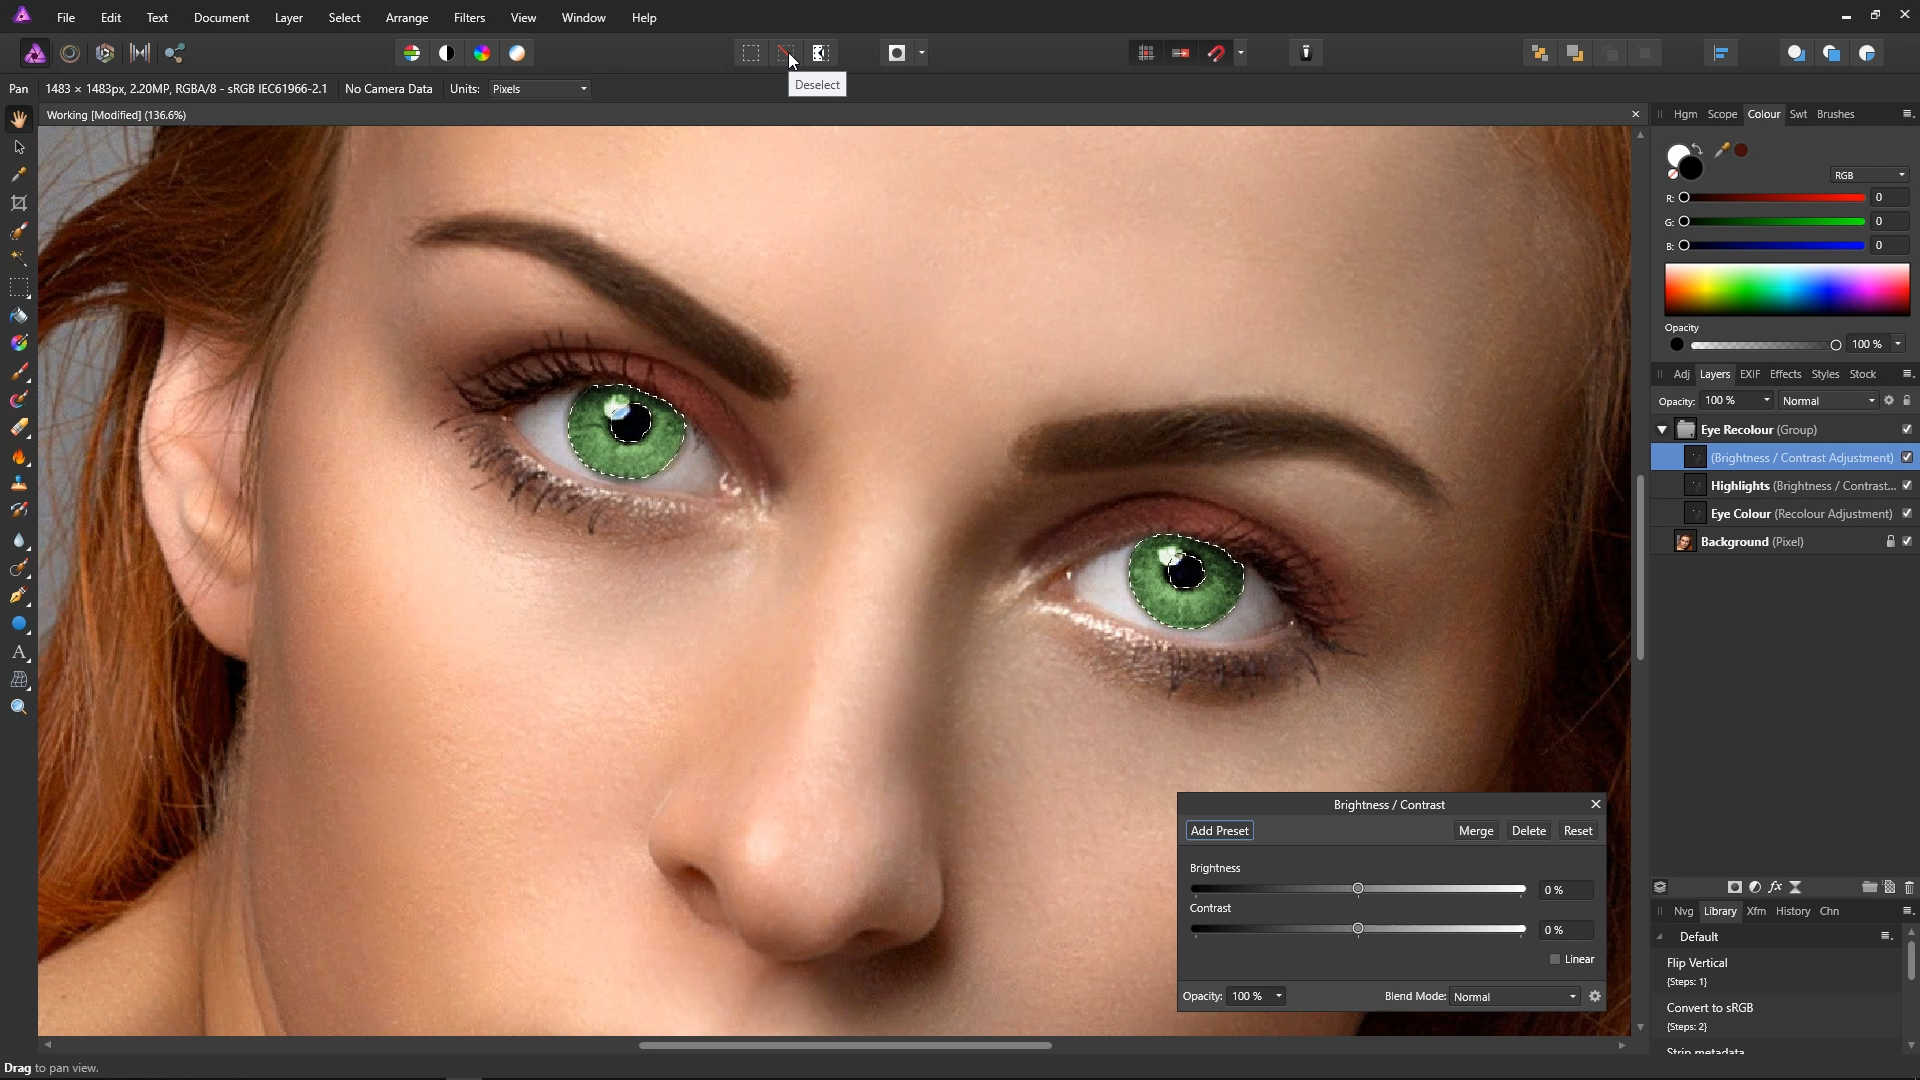
Click the Deselect icon to remove our selection.
![]()
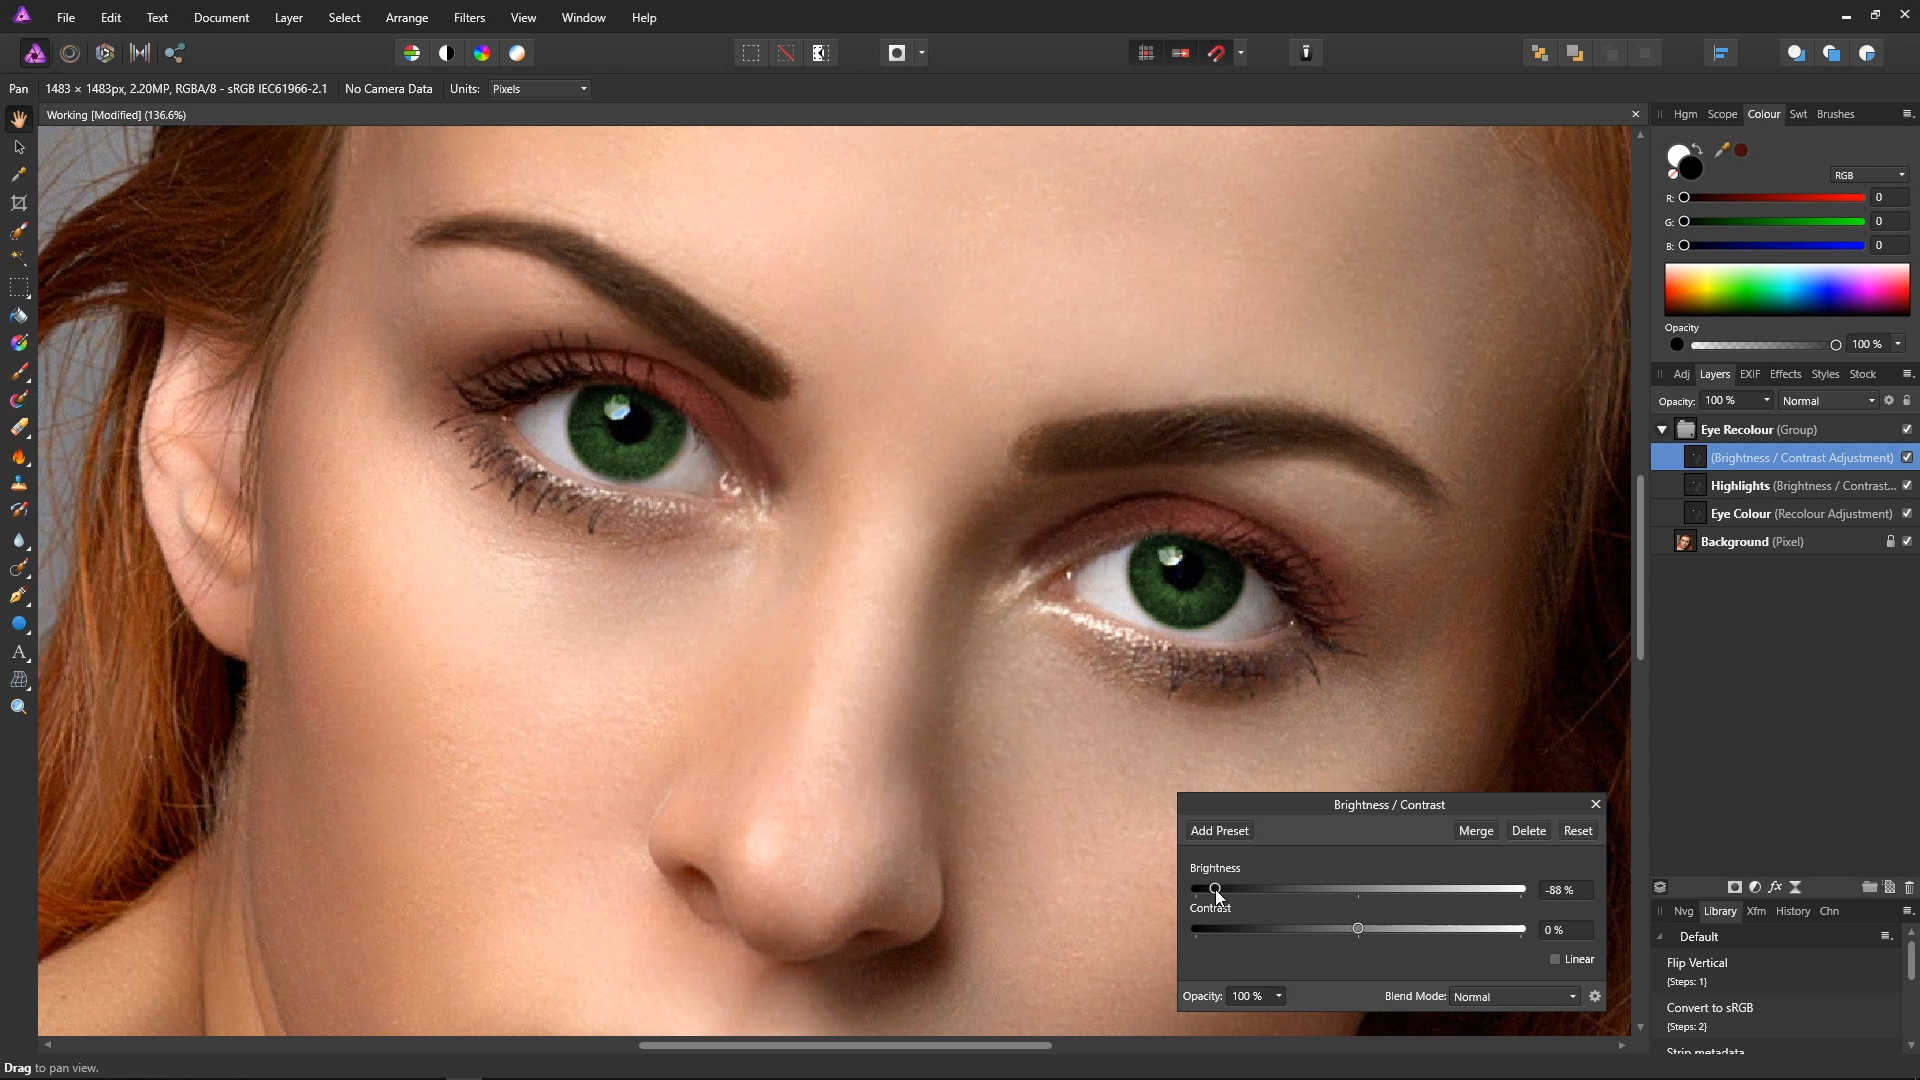
We can now use this Brightness / Contrast layer to adjust the overall brightness and contrast of the eyes. You could see this layer as a master layer.
Close the Brightness / Contrast dialog.
We now have all of the adjustments we need to make changes to the colour of the eyes.
Let's try making the eyes brown. Double click the square on the left of the Eye Colour layer in the layers panel. This will bring back up the recolour adjustment dialog.

Drag the Hue slider to orange, the example photo, we've gone with a value of 39.4.
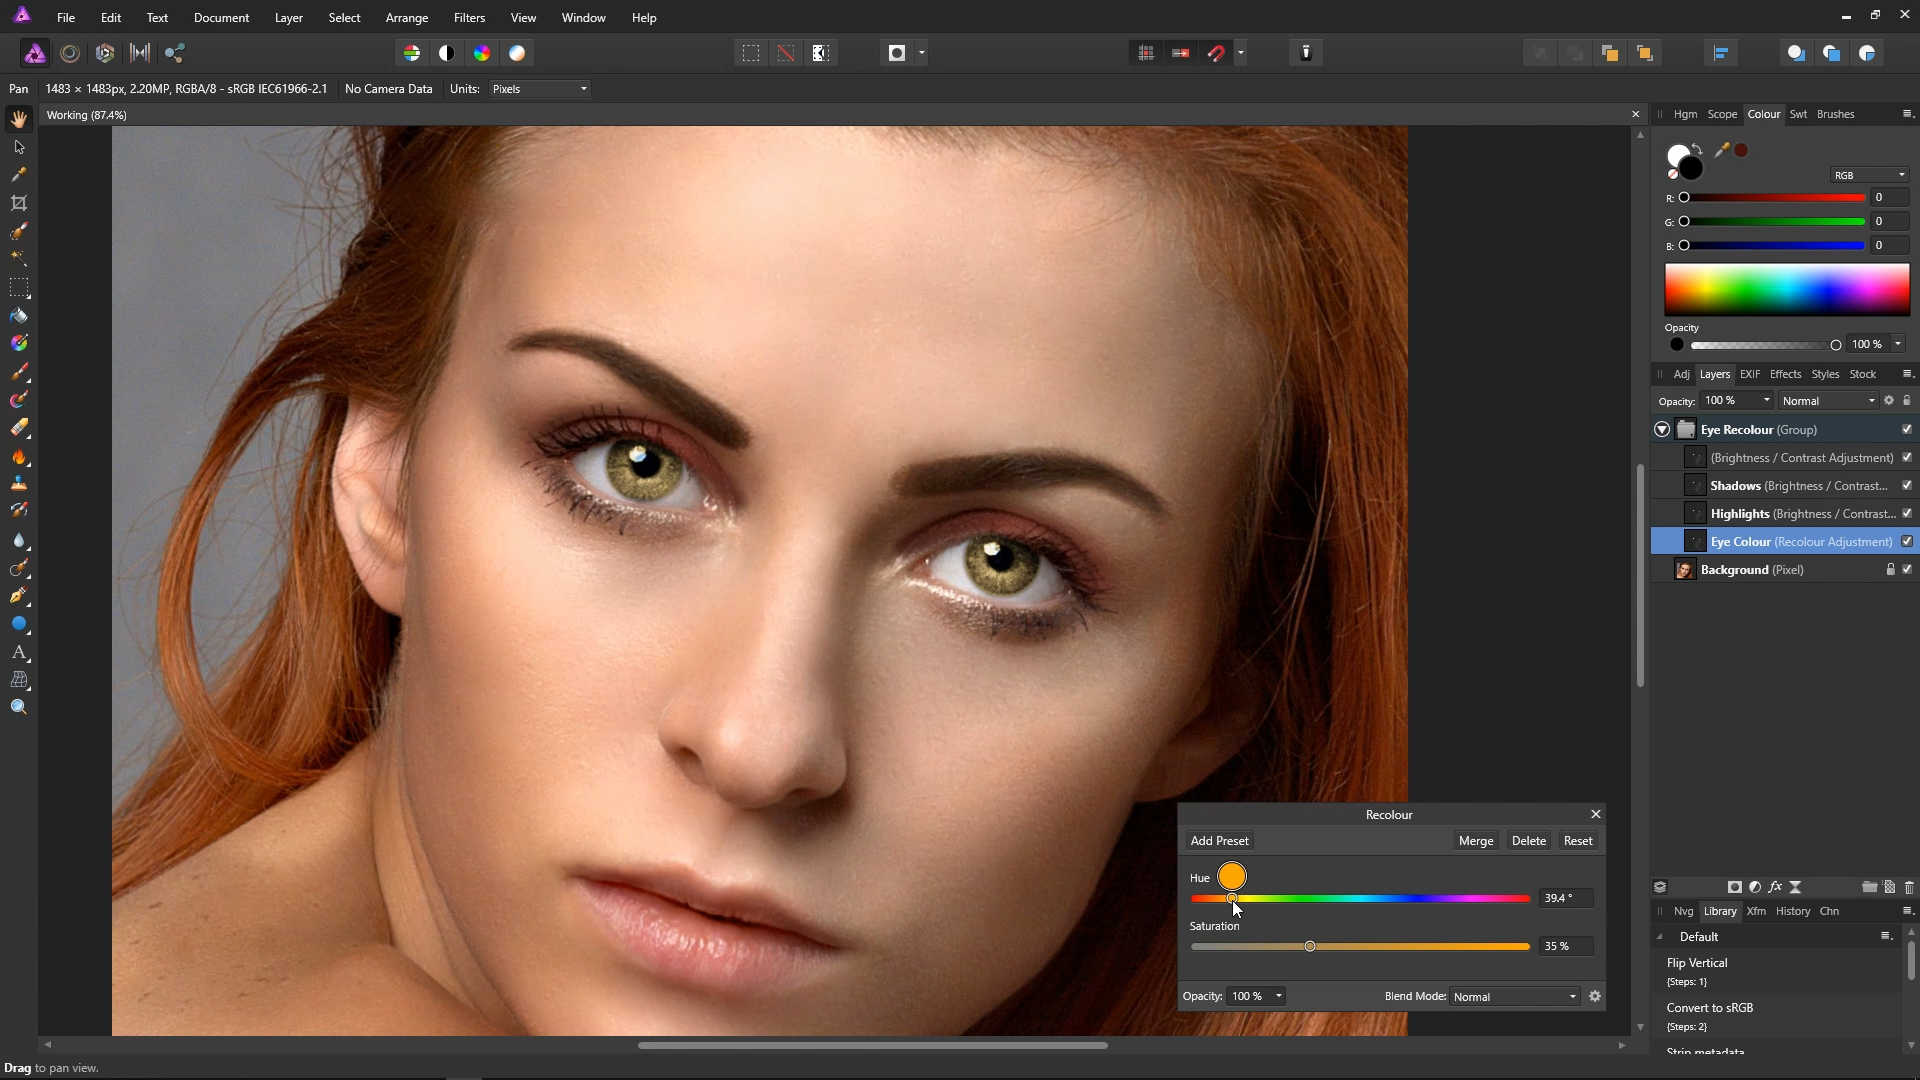
You may also need to adjust the saturation. In the example, photo, we've just slightly adjusted it to a value of 37%.
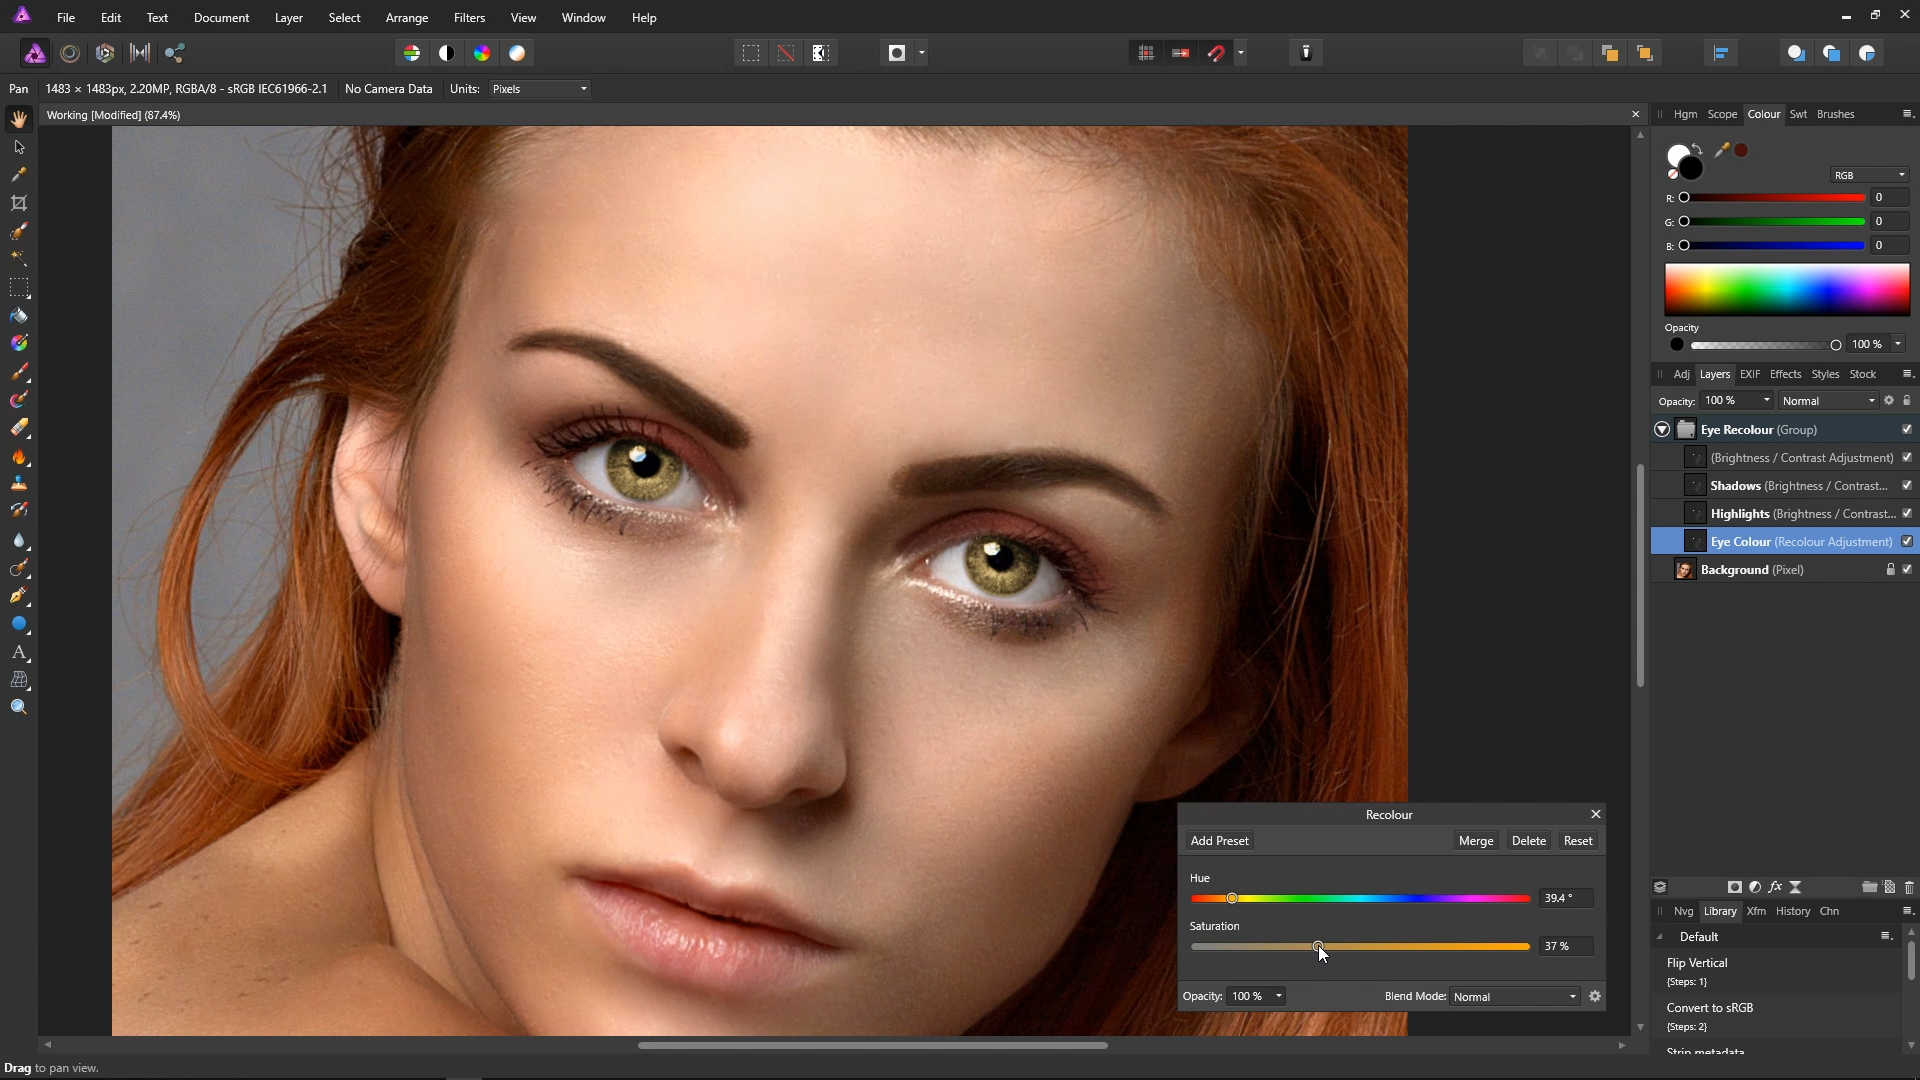
Close the Recolour dialog. Your photo should now have brown eyes. You might want to adjust the brightness however.
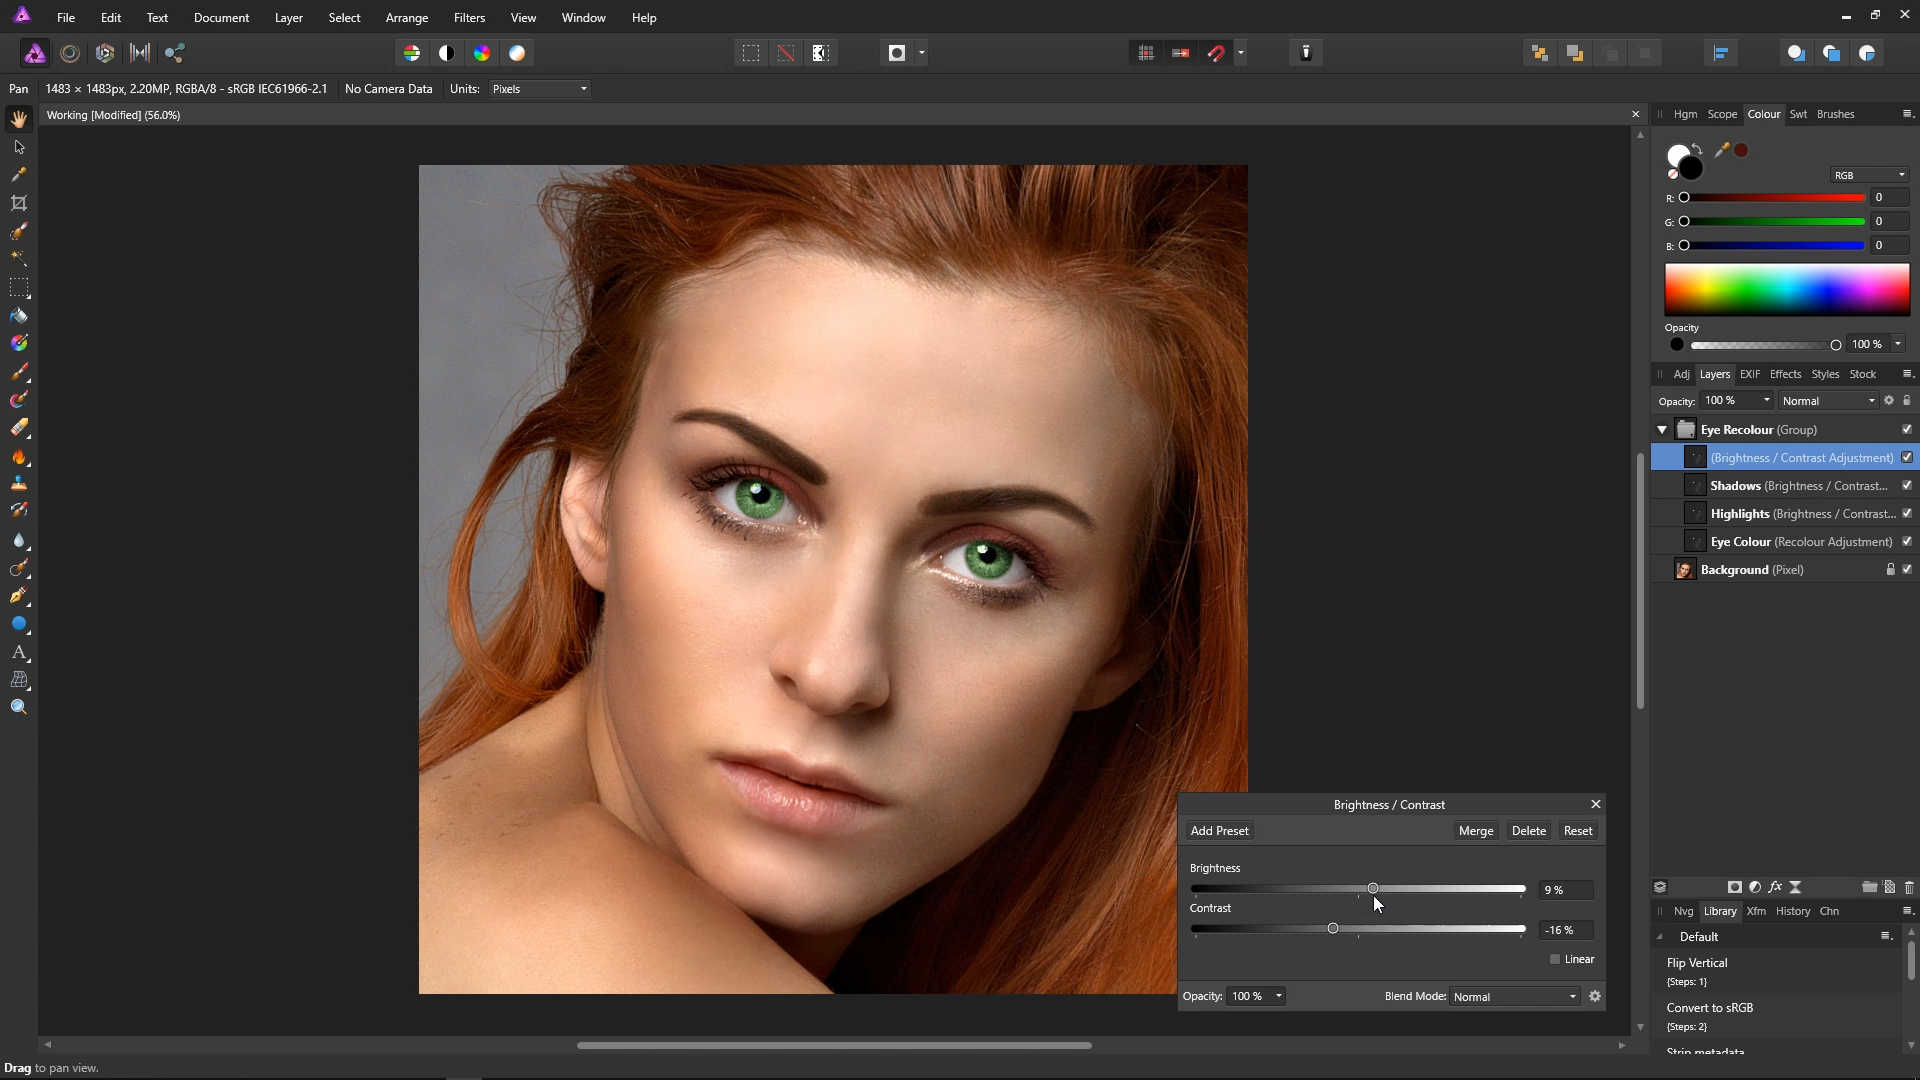
Double click the square on the left of the master layer. This will bring up our master Brightness / Contrast adjustment.
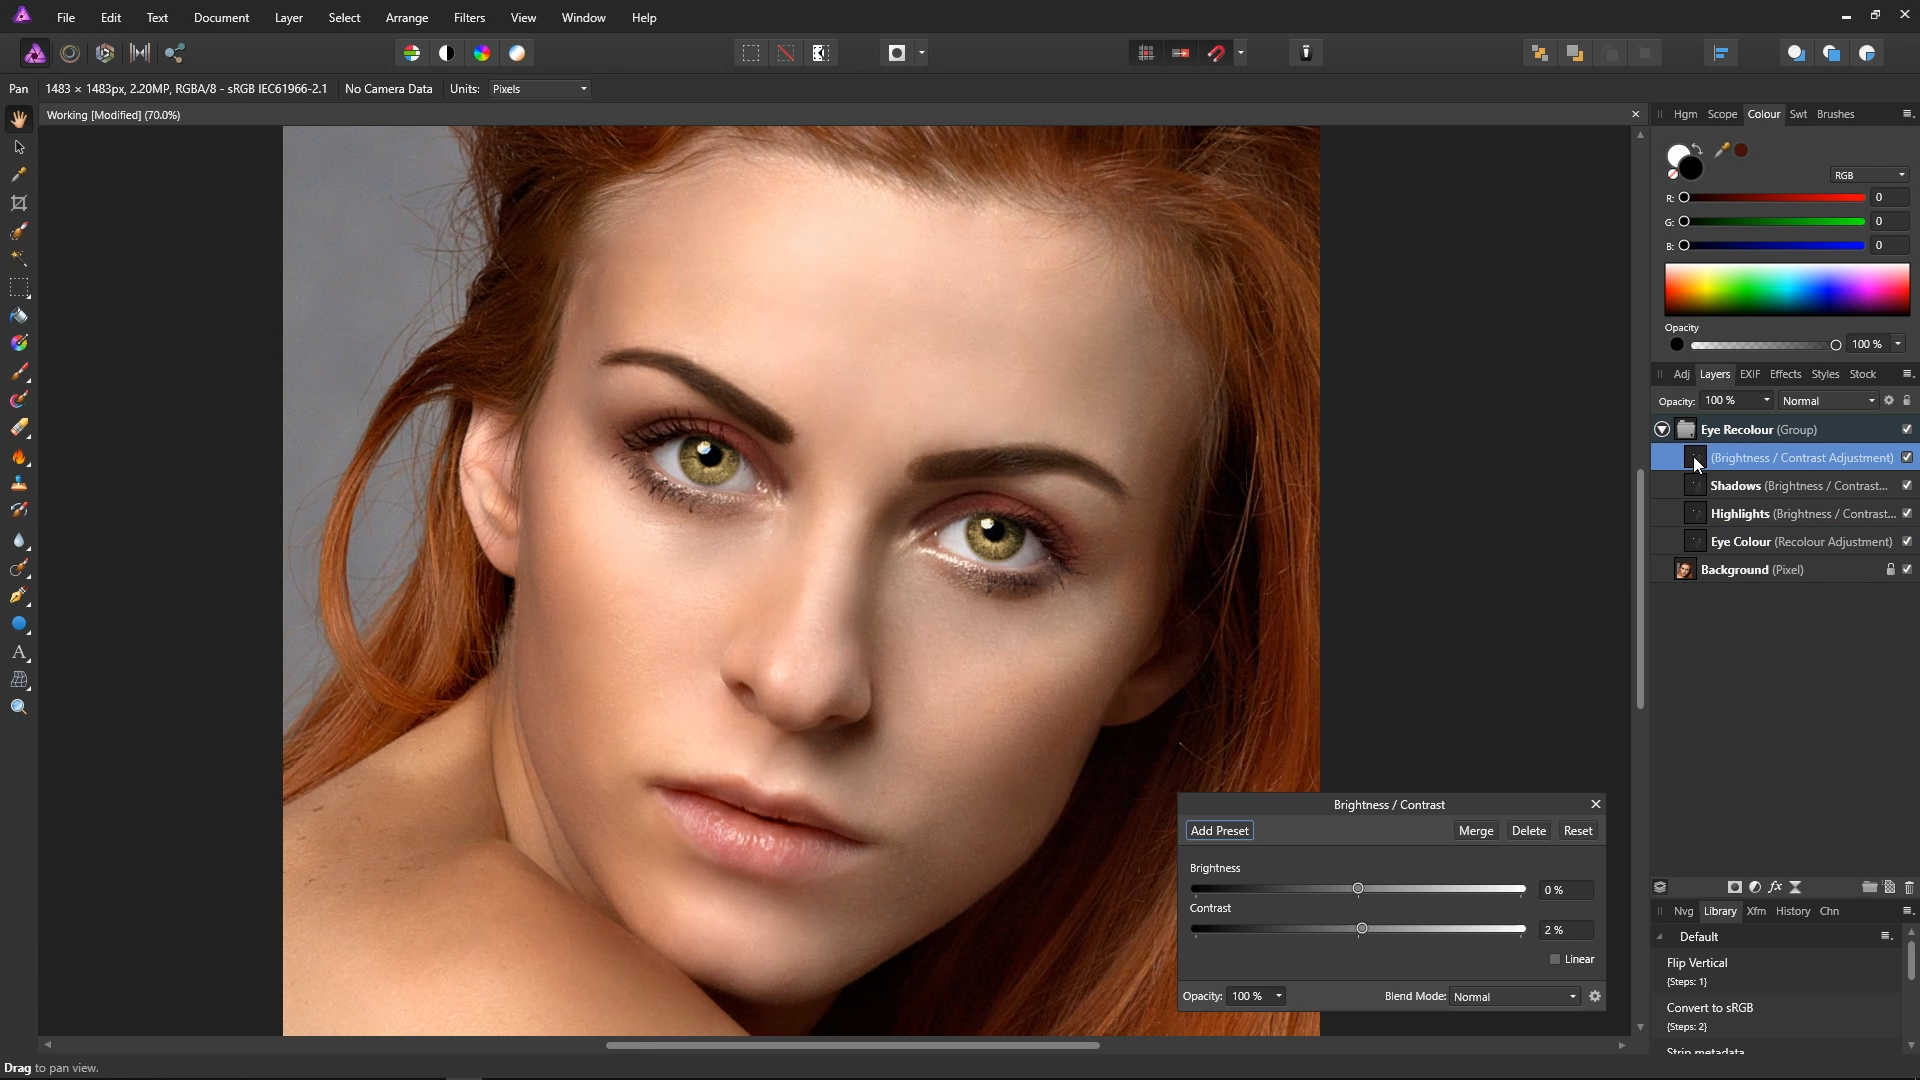
You can now adjust the overall brightness and contrast of the eye colour using the sliders on this master layer. In the example we've photo we've set the brightness to -37%, and the contrast to 9%.

Close the Brightness / Contrast dialog, and open the Eye Colour adjustment using the square next to its layer in the layers panel.

Here we can adjust the saturation of the eye colour adjustment. In the example photo, we've changed the saturation just slightly, to 40%.

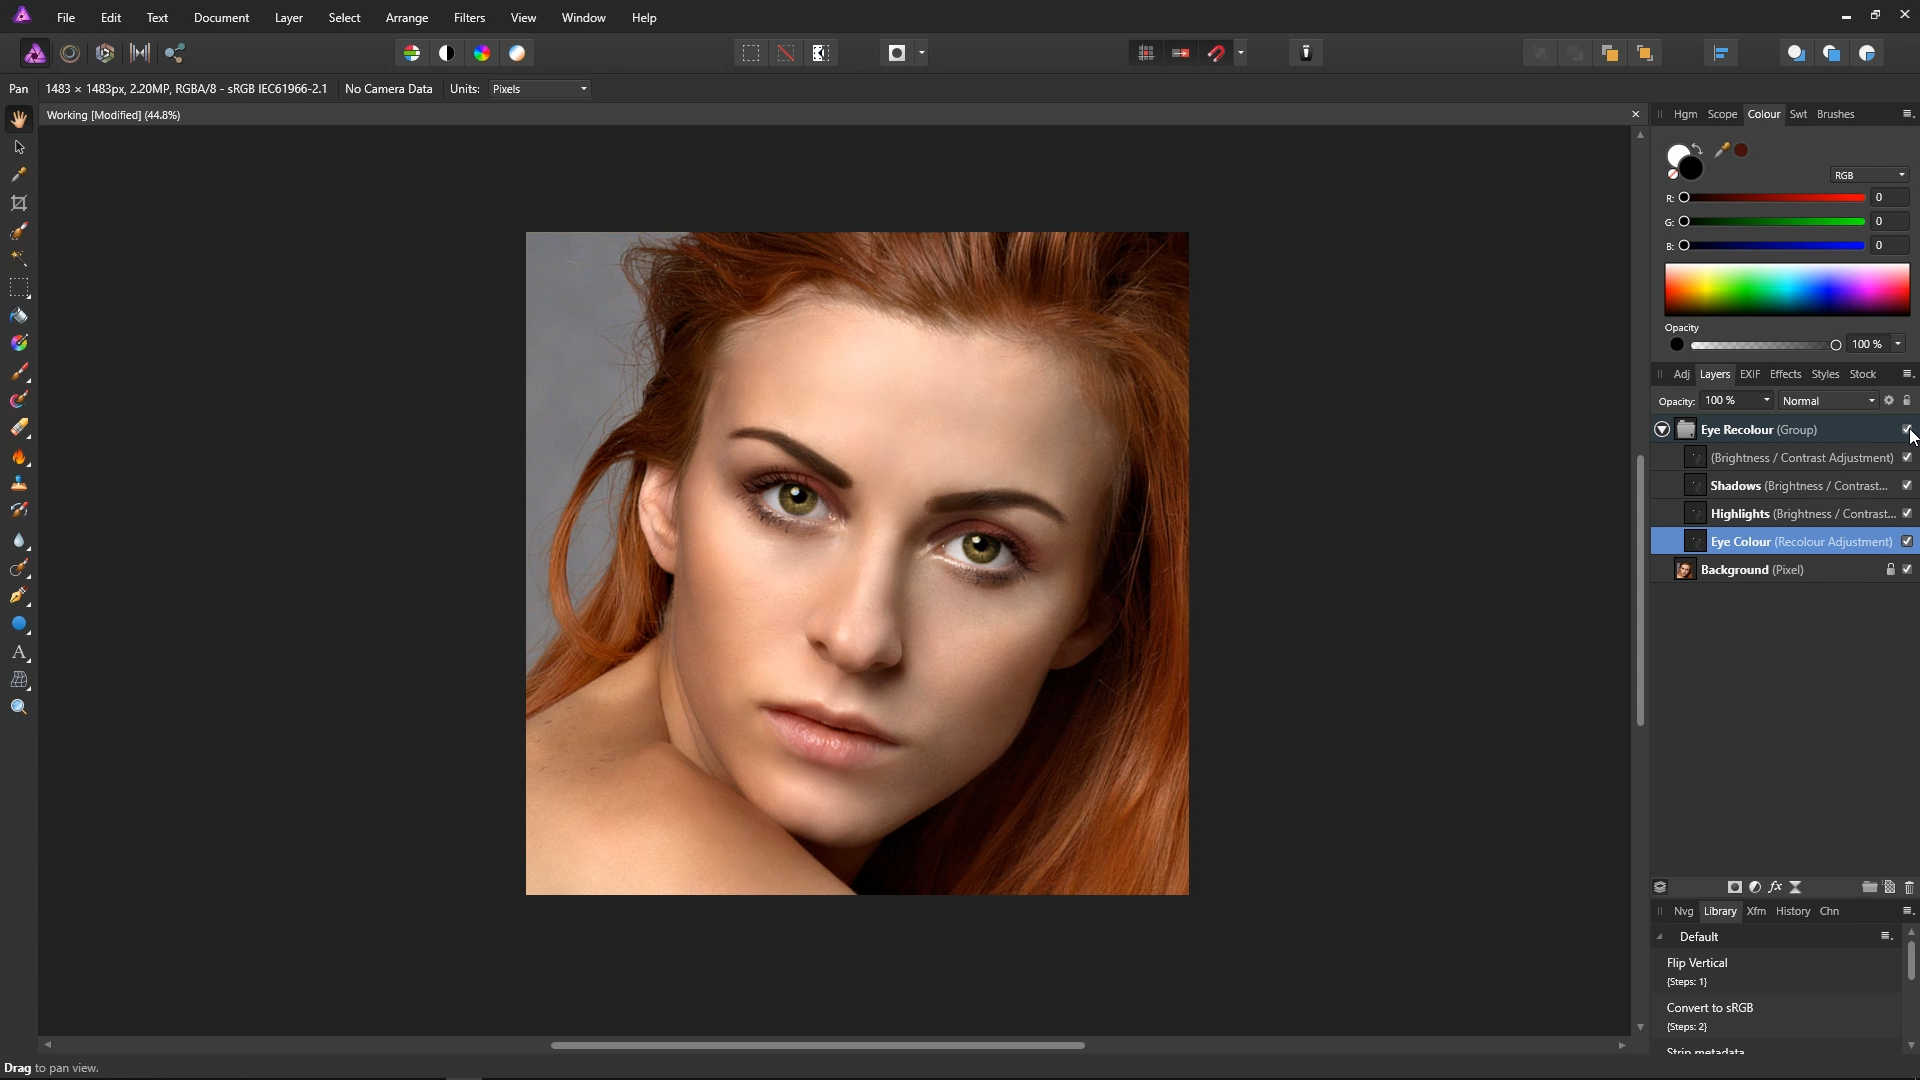
We think the photo now has natural looking brown eyes. Let's see how it looks without any adjustments, and how it looks after our adjustment. As before, you can toggle your adjustments on and off by ticking and unticking the checkbox next to the group layer.
Before:

After:
Let's try making the eyes blue. Open the Eye Colour adjustment using the square icon on the left of the Eye Colour layer, and drag the Hue slider to blue. In the example photo, we've gone with a value of 235.3.
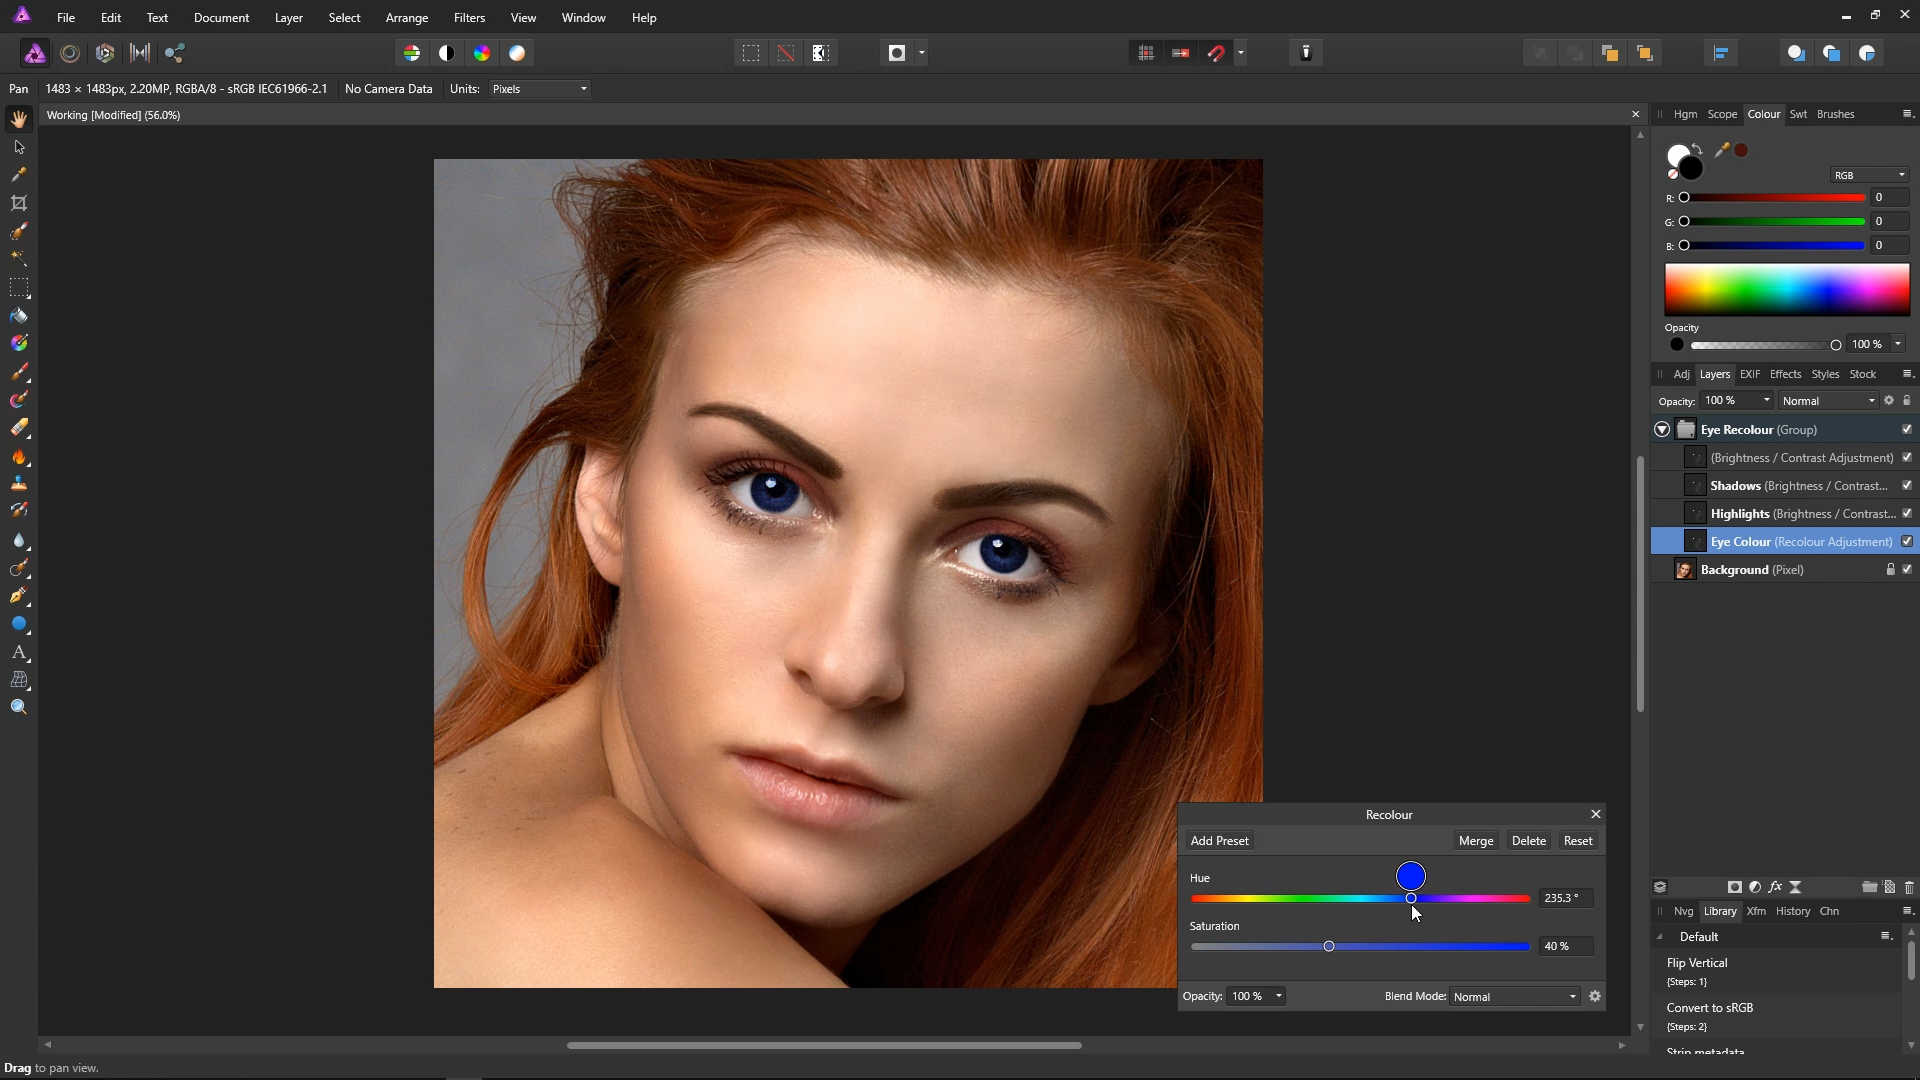
This is too dark however, so let's brighten it up. Open the master layer, and bring up the brightness using the slider. You may also want to bring the contrast down a little.

If you'd like to mix the colour with the original colour of the eyes, you can do so using the group layer's opacity slider. At 75% the adjustment looks nice and subtle.